- Who can: a user with the “Manage Studio” permission builds the workflow; the assignee decides, or any team member when there is no assignee
- Where: Studio › Workflows › the workflow; decisions in Approvals
- Time: ≈ 10 minutes
Before you start
You need a workflow with a trigger — see Create a workflow. The example is a new workflow “Demo: Approve heavy requests” with the trigger “Demo: Shipment request created”.
What the example builds: a new request waits for a manager's decision. Approved — the dispatcher gets the task “Heavy load: book a truck”. Rejected or not decided in 24 hours — the workflow ends.
To send only heavy requests for approval, put the approval behind a “Condition” — see Branch a workflow.
Steps
Add Human approval
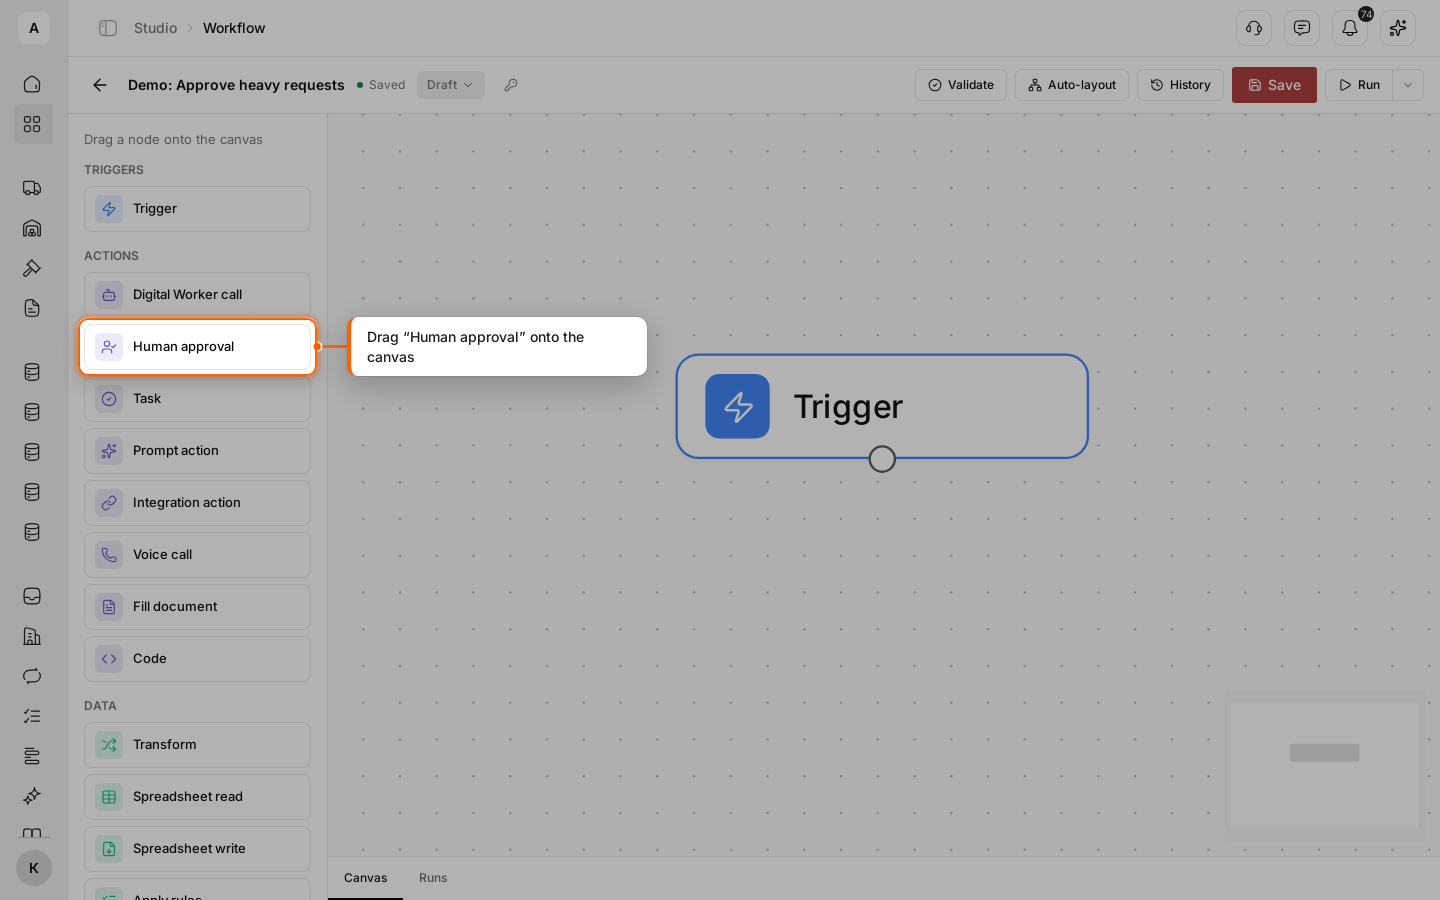
Drag Human approval from the “Actions” group onto the canvas and connect the trigger to it.
Say who decides and what
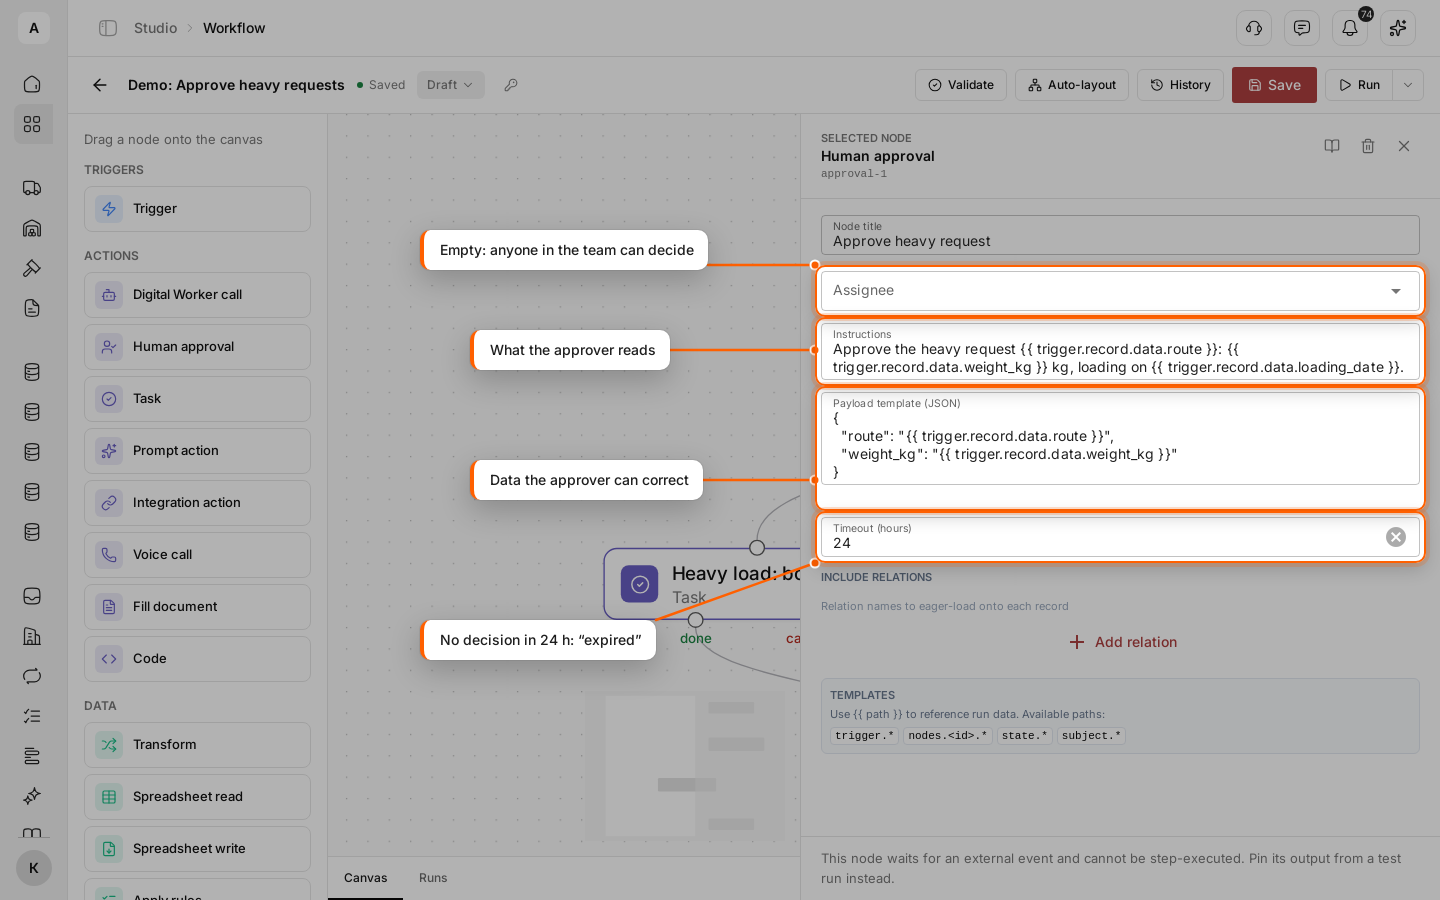
Click the node and fill in the settings:
- “Node title” — for example, “Approve heavy request”.
- “Assignee” — the team member who decides. Leave it empty, and anyone in your team can decide. When it is set, only this person can approve or reject, and they get an in-app notification “Approval requested” that opens the approval.
- “Instructions” — what the approver reads. Put request data in with templates:
Approve the heavy request {{ trigger.record.data.route }}: {{ trigger.record.data.weight_kg }} kg, loading on {{ trigger.record.data.loading_date }}.- “Payload template (JSON)” — data the approver sees and can correct before deciding. It must be a JSON object:
{
  "route": "{{ trigger.record.data.route }}",
  "weight_kg": "{{ trigger.record.data.weight_kg }}"
}- “Timeout (hours)” — how long to wait for a decision. Leave it empty to wait without a limit.
Connect the outputs
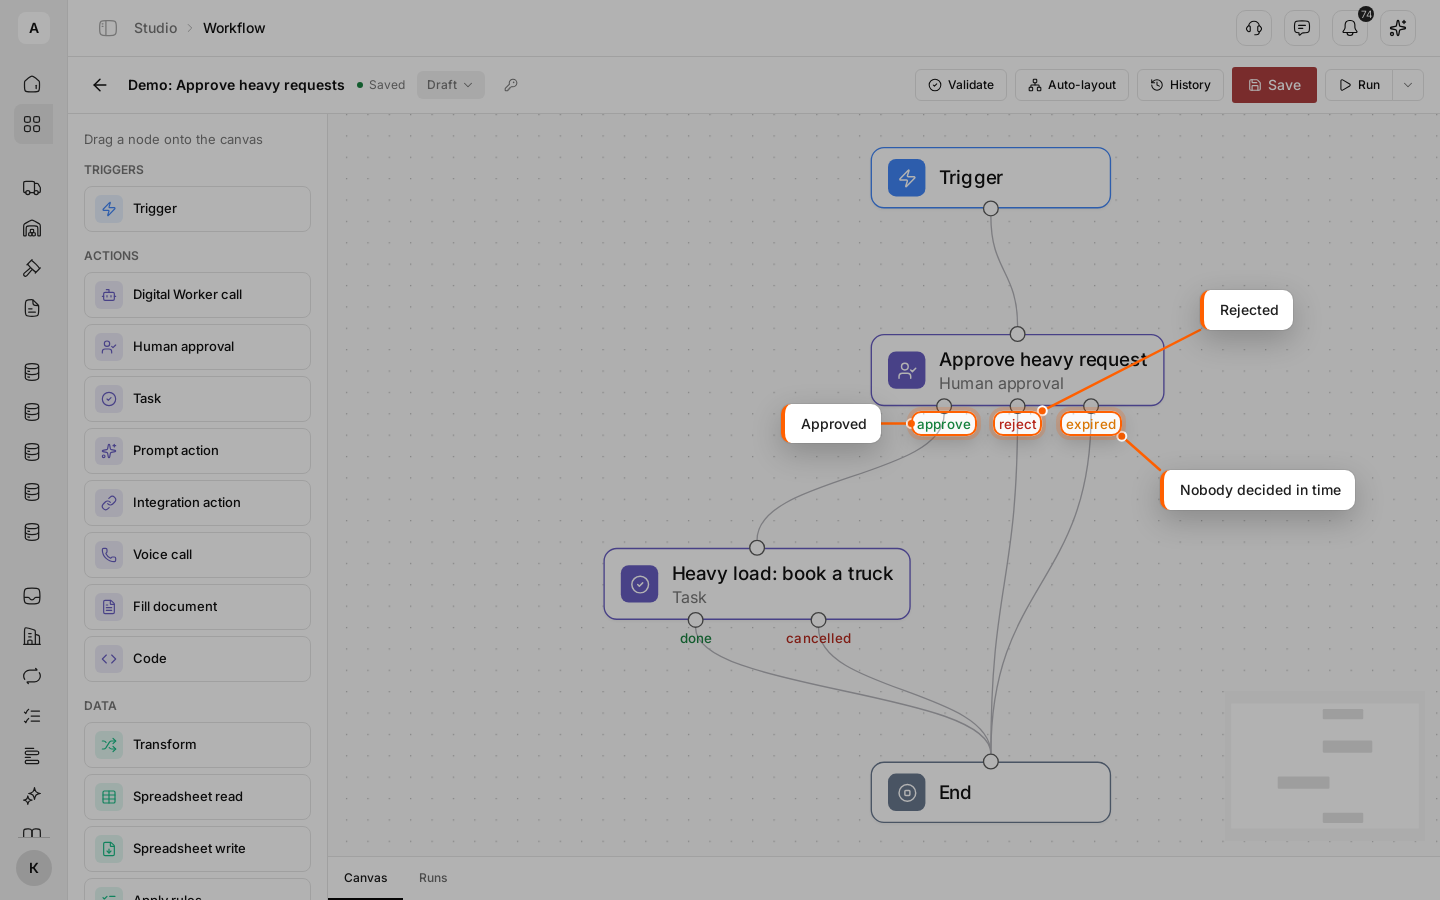
The node has three outputs: “approve”, “reject” and “expired”. In the example, “approve” leads to the task “Heavy load: book a truck”, “reject” and “expired” lead straight to “End”.
“approve” and “reject” must be connected, or validation fails. Connect “expired” when you set “Timeout (hours)”.
Click Save and Validate.
Start a run
Click Run and run a test with the request “Kharkiv → Kyiv”, 24,000 kg — the same way as in Test a workflow with a test run. A published workflow starts on its own for every new request.
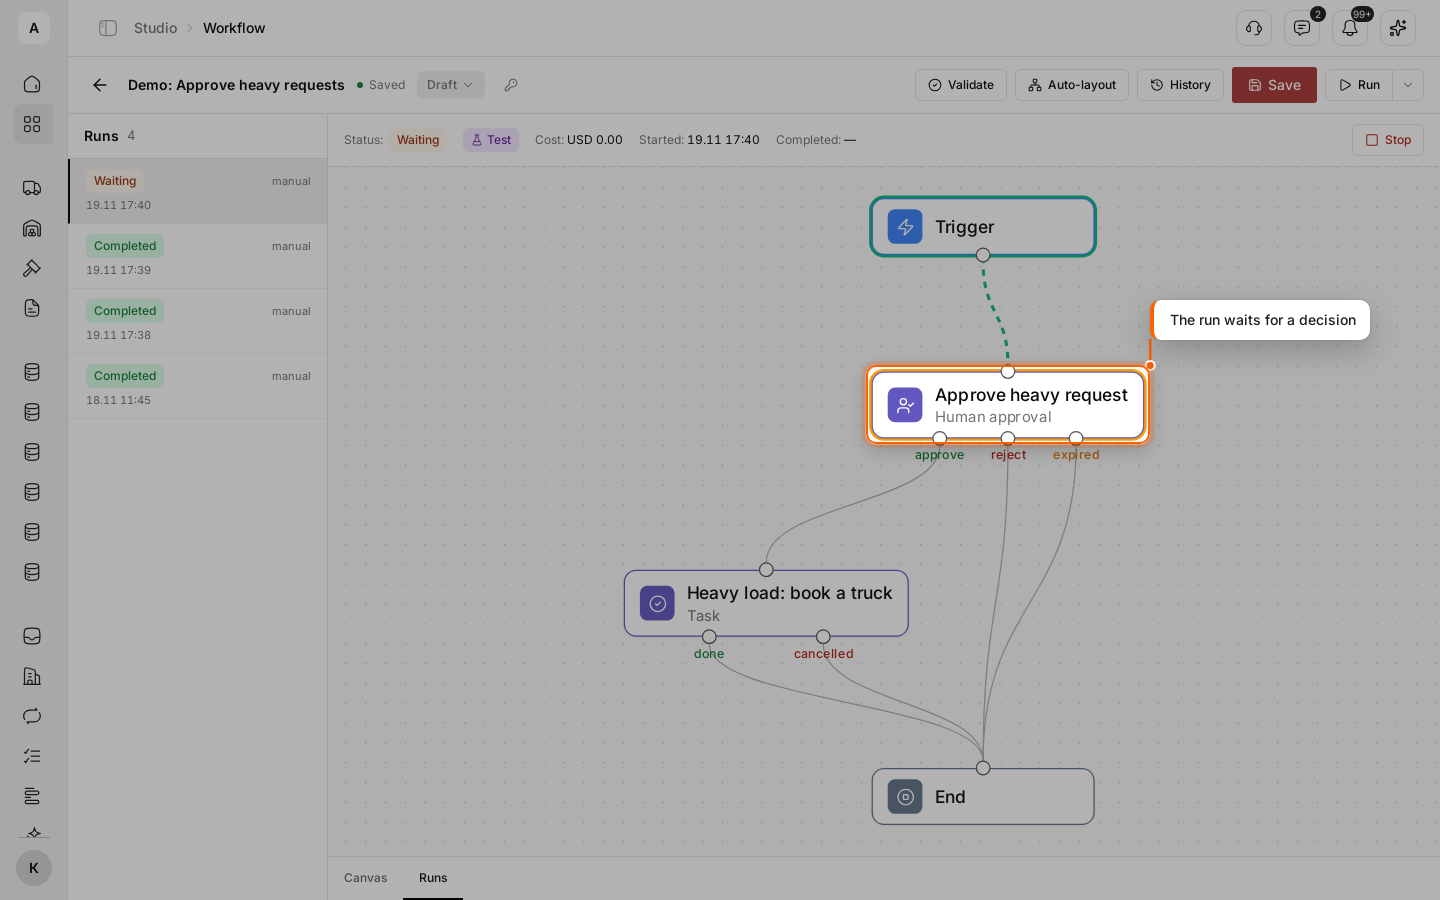
On the Runs tab, the run stops at “Human approval” with the “Waiting” status. A test run asks for a real decision too.
Open the approvals
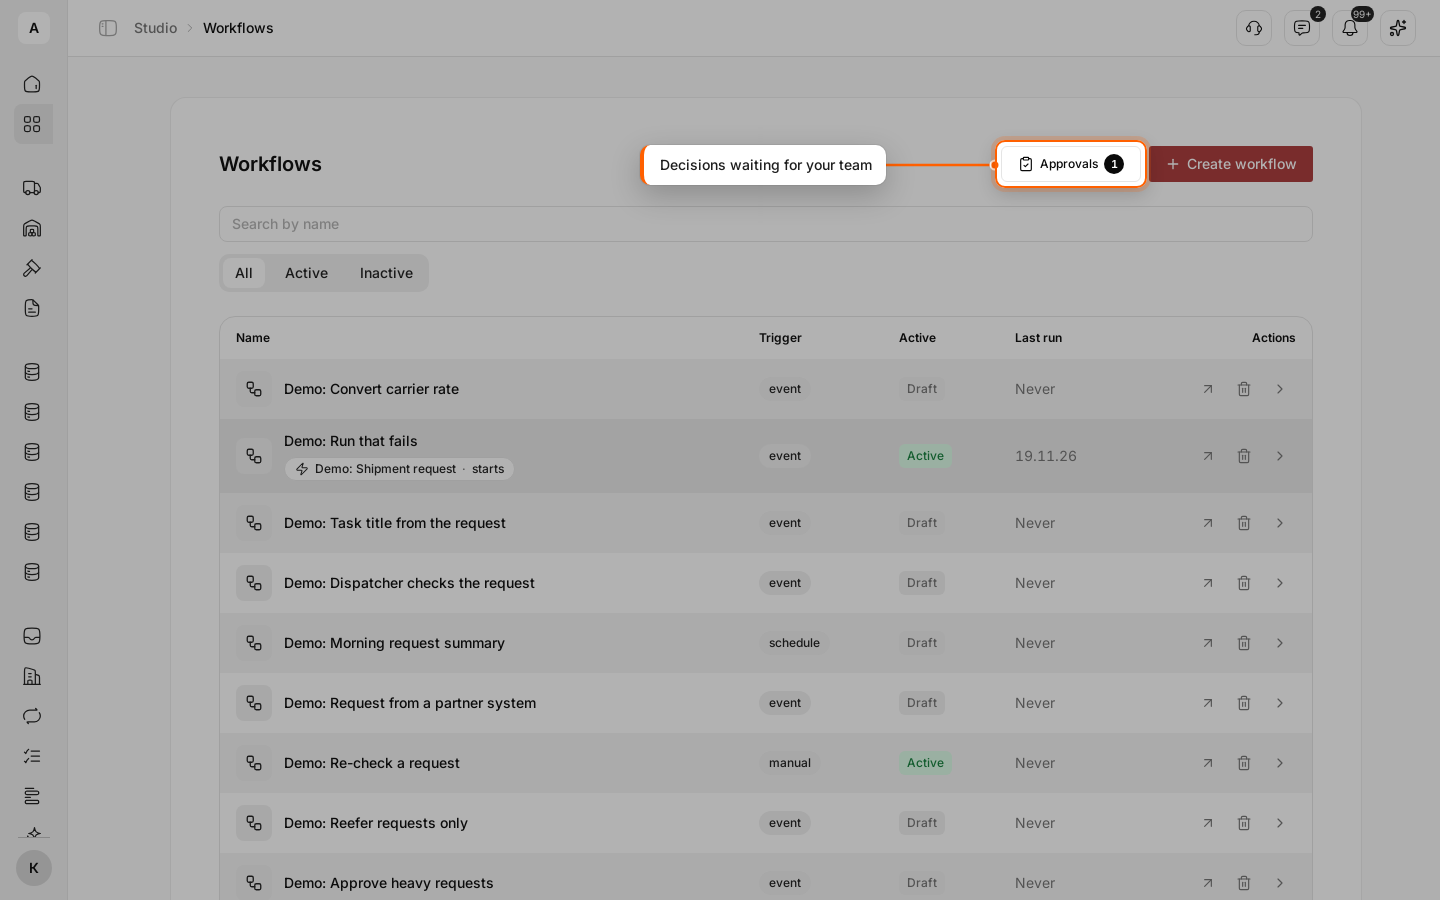
The approver clicks Approvals above the list of workflows. The number on the button is how many decisions are waiting. The same page opens from Approvals in the left menu.
Find the request
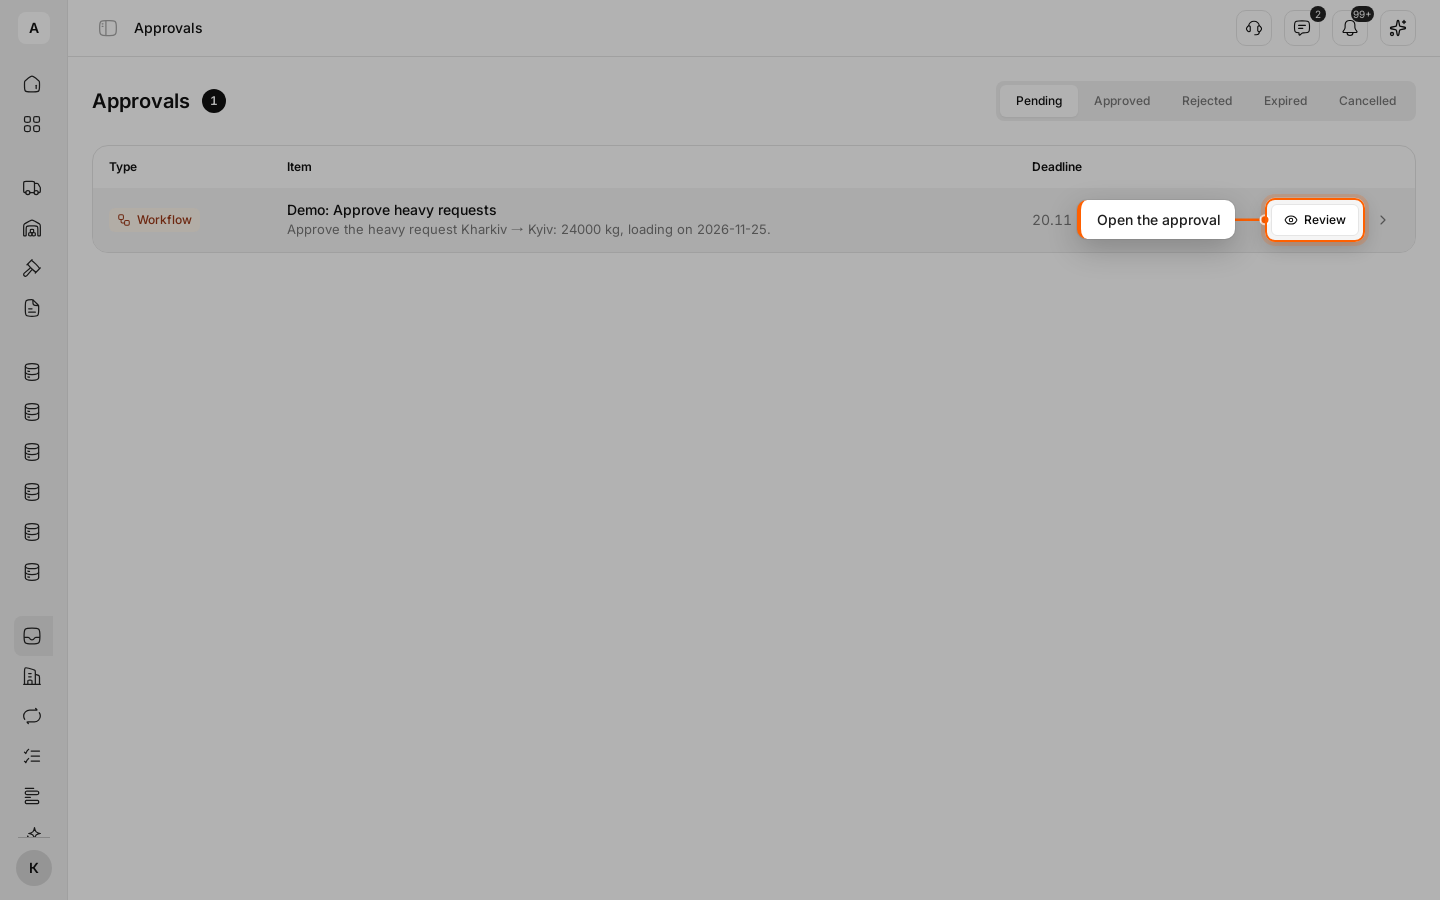
The “Pending” tab lists the approvals waiting for a decision: the workflow name, the instructions and the “Deadline”. Click Review in the row.
When the approval has no payload, an Approve button sits right in the row. Other tabs — “Approved”, “Rejected”, “Expired”, “Cancelled” — keep the history.
Read the approval
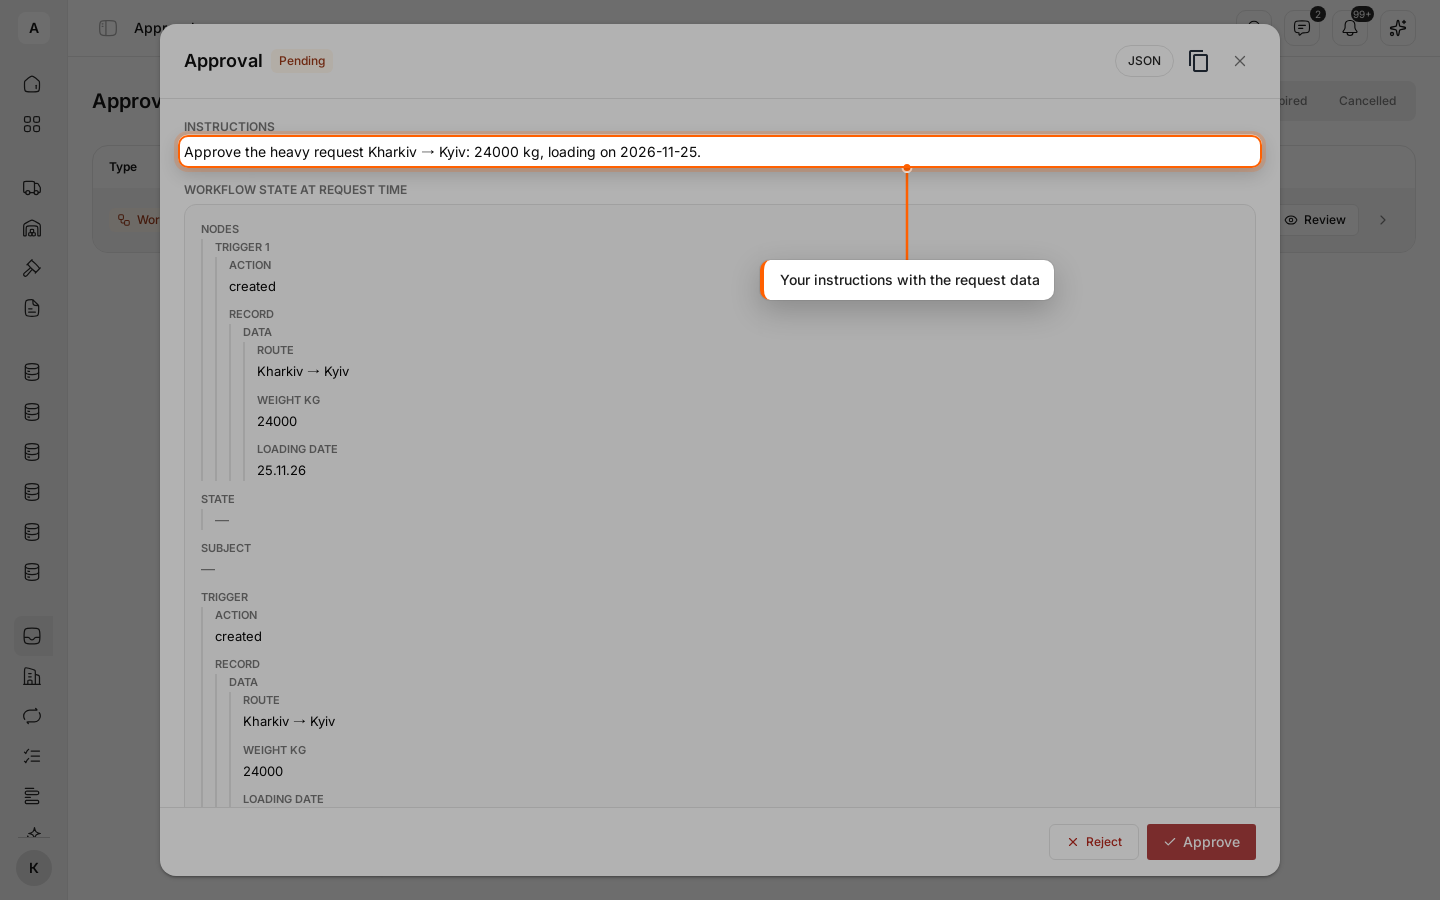
The “Approval” card shows the “Instructions” with the request data, and below them “Workflow state at request time” — the request as the workflow received it.
Approve or reject
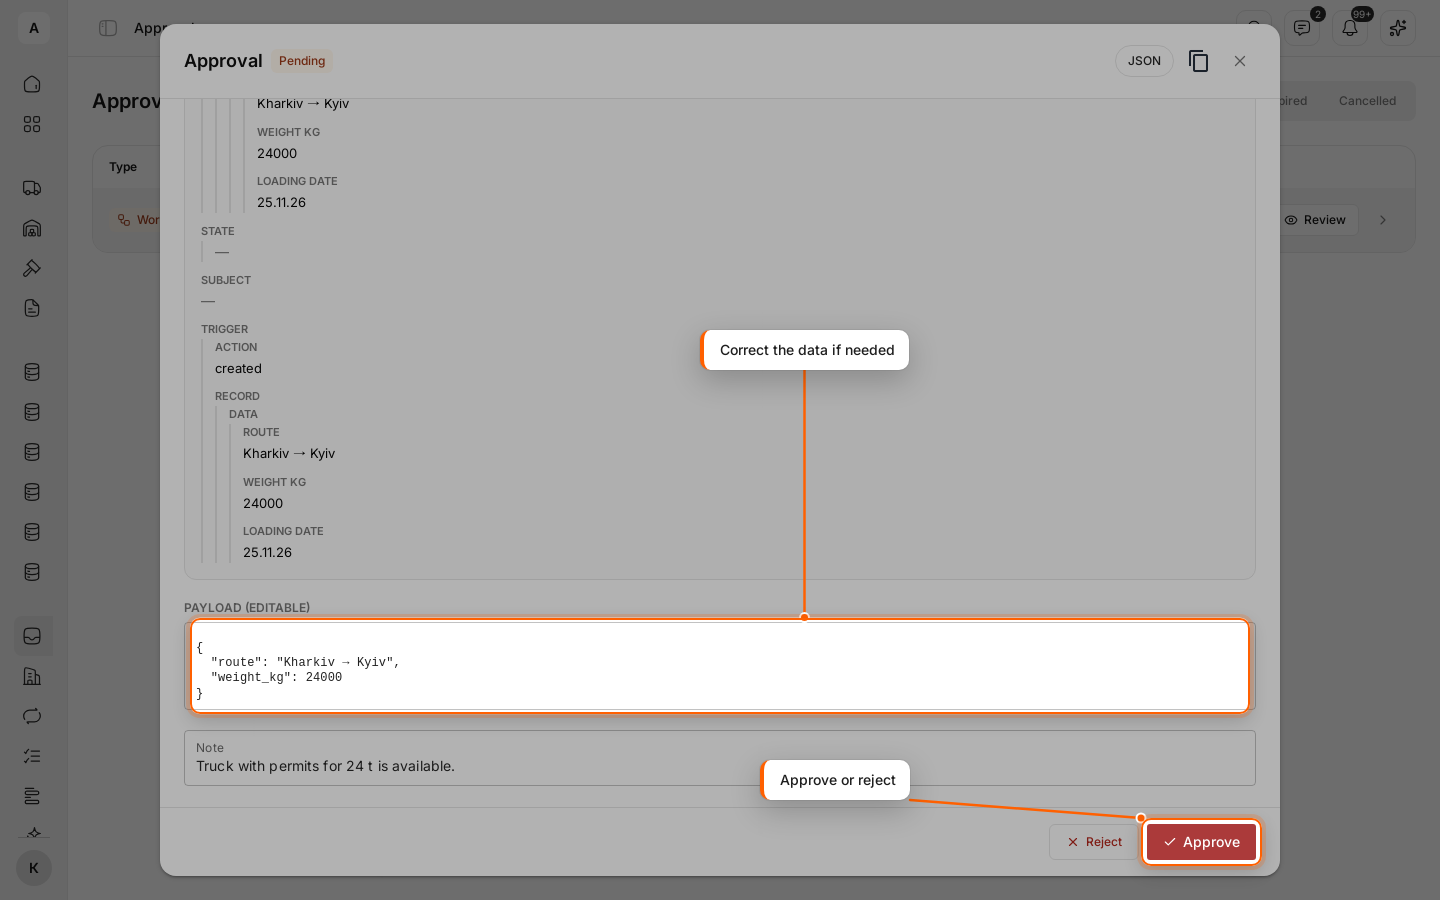
In “Payload (editable)”, correct the data if needed. In “Note”, explain the decision — for example, “Truck with permits for 24 t is available.” Click Approve or Reject.
See the run continue
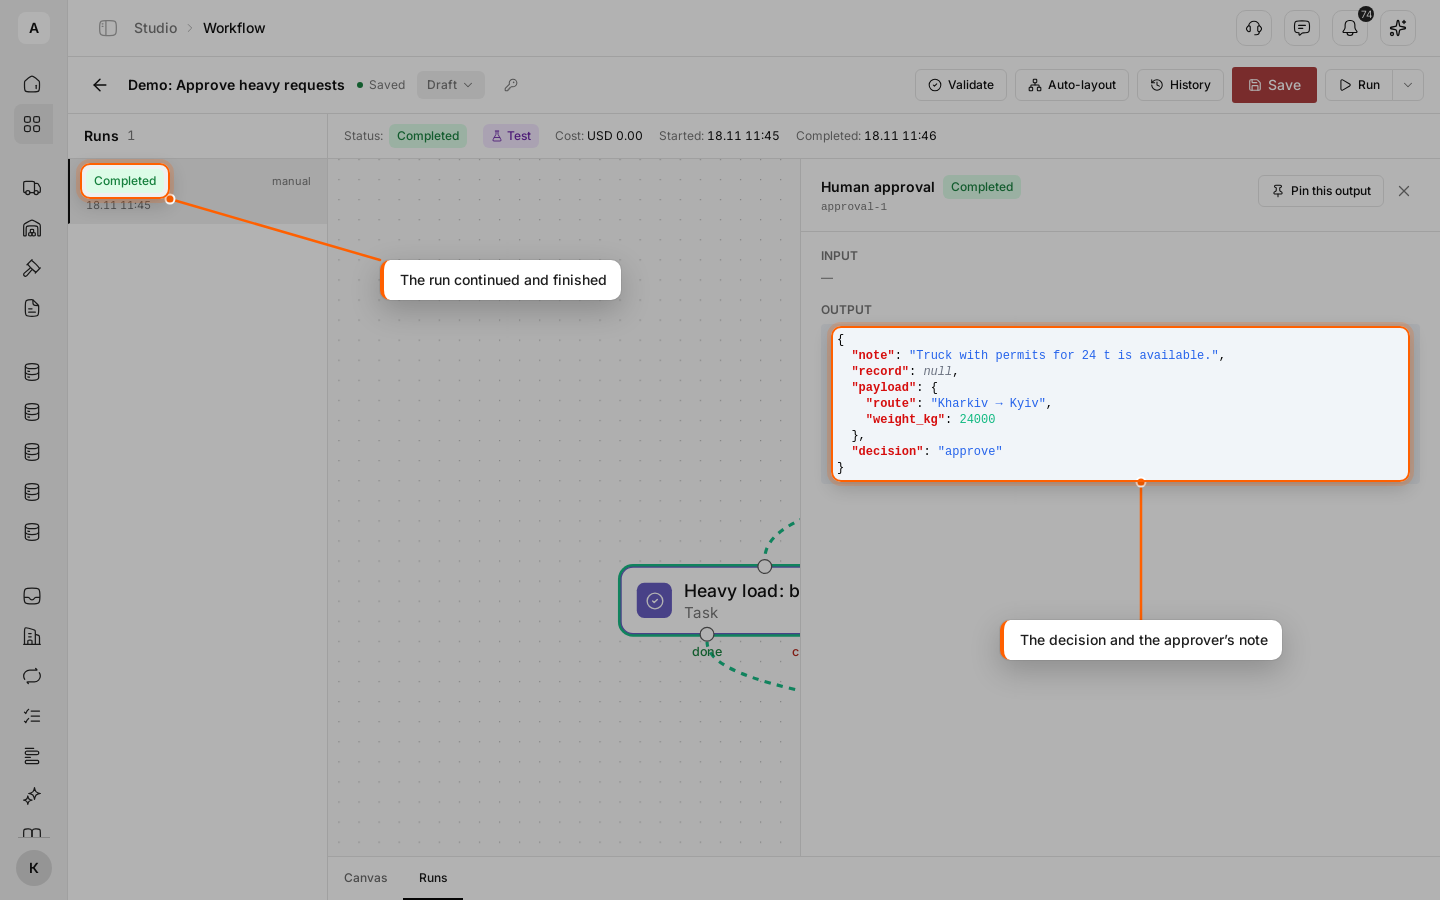
The run goes on by the output of the decision. In the example, Approve creates the task “Heavy load: book a truck”; once it is “Done”, the run reaches “End” and becomes “Completed”. Reject leads straight to “End”.
Click the “Human approval” node: “OUTPUT” holds the decision (approve, reject or expired), the note and the payload with the approver's corrections.
Important
With “Timeout (hours)” set, an approval nobody decided in time moves to “Expired”, and the run takes the “expired” output. Connect it to the steps that must run in this case.