- Who can: a user with the “Manage Studio” permission
- Where: Studio › Data models
- Time: ≈ 10 minutes
Before you start
Decide which data the model will keep and which of it is required. In the example, it is a shipment request: route, loading date, weight and body type.
Steps
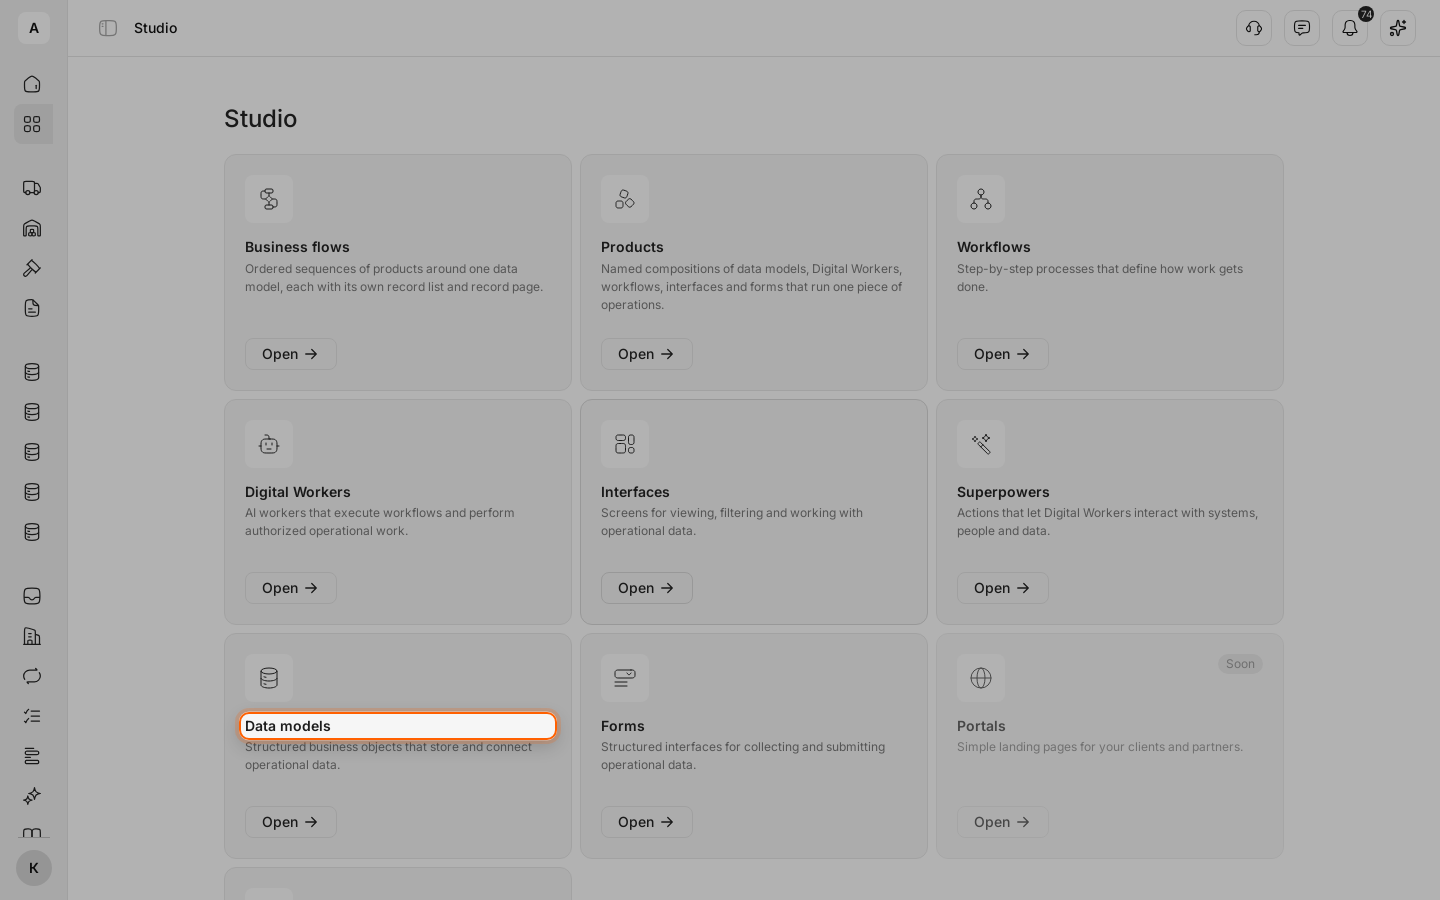
Open “Data models”
Click Studio in the left menu, then Open on the “Data models” card.
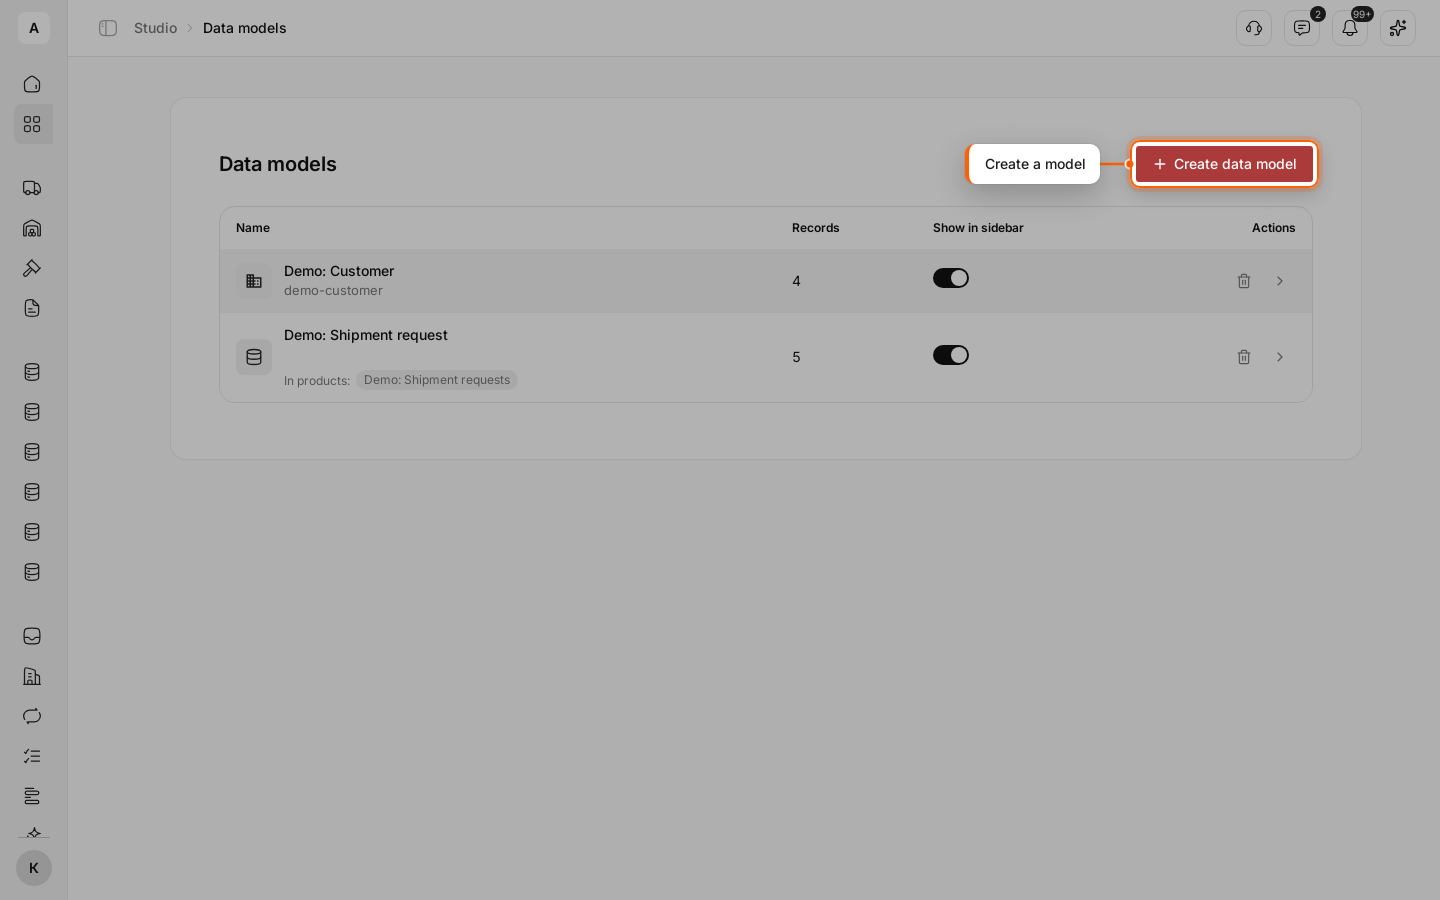
Start a new model
Click Create data model above the list.
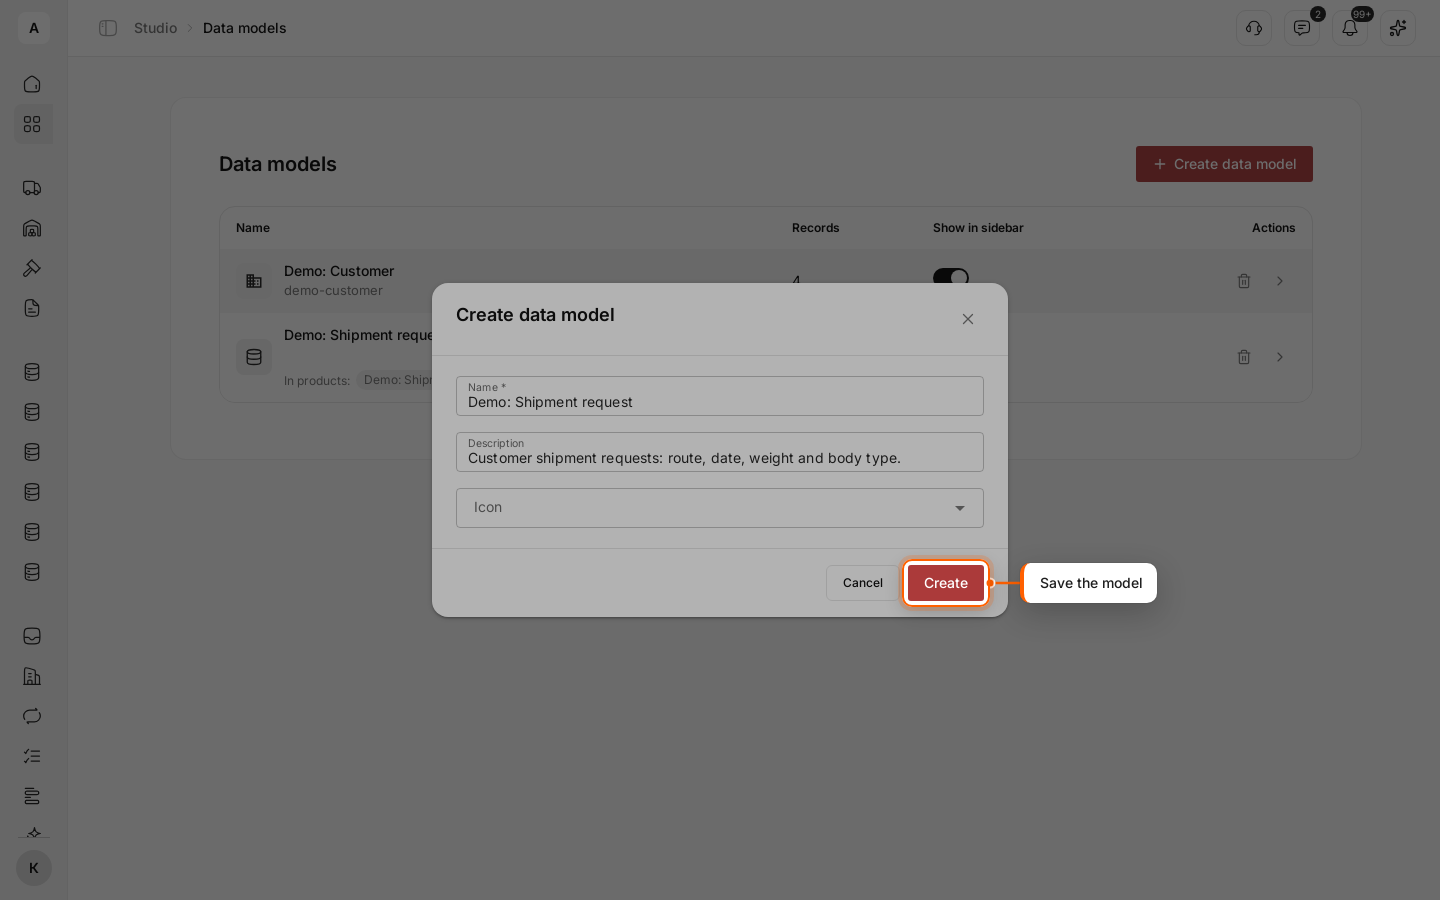
Name the model
Enter the “Name” — this is how your whole team will see the model. Add a “Description” and an “Icon” if you like. Click Create: the new model appears in the list.
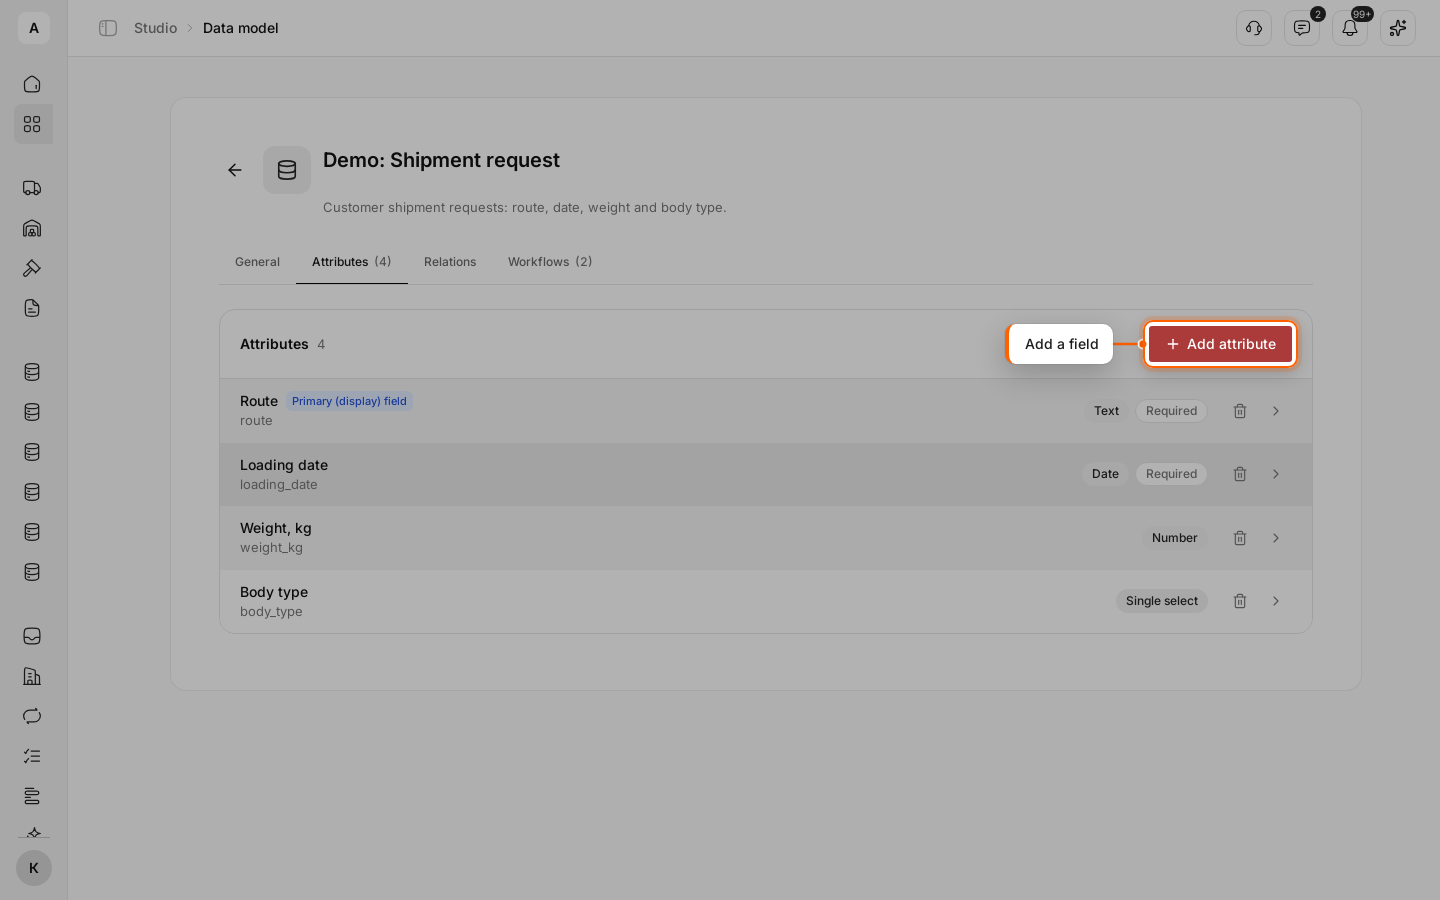
Open the model settings
Click the arrow on the right of the model row. The settings open with the tabs “General”, “Attributes”, “Relations” and “Workflows”.
Clicking the model name opens its records, not the settings.
Add a field
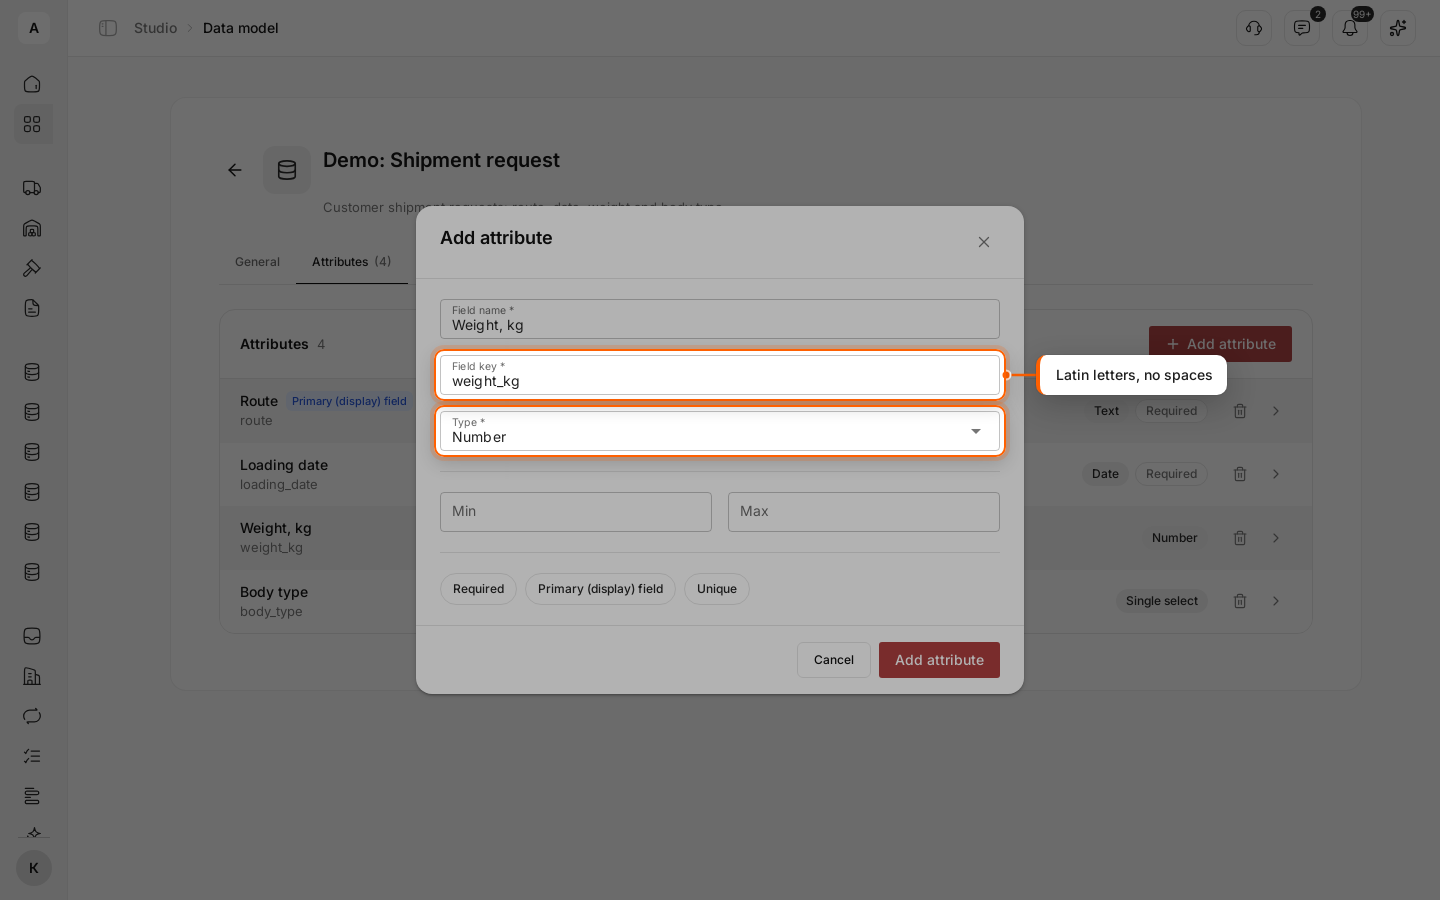
Go to the Attributes tab and click Add attribute.
Set up the field
Enter the “Field name” and “Field key” and select the “Type”. For a select type, add choices with Add option. Mark Required or Primary (display) field if needed, then click Add attribute.
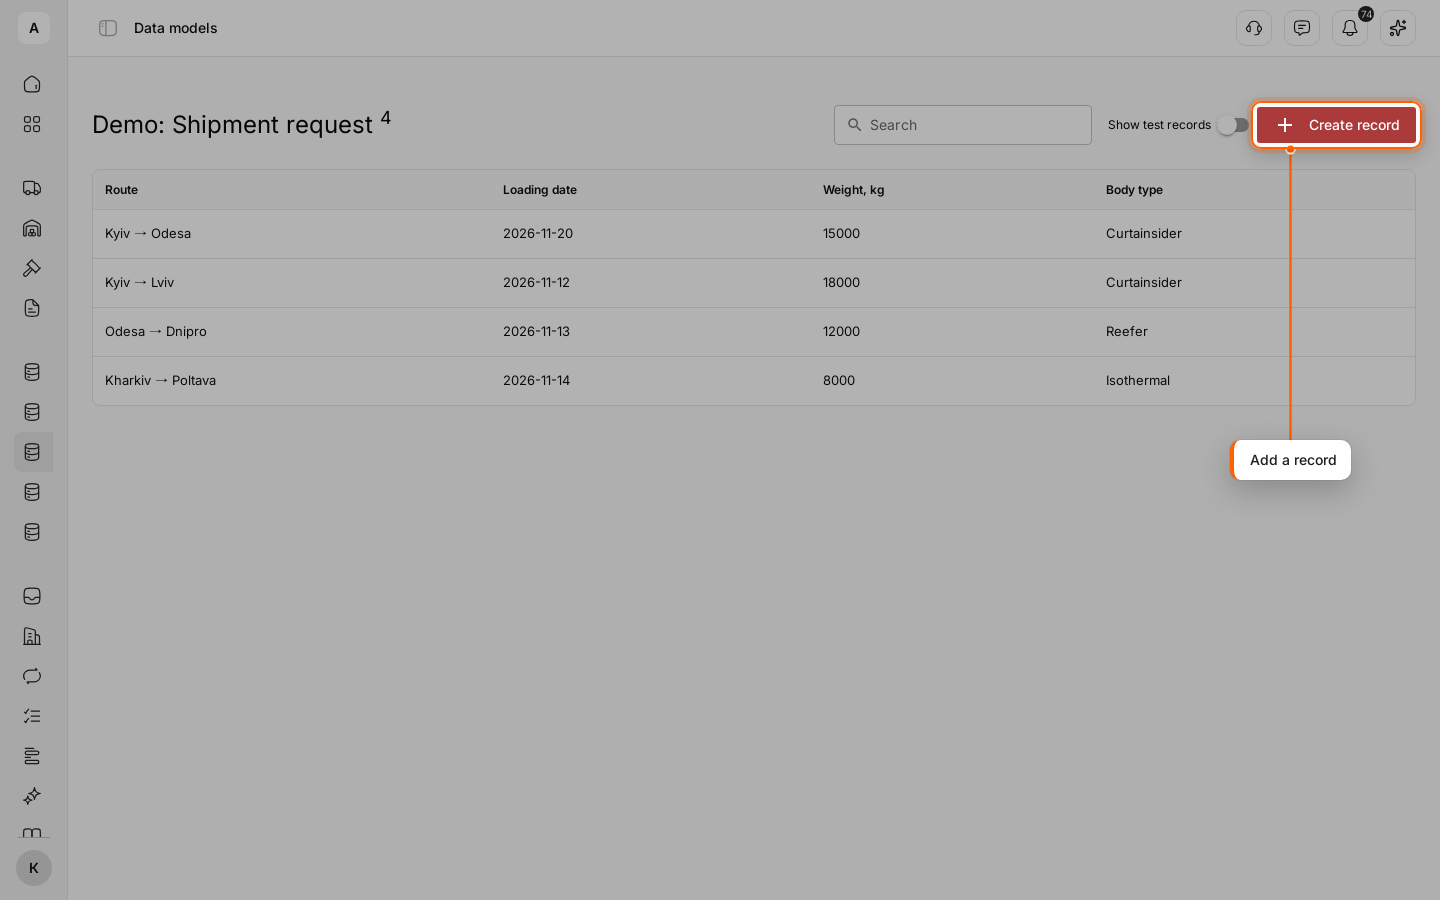
Repeat for each field. In the example: “Route” — text, required and primary; “Loading date” — date, required; “Weight, kg” — number; “Body type” — single select with the choices Curtainsider, Reefer, Isothermal.
Add the first record
Go back to the list of models and click the model name to open its records. Click Create record, fill in the fields and click Create.
Important
The “Field key” fills in from the name. It takes lowercase Latin letters, digits and “_” and starts with a letter: weight_kg, loading_date. Check it before you save: the key cannot be changed after the field is saved.