- Who can: a user with the “Manage Studio” permission
- Where: Studio › Products › Custom
- Time: ≈ 5 minutes
Before you start
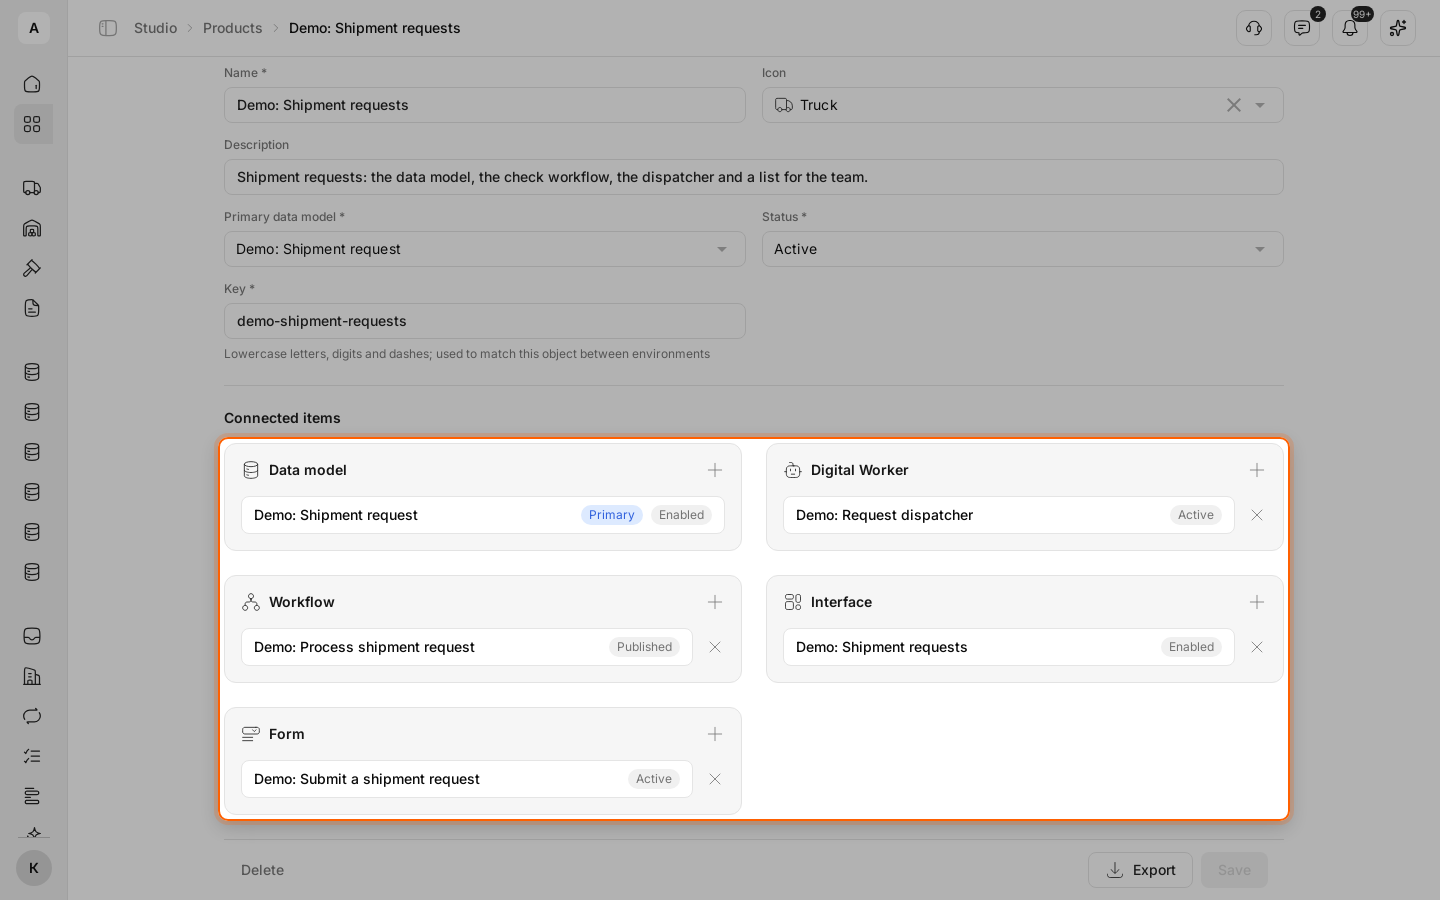
You need a data model: it becomes the product’s primary model. Create the other parts in advance so you only have to add them. The example already has the model “Demo: Shipment request”, the workflow “Demo: Process shipment request”, the Digital Worker “Demo: Request dispatcher”, the interface “Demo: Shipment requests” and the form “Demo: Submit a shipment request”. How to create them: data model, workflow, Digital Worker, interface, form.
Parts you add or remove in “Connected items” are saved right away. The fields of the “Details” section — name, description, icon, primary model, status, key — are saved only after Save.
Steps
Start a new product
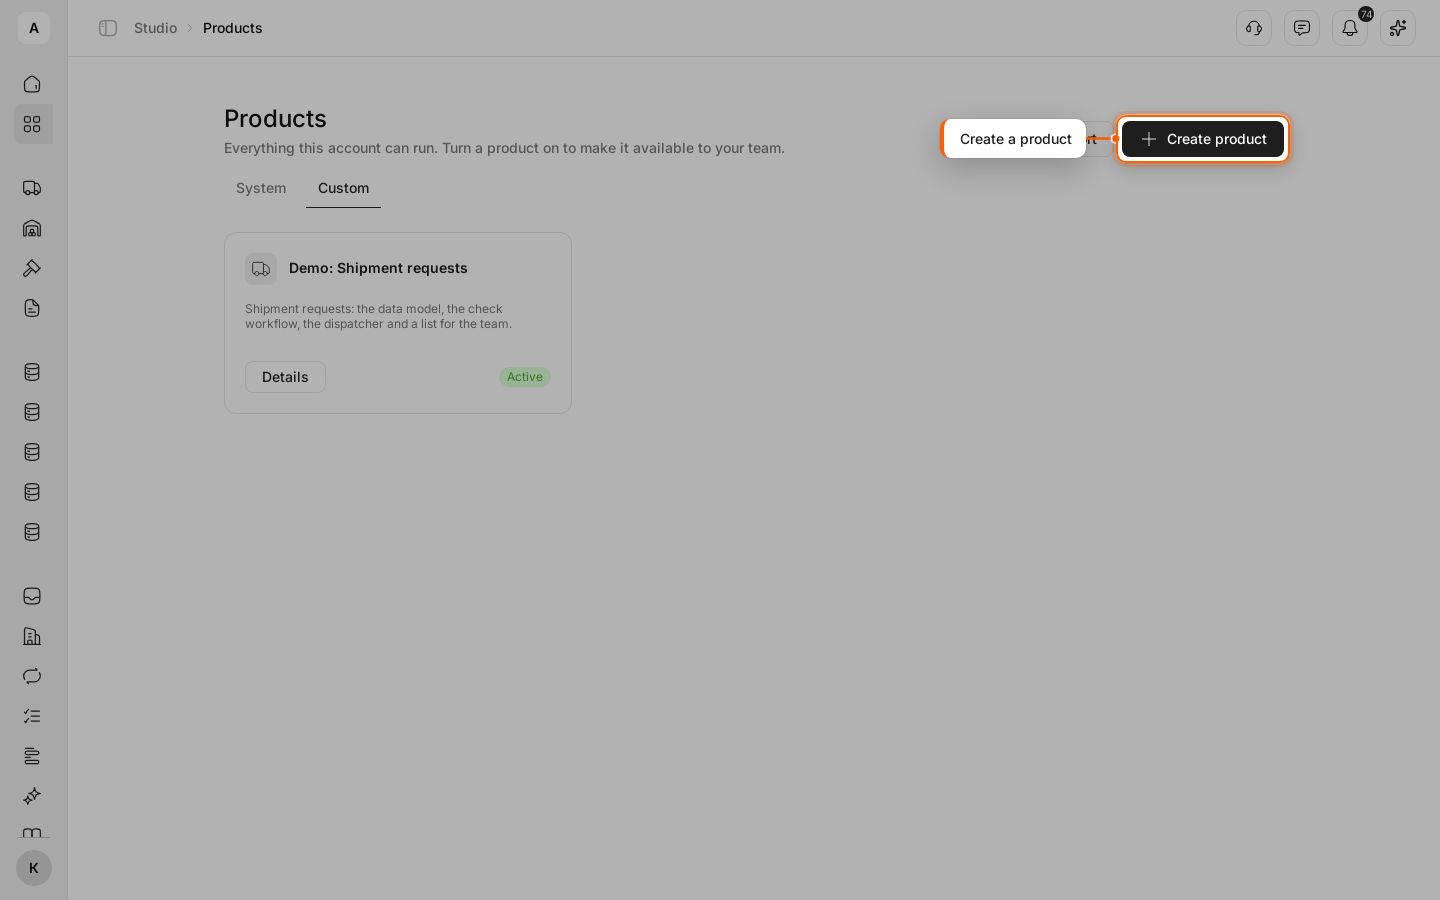
Click Studio in the left menu, open Products and go to the Custom tab. Click Create product.
Name the product and pick the model
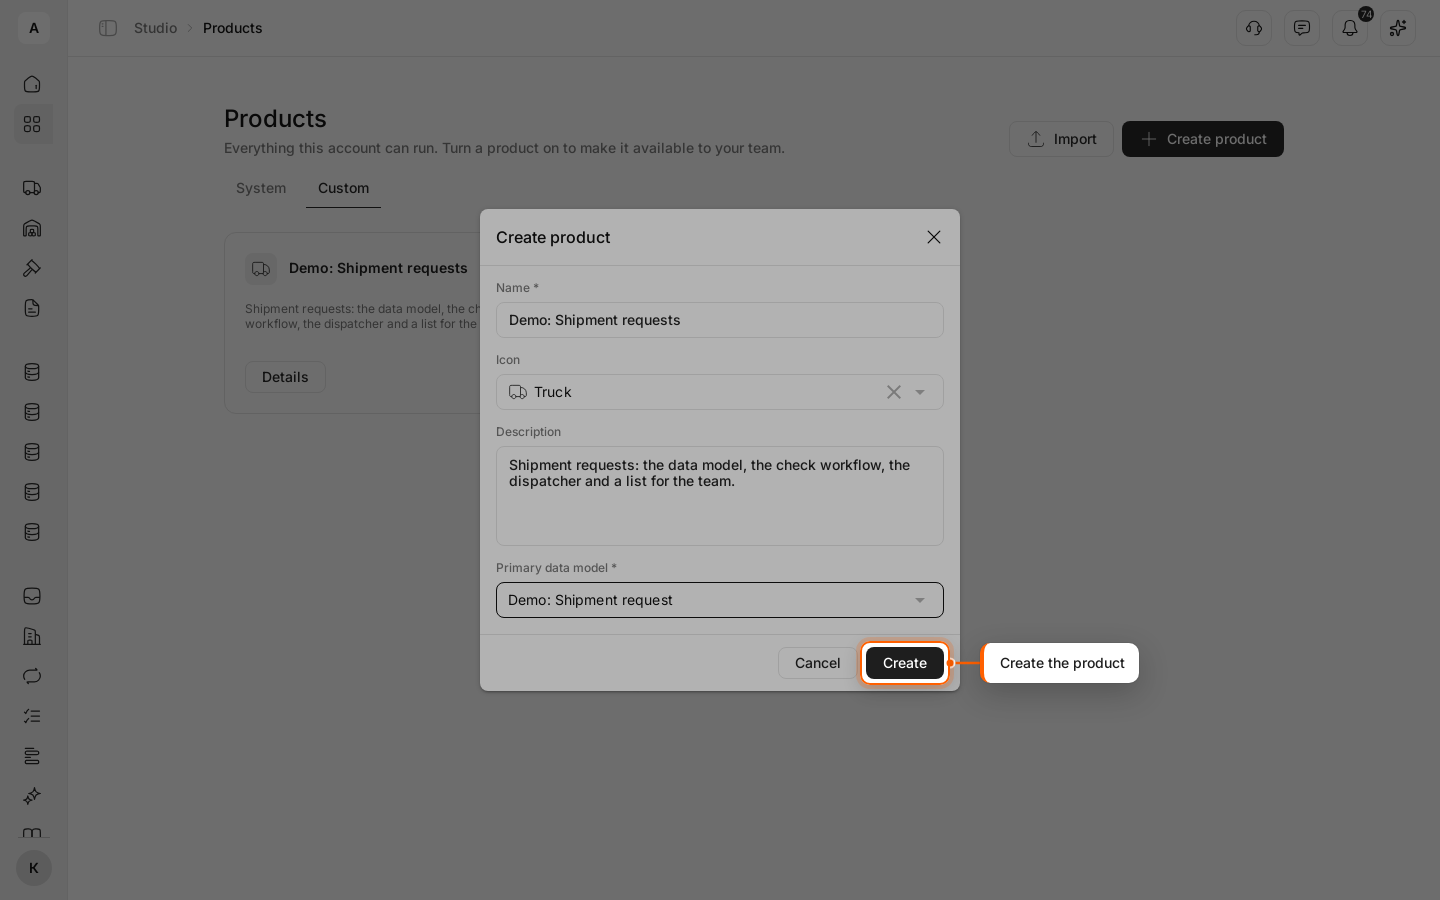
Enter “Name”, optionally pick an “Icon” and add a “Description”. In “Primary data model”, pick the model the product is built around. Click Create: the new product’s page opens.
Add a workflow
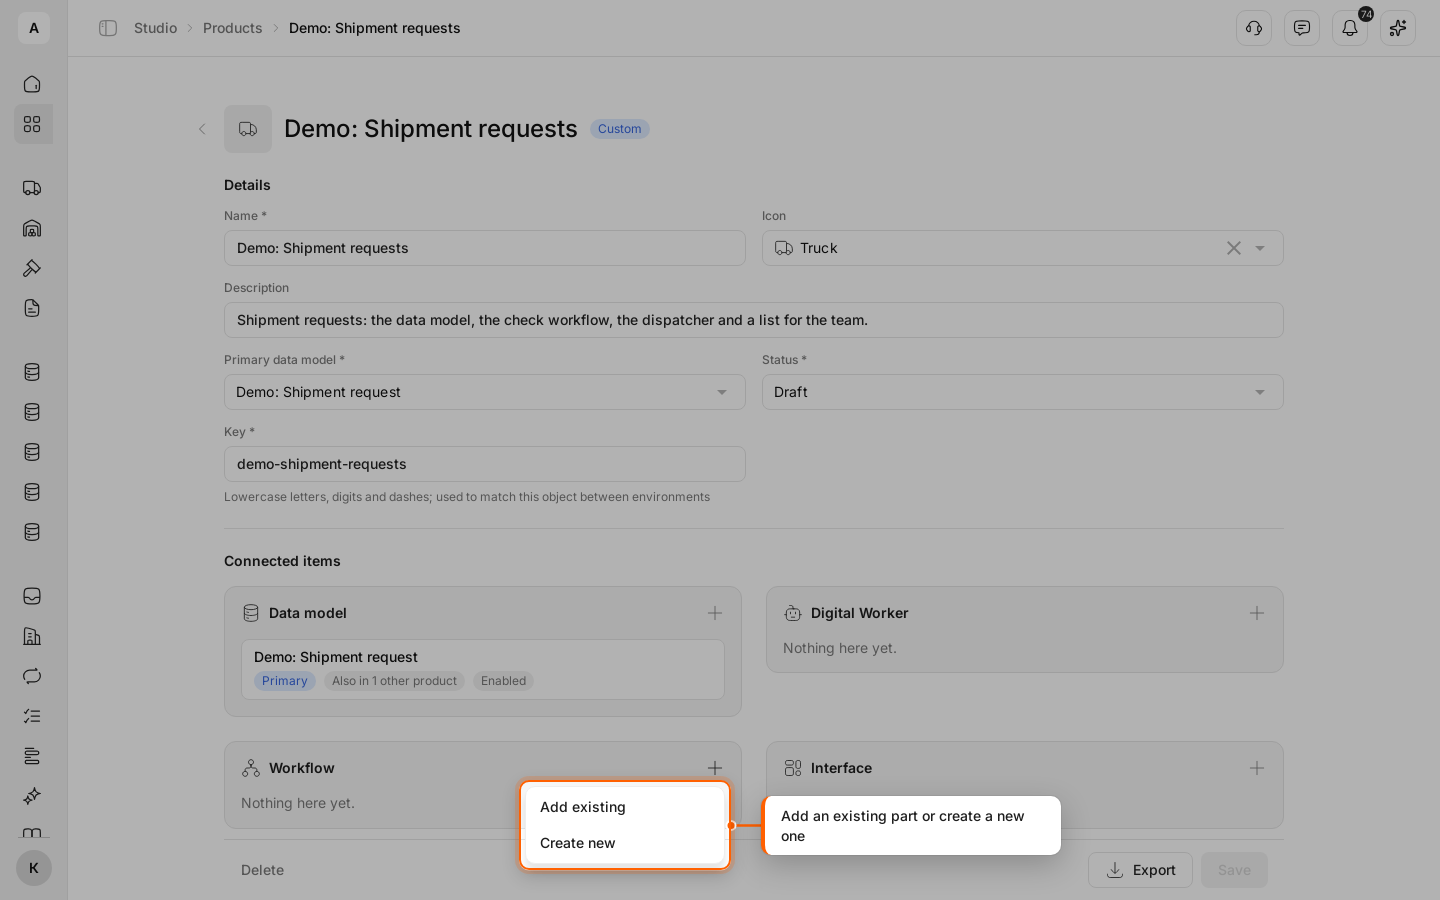
In the “Connected items” section, the primary model is already in the “Data model” block. In the “Workflow” block, click + and select Add existing.
Create new creates a new part right in the product and opens its editor.
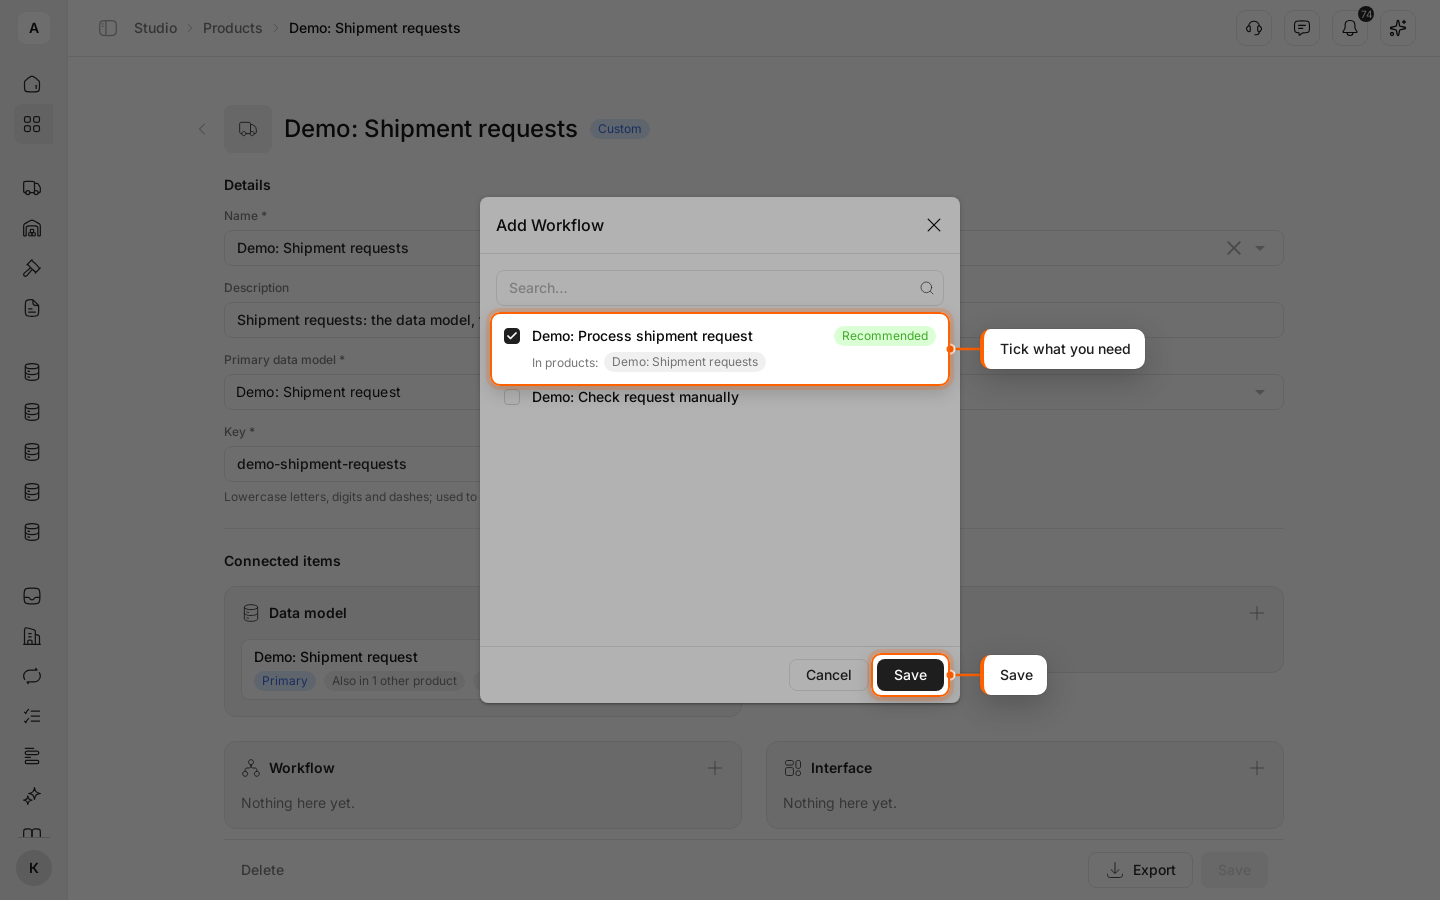
Tick what you need
In the “Add Workflow” window, tick the workflow and click Save. The “Recommended” badge marks workflows that work with the product’s primary model.
Add the other parts
Add parts to the “Digital Worker”, “Interface” and “Form” blocks the same way. To remove a part, click the cross in its row.
Make the product active
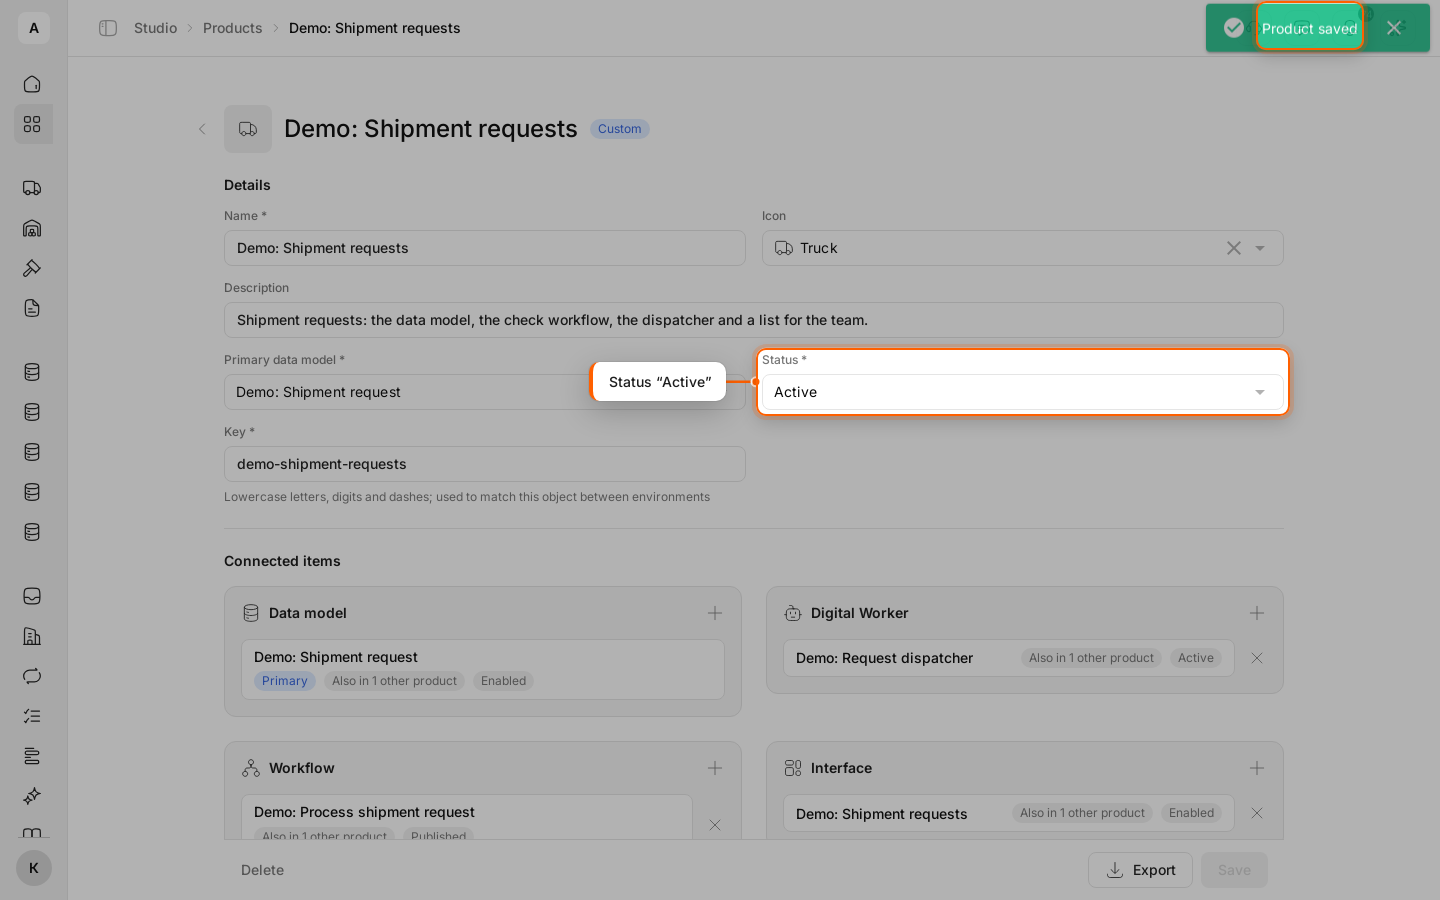
A new product has the “Draft” status. In “Status”, select “Active” and click Save at the bottom of the page. The “Product saved” message appears.
Check the card
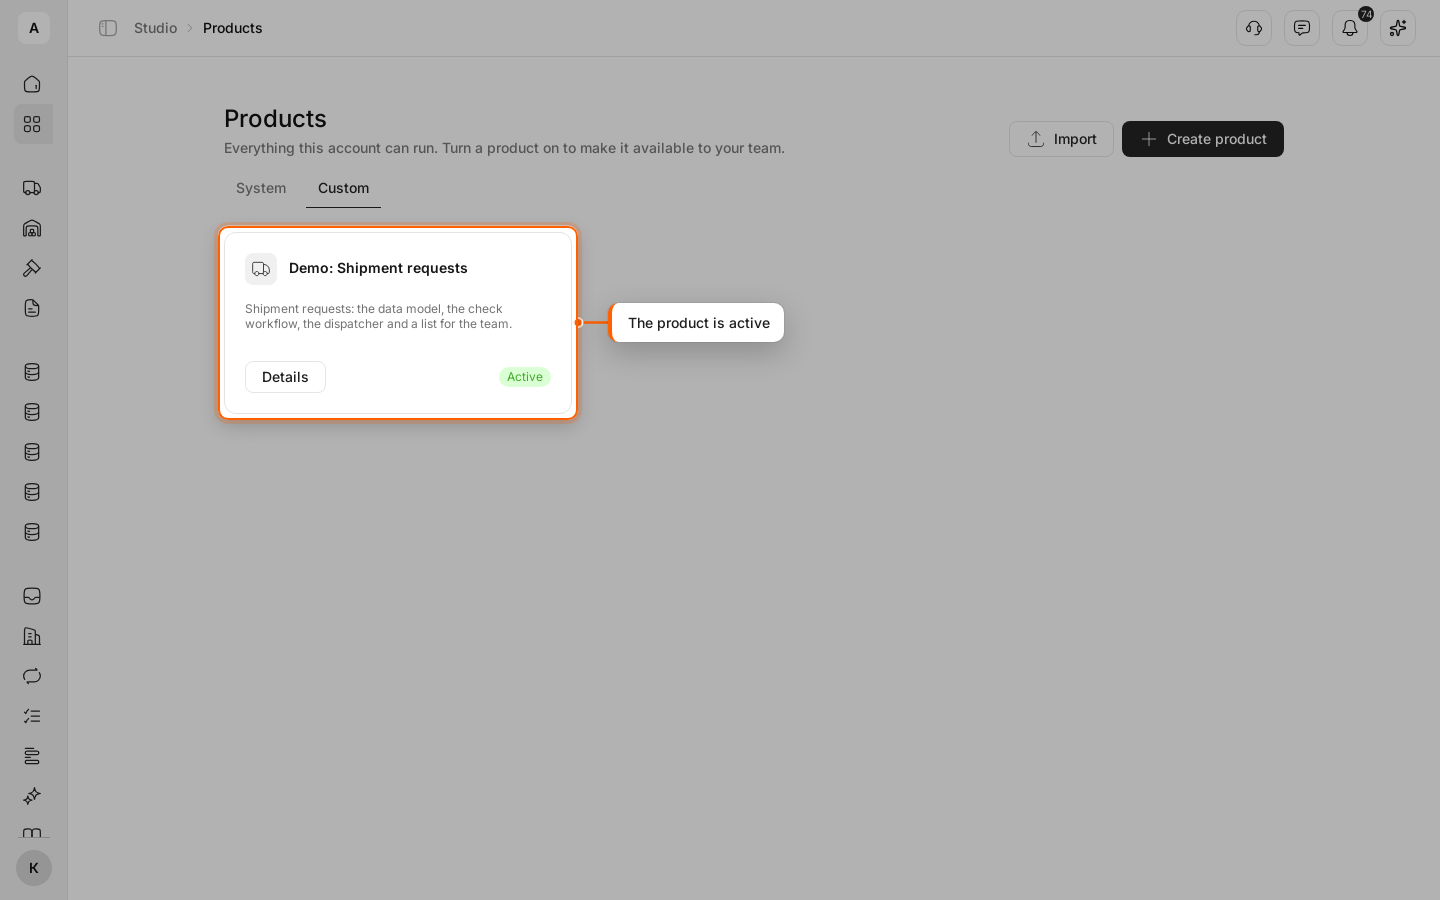
Go back to the Custom tab. The product card shows the “Active” status.