- Who can: a user with the “Manage Studio” permission
- Where: Studio › Data models › the model › Attributes
- Time: ≈ 5 minutes
Before you start
You need a data model — see Create a data model. The example adds the field “Credit limit, EUR” to the model “Demo: Customer”: a number that cannot be below 0.
Each field has three things you set once and keep: a name your team sees, a key that workflows and outside systems use, and a type. The type decides what the field accepts and which settings it has — see Field types.
Steps
Open the fields of the model
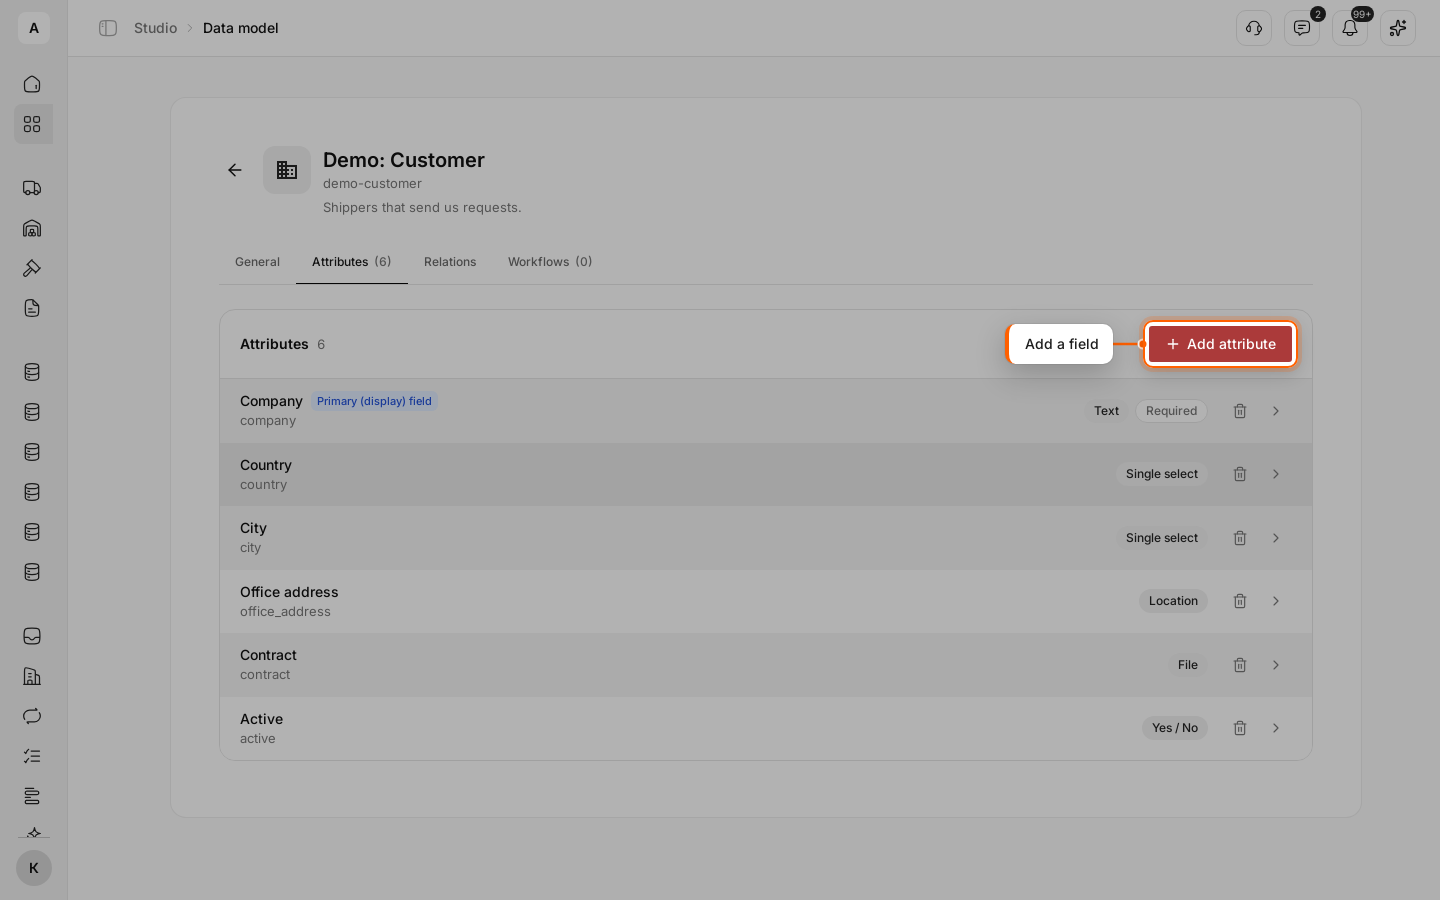
In Studio › Data models, click the model row, then the Attributes tab. The list shows each field with its key, its type and the marks “Required” and “Primary (display) field”.
Name the field and pick its type
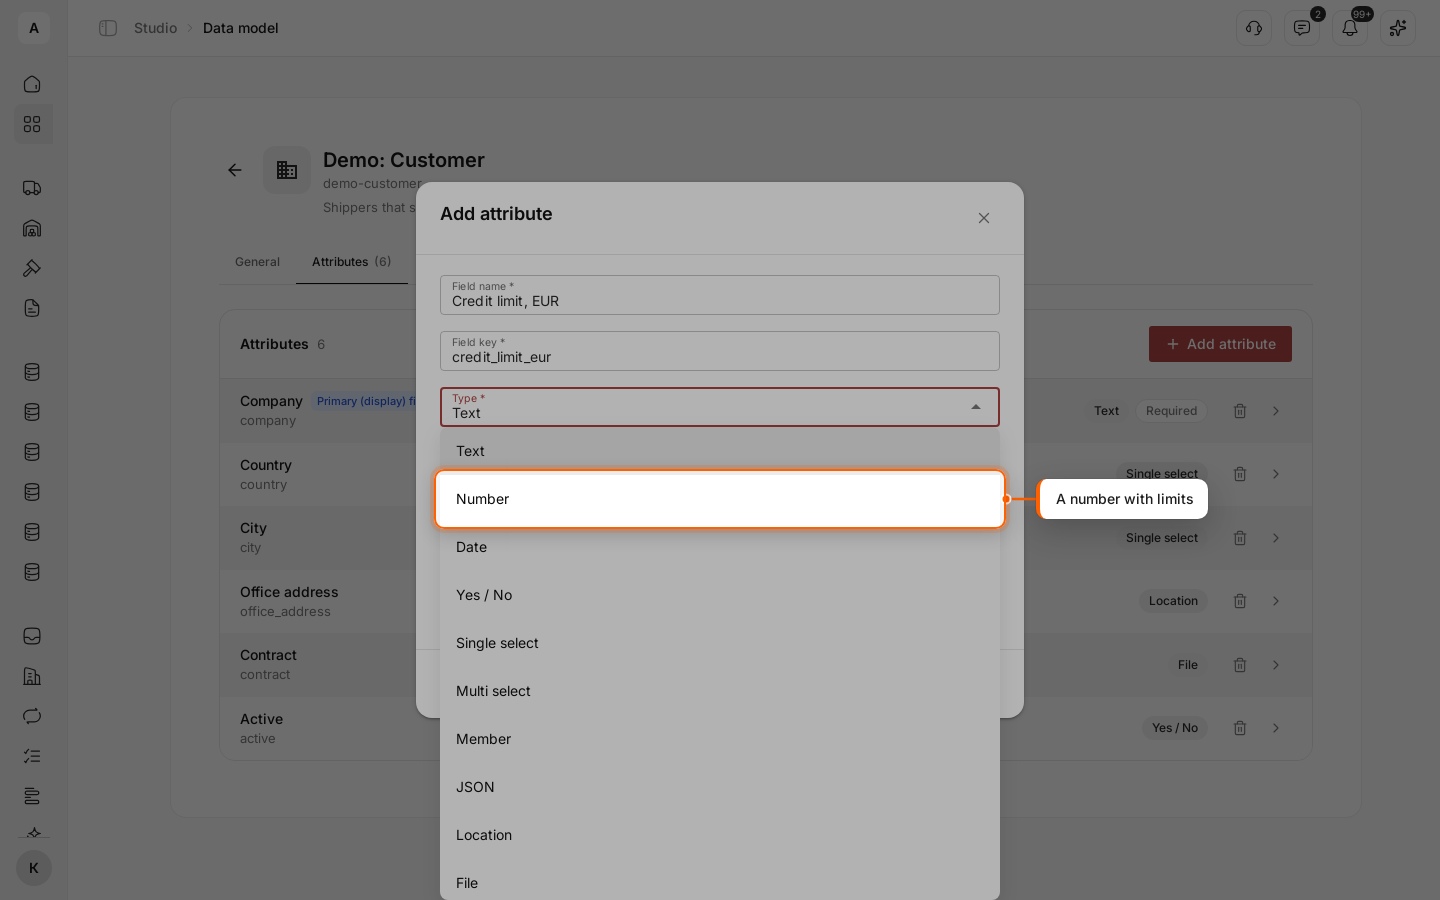
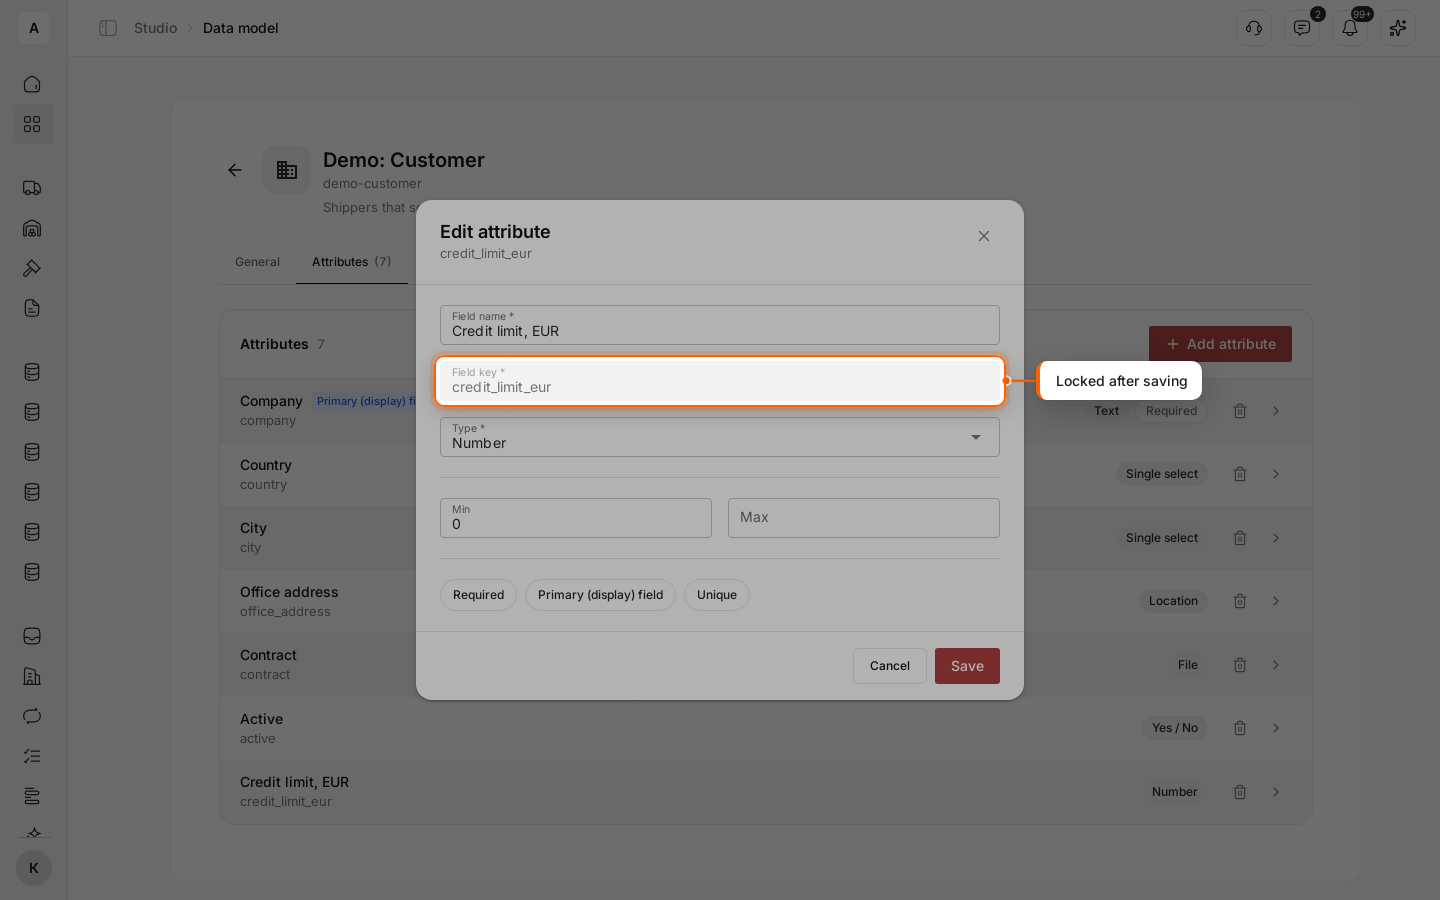
Click Add attribute. Enter the “Field name”: “Credit limit, EUR”. The “Field key” fills in from the name as credit_limit_eur; change it now if you like, it is locked after saving. Pick the “Type”: “Number”.
Set the rules of the type
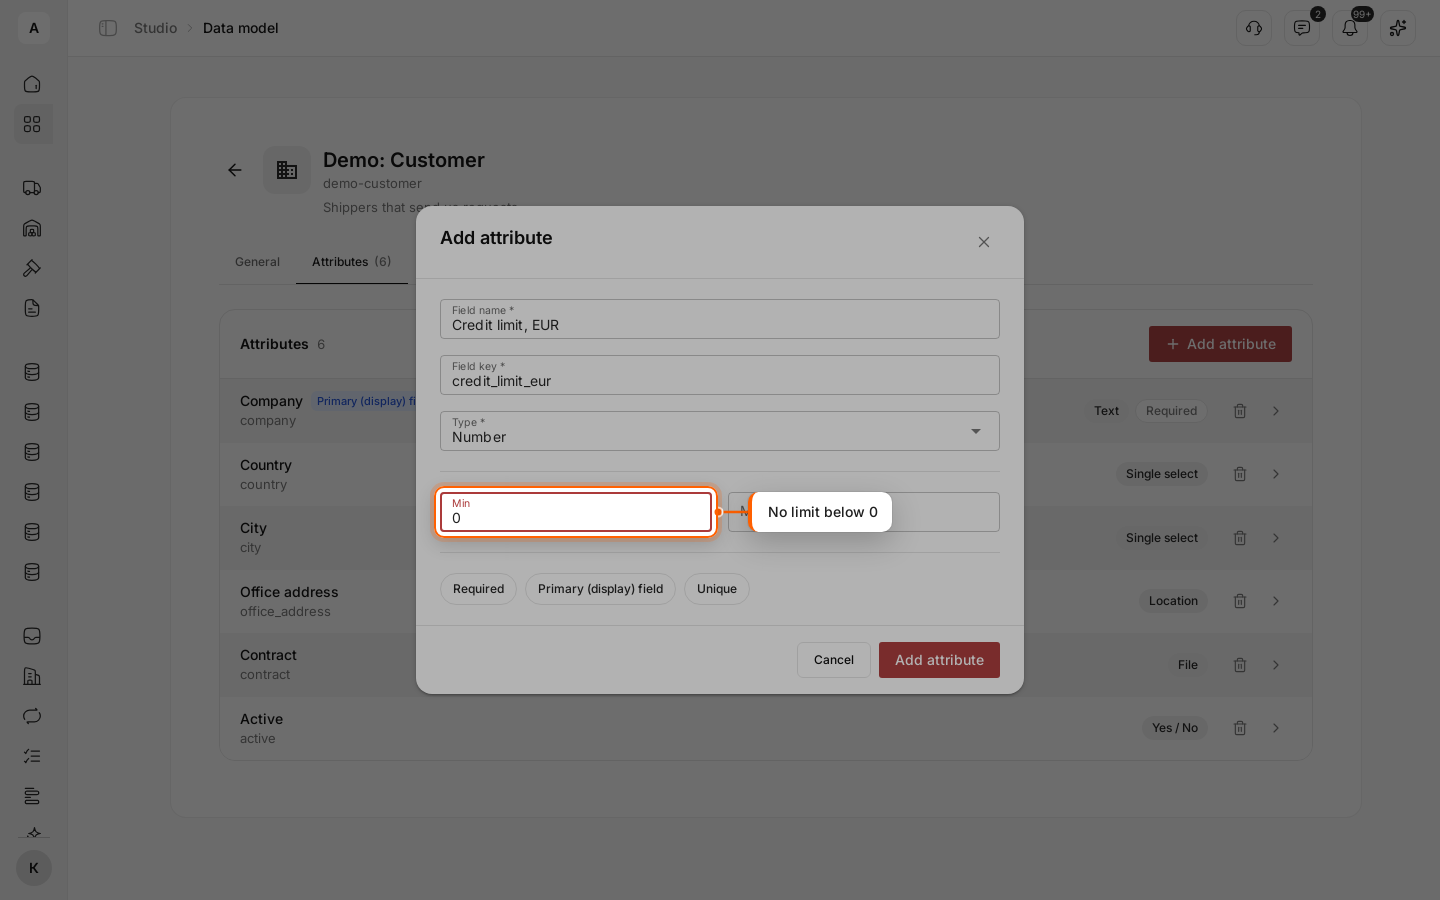
Below the type, set what this type allows. For “Number”, enter “Min” 0 and leave “Max” empty. A text field has “Max length” and “Multiline”, a date “With time”, a select its options. Then mark what applies to the field:
- Required — a record is not saved while the field is empty.
- Primary (display) field — the value names the record in lists, links and history. A model has one such field: marking another field moves the mark.
Save the field
Click Add attribute. The field is saved at once — the “Saved” message appears — and shows at the end of the list. Existing records get an empty value in it.
Change a field
Click the field row. The “Edit attribute” dialog opens with the key under its title; the “Field key” is greyed out. Change the name, the rules or the options and click Save.
Remove a field you do not need
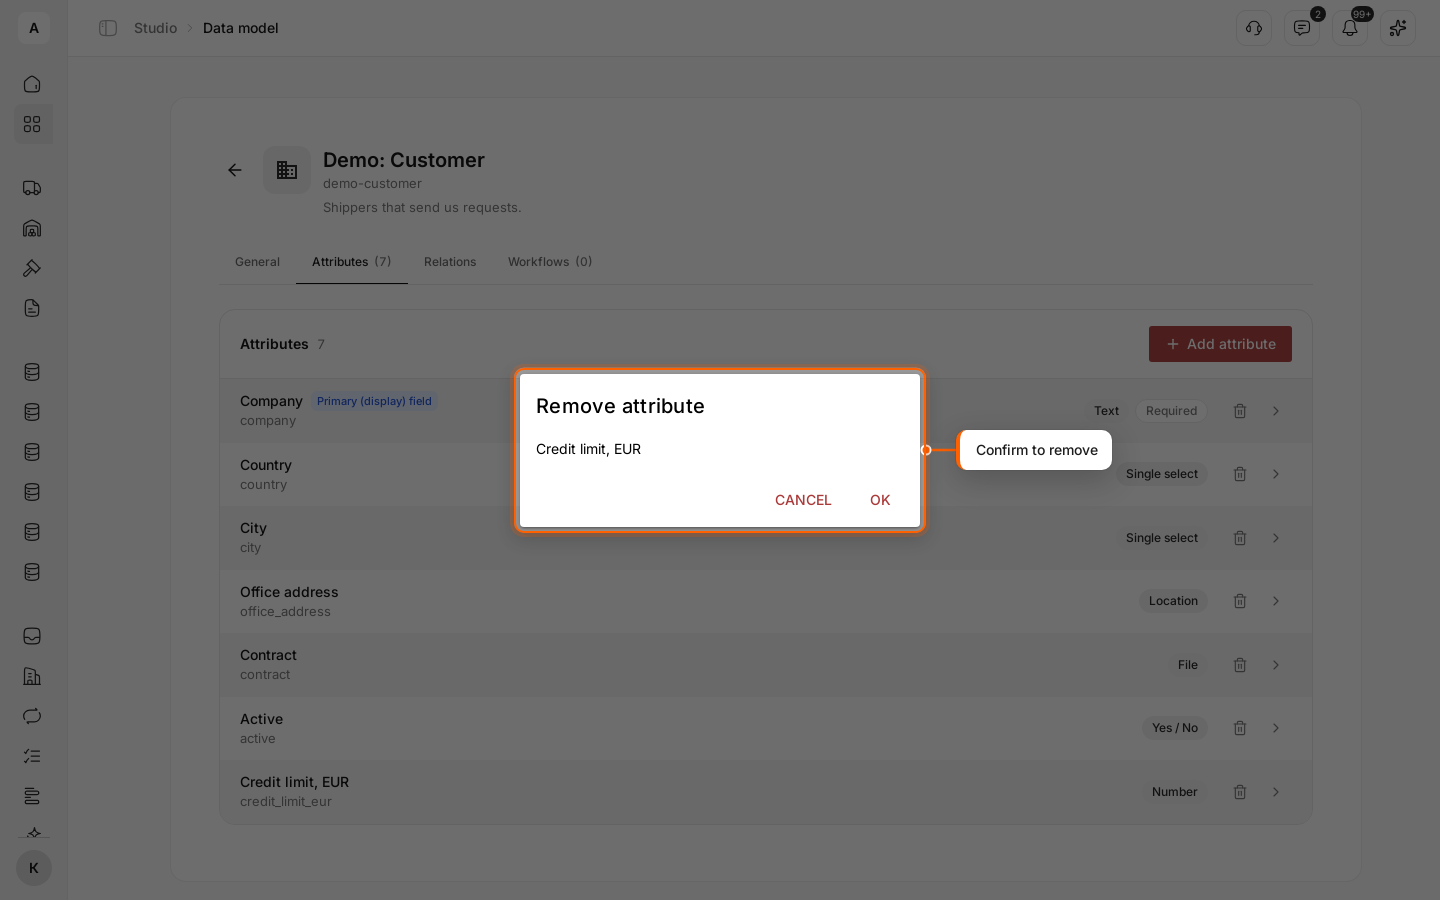
Click the bin icon on the field row and confirm. The field disappears from the form, the list and the card of every record.