- Who can: a user with the “Manage Studio” permission
- Where: Studio › Interfaces › an interface › Views
- Time: ≈ 5 minutes
Before you start
You need an interface, see Create an interface. Check that the data model has the field you need:
- for a kanban, a “Single select” field, such as “Body type”;
- for a map, a “Location” field or two number fields with latitude and longitude;
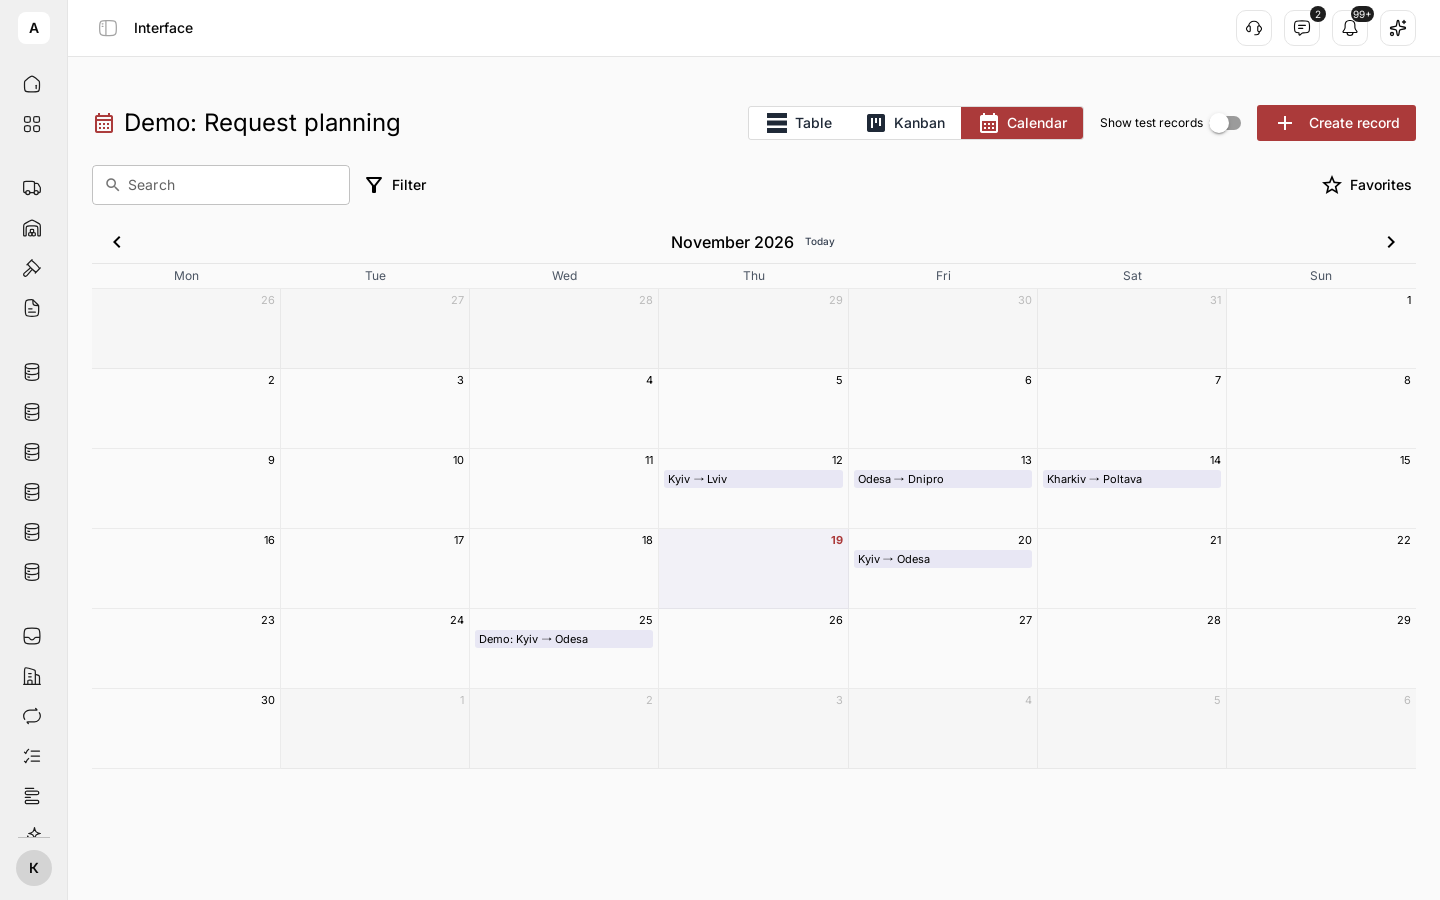
- for a calendar, a “Date” field, such as “Loading date”.
The example uses the “Demo: Request planning” interface on the “Demo: Shipment request” model.
Steps
Open the Views tab
In Studio › Interfaces, click the interface row, then the Views tab. Below the “Table” block you see “Kanban”, “Map” and “Calendar”, each with a toggle.
Set up the kanban
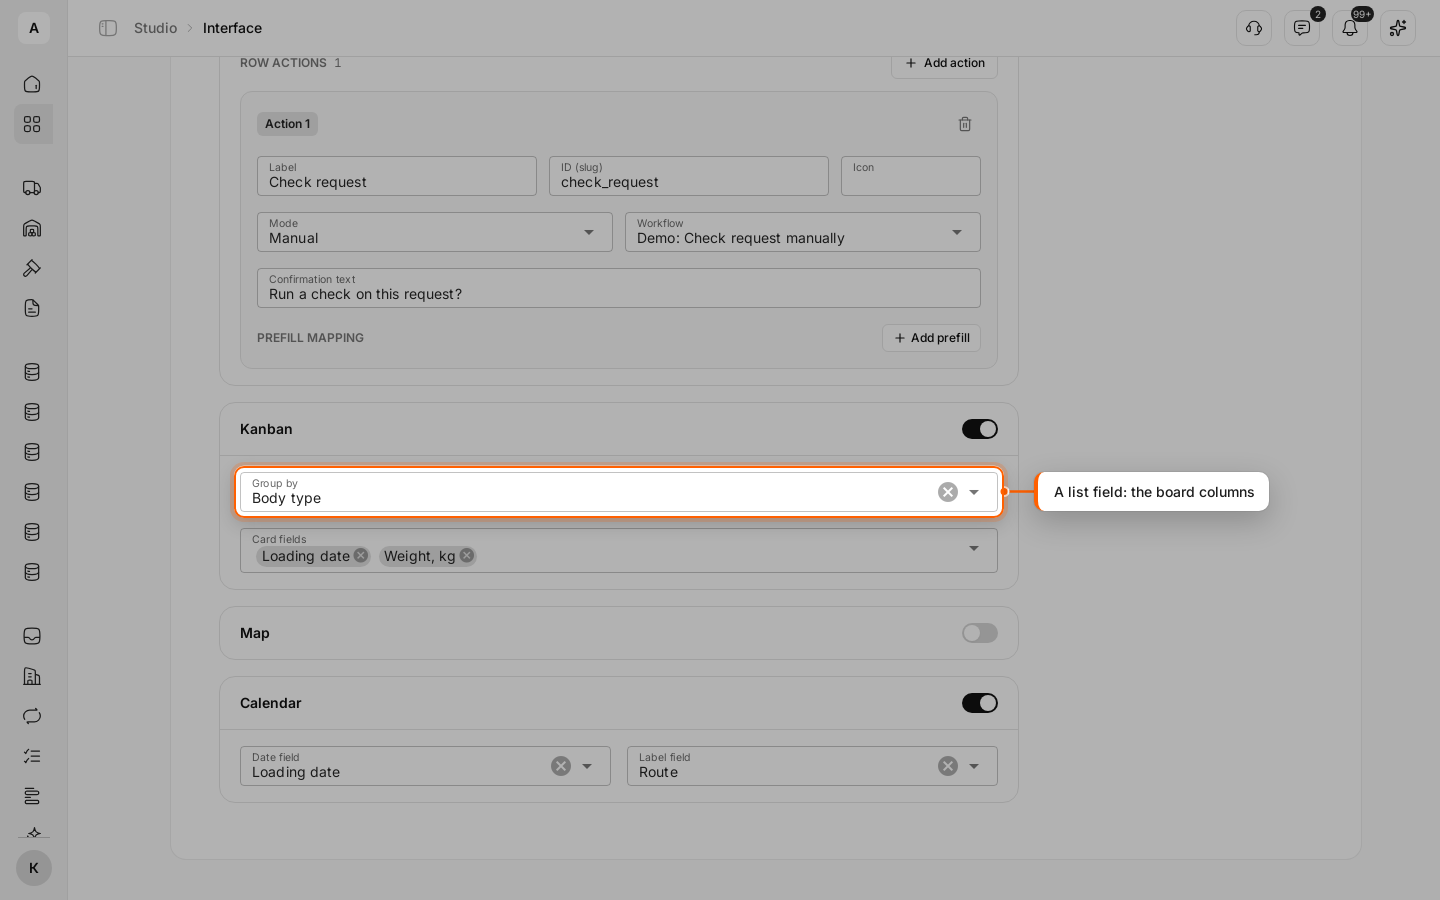
Turn on the Kanban toggle. In “Group by”, select a list field: each of its options becomes a board column. In “Card fields”, select what the record card shows.
Set up the map
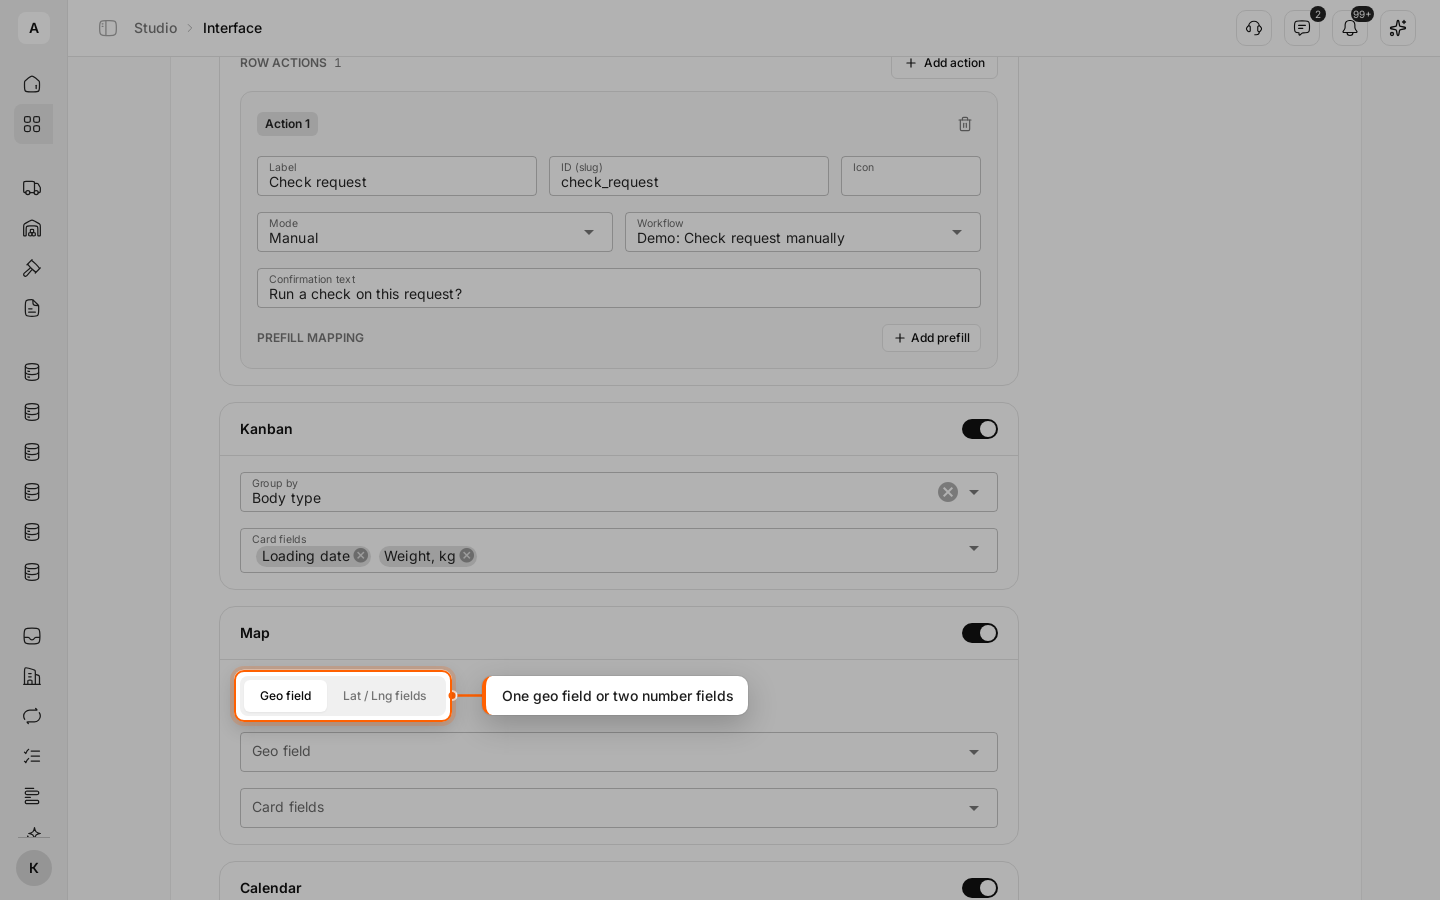
Turn on the Map toggle. Choose where the coordinates come from: Geo field for one “Location” field, Lat / Lng fields for two number fields, “Latitude field” and “Longitude field”. In “Card fields”, select what shows when someone clicks a point.
Records without coordinates stay off the map; the working screen shows how many were skipped. Turn the map off if your model has no coordinates.
Set up the calendar
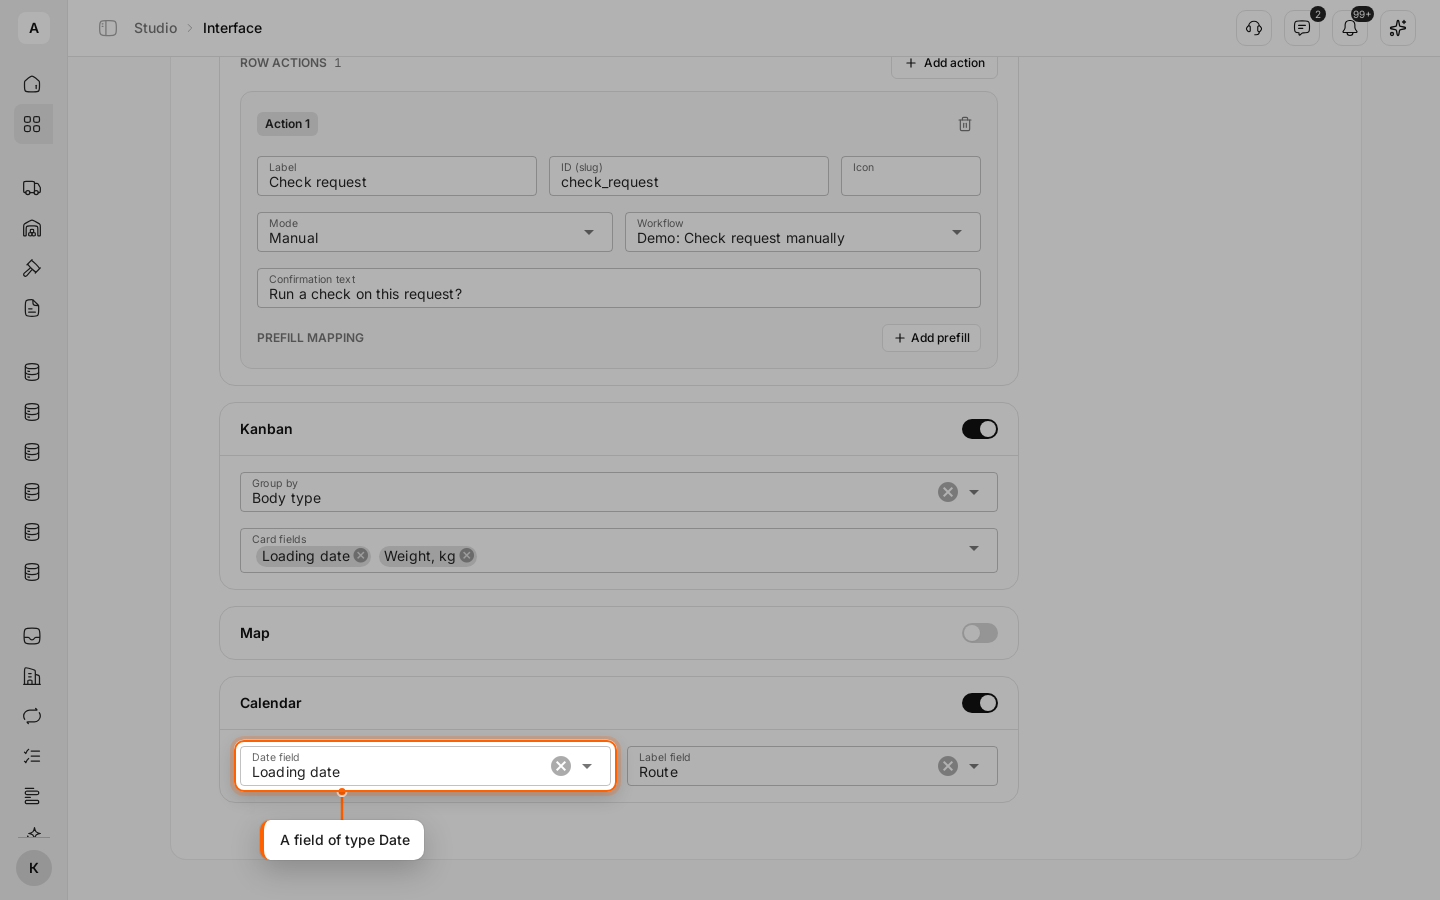
Turn on the Calendar toggle. In “Date field”, select the date that places a record in the calendar. In “Label field”, select a text field that labels the event, such as “Route”.
Save
Click Save. You see “Interface saved”.
Switch views on the working screen
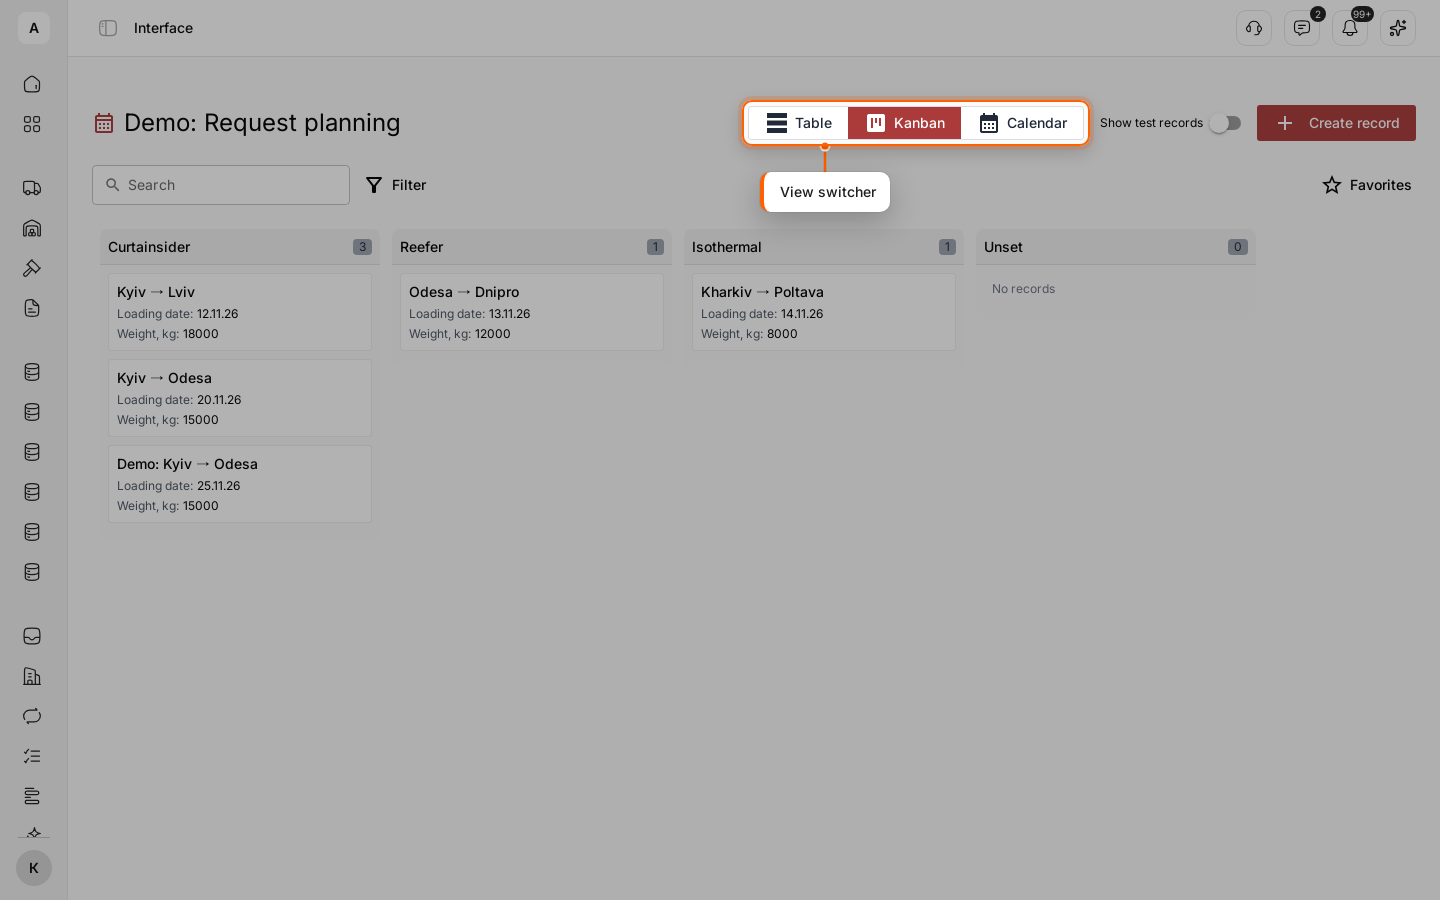
Open the interface from the left menu. The buttons Table, Kanban, Map and Calendar appear at the top, only for the views you turned on. On the kanban, a record with no value in the grouping field goes to the “Unset” column.
Important
A view that is on needs its field: “Group by”, the coordinate field or “Date field”. Select it, or turn the view off, before you save.