- Who can: a user with the “Manage Studio” permission
- Where: Studio › Superpowers
- Time: ≈ 10 minutes
Before you start
Decide what the worker should do and with which data. In the example it checks shipment requests from the “Demo: Shipment request” data model and creates a task for the dispatcher when something is missing in a request.
To give the superpower to a worker, the Digital Worker must already exist. See Create a Digital Worker. In the example it is “Demo: Request dispatcher”.
Steps
Open Superpowers
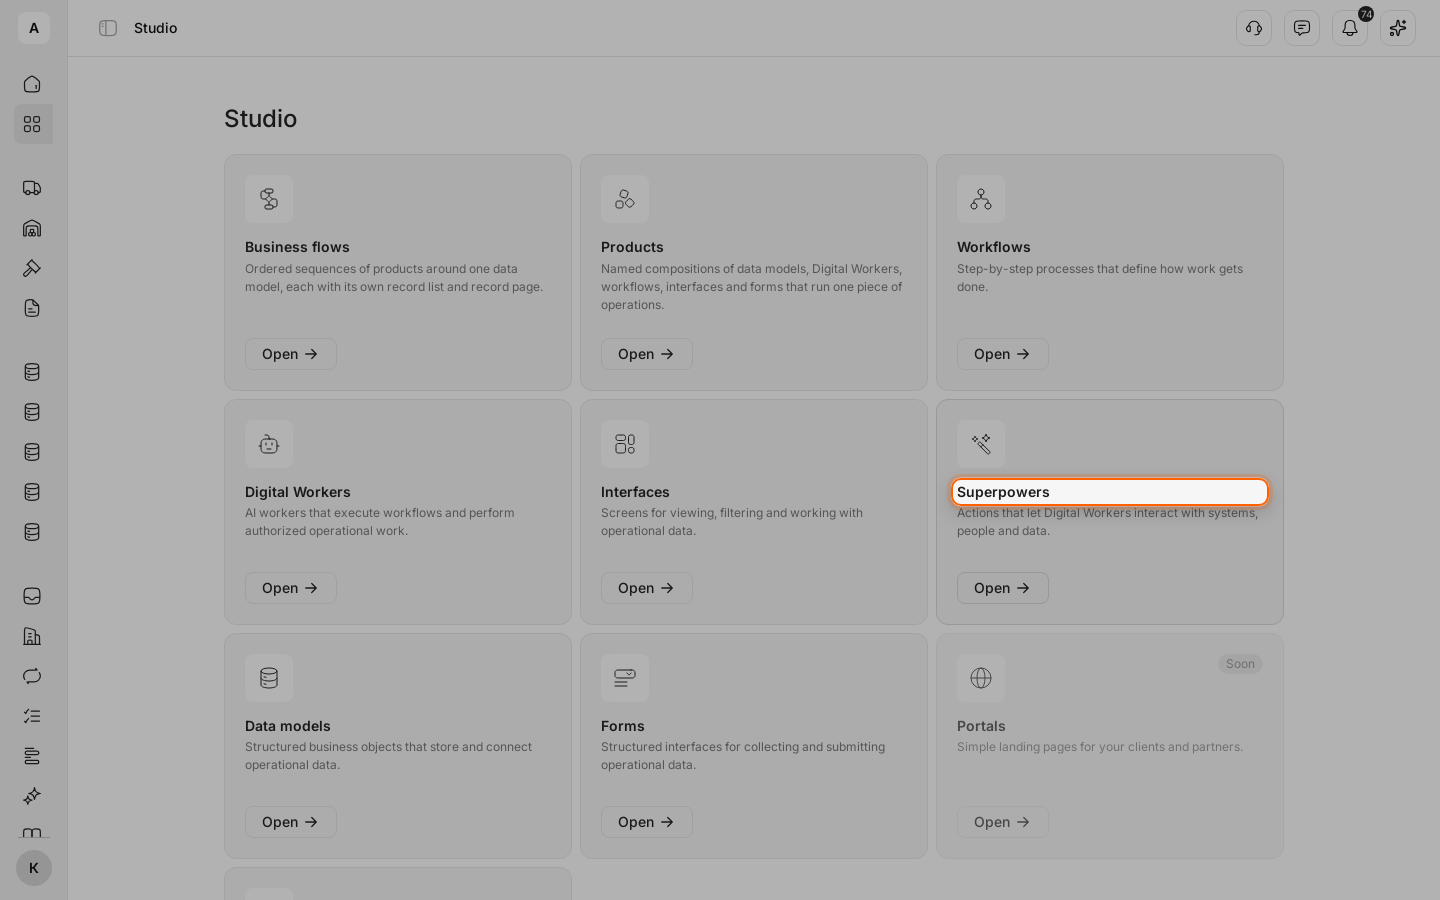
Click Studio in the left menu, then Open on the “Superpowers” card.
Start a new superpower
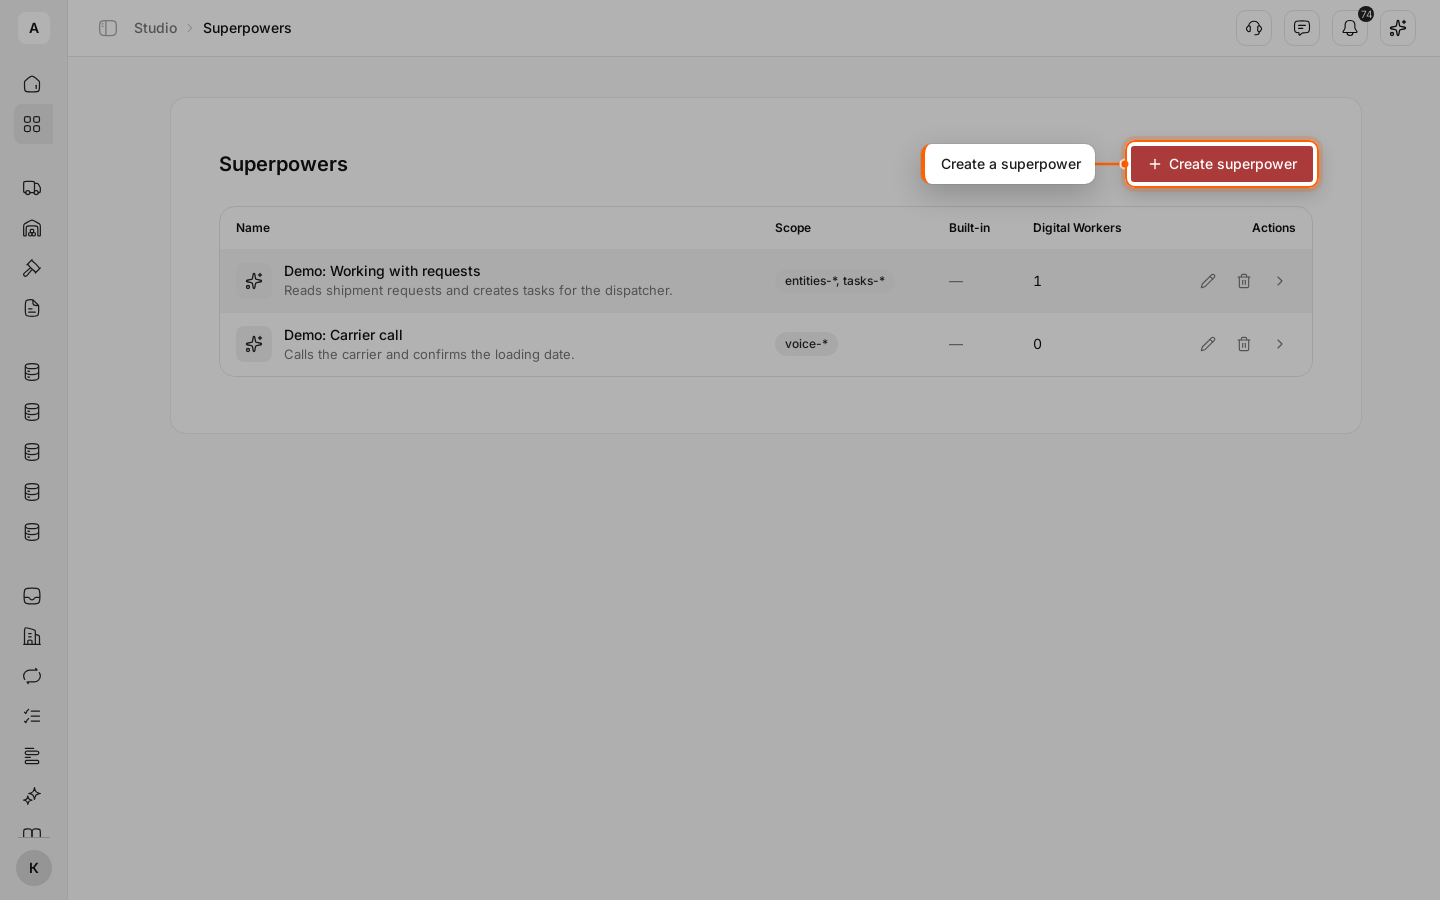
Click Create superpower above the list.
Name the superpower
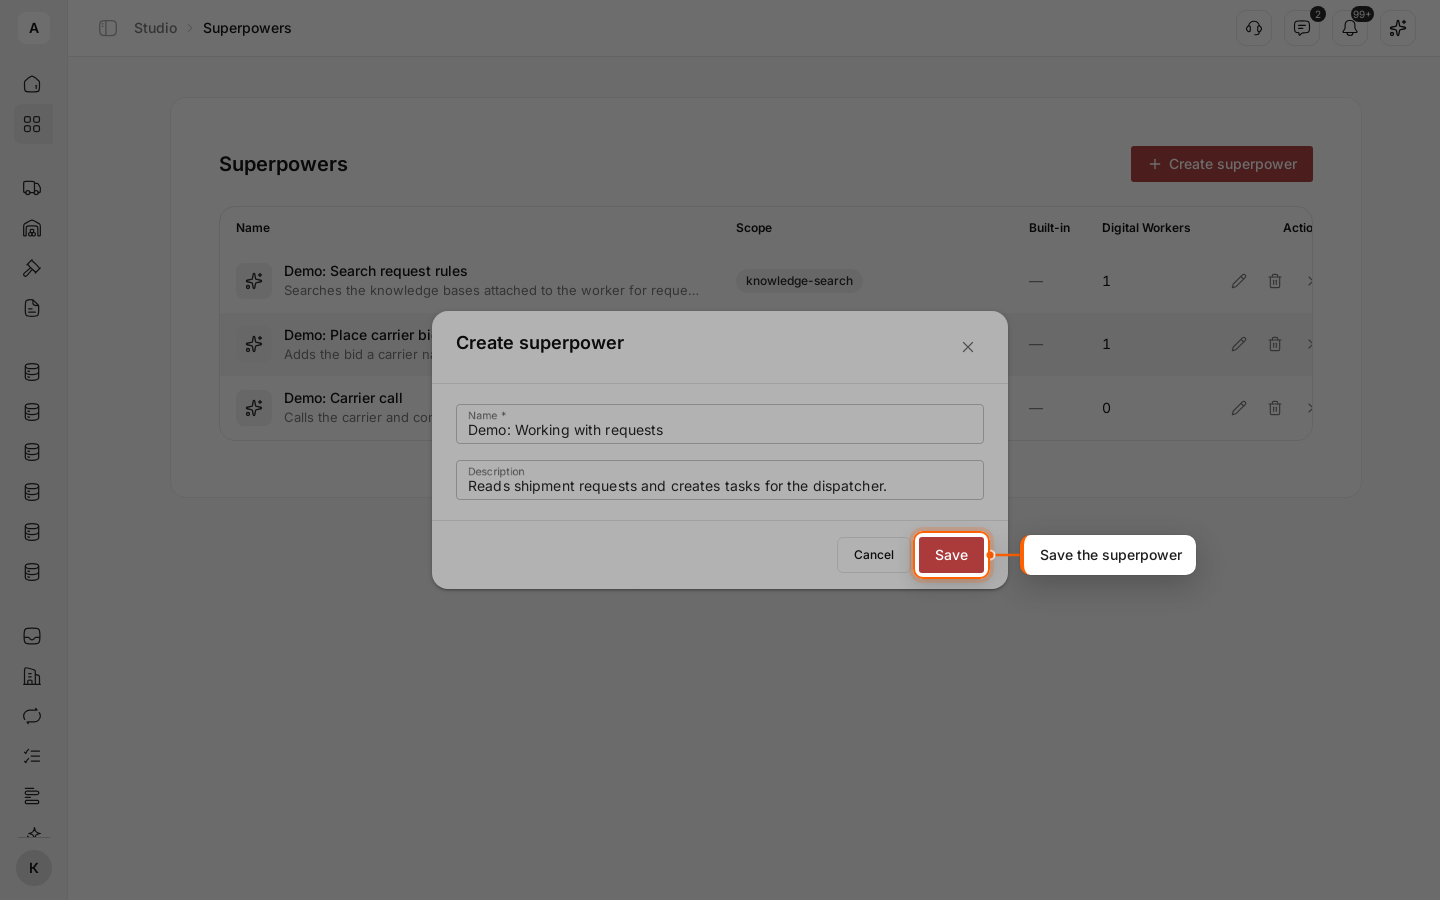
Enter a “Name” and a short “Description”. Click Save: the page of the new superpower opens.
Set the scope
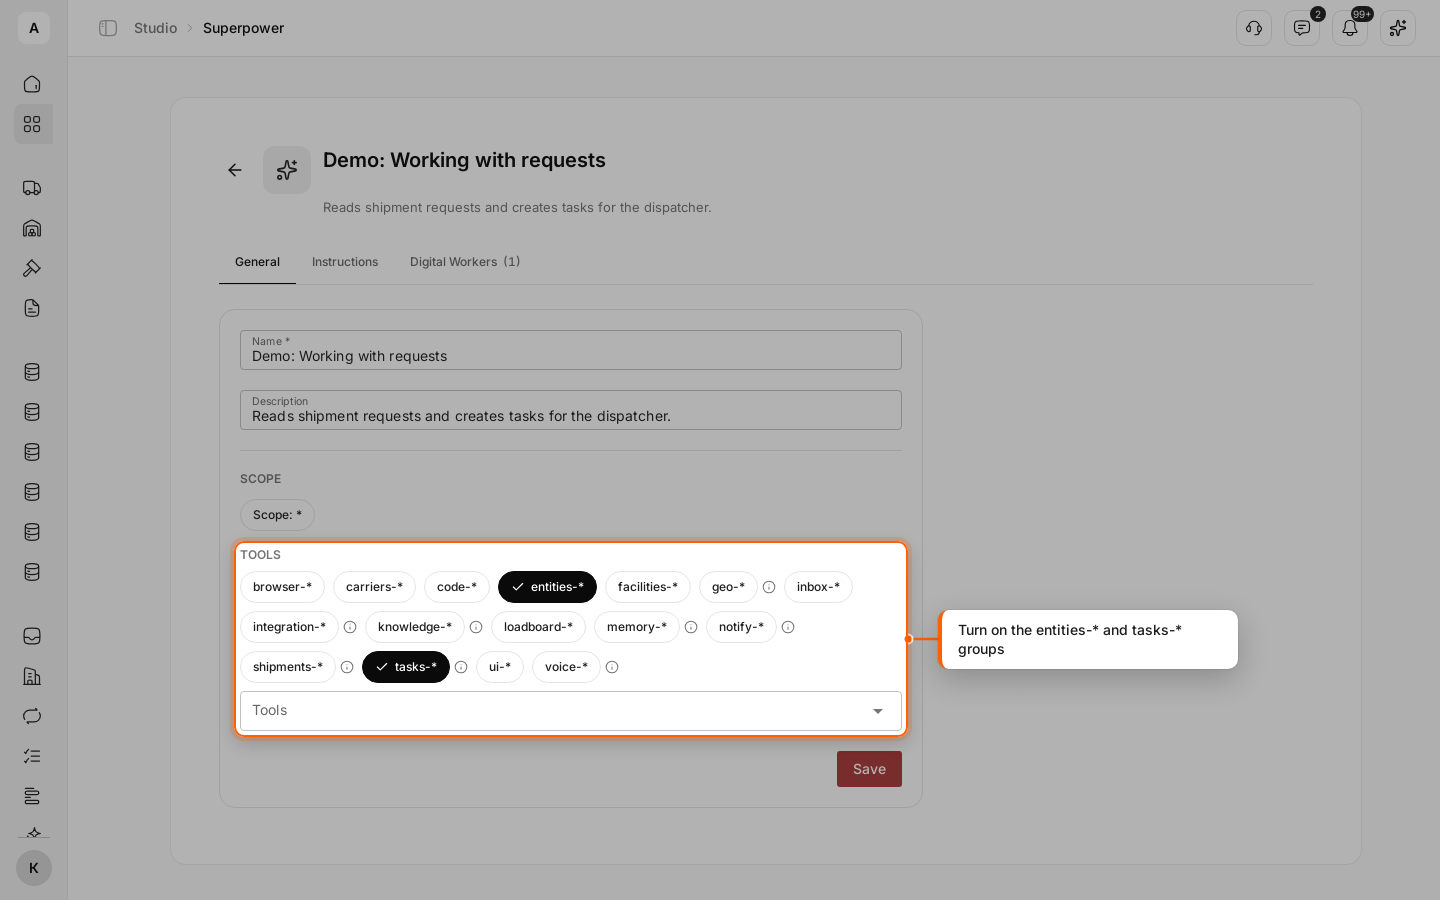
On the General tab, in the “Scope” section, choose what the worker can access:
- Scope: * — all tools at once;
- a group under the “Tools” heading — all actions of one group;
- the “Tools” field — single actions from the list.
Where a group has an “i” icon, hover it to see what is inside; all groups are listed in Tool groups. In the example, entities-* (data model records) and tasks-* (tasks) are on. Pick at least one group or action: without one the superpower does not save. Click Save.
To let a worker read its knowledge bases, a superpower needs knowledge-*. In the example it is a second superpower, “Demo: Search request rules”.
Write the instructions
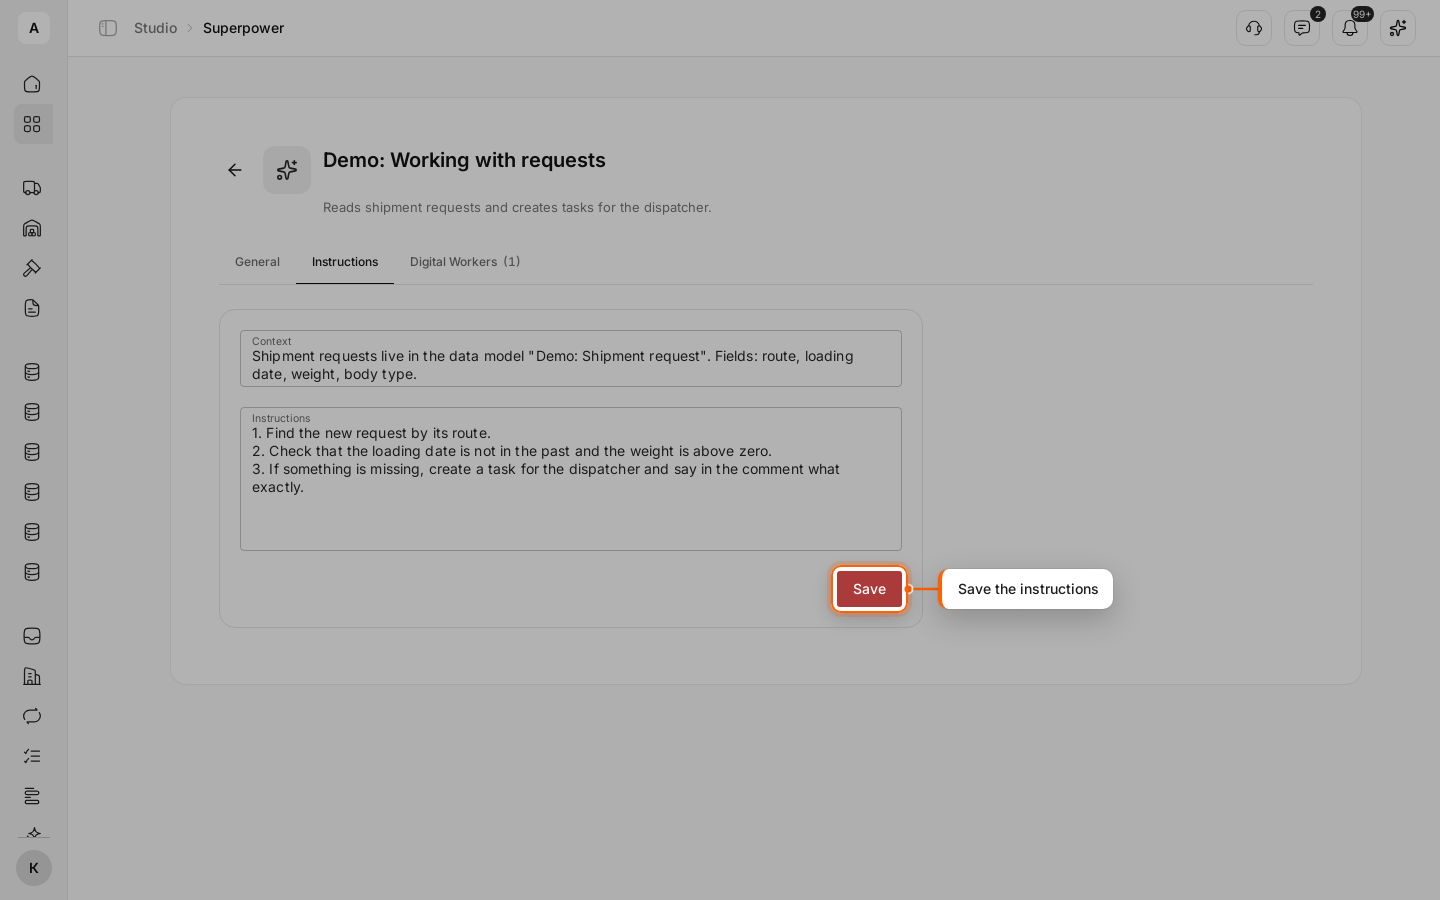
Open the Instructions tab. In “Context”, describe the data the worker works with; in “Instructions”, what to do step by step. Click Save.
Give the superpower to a worker
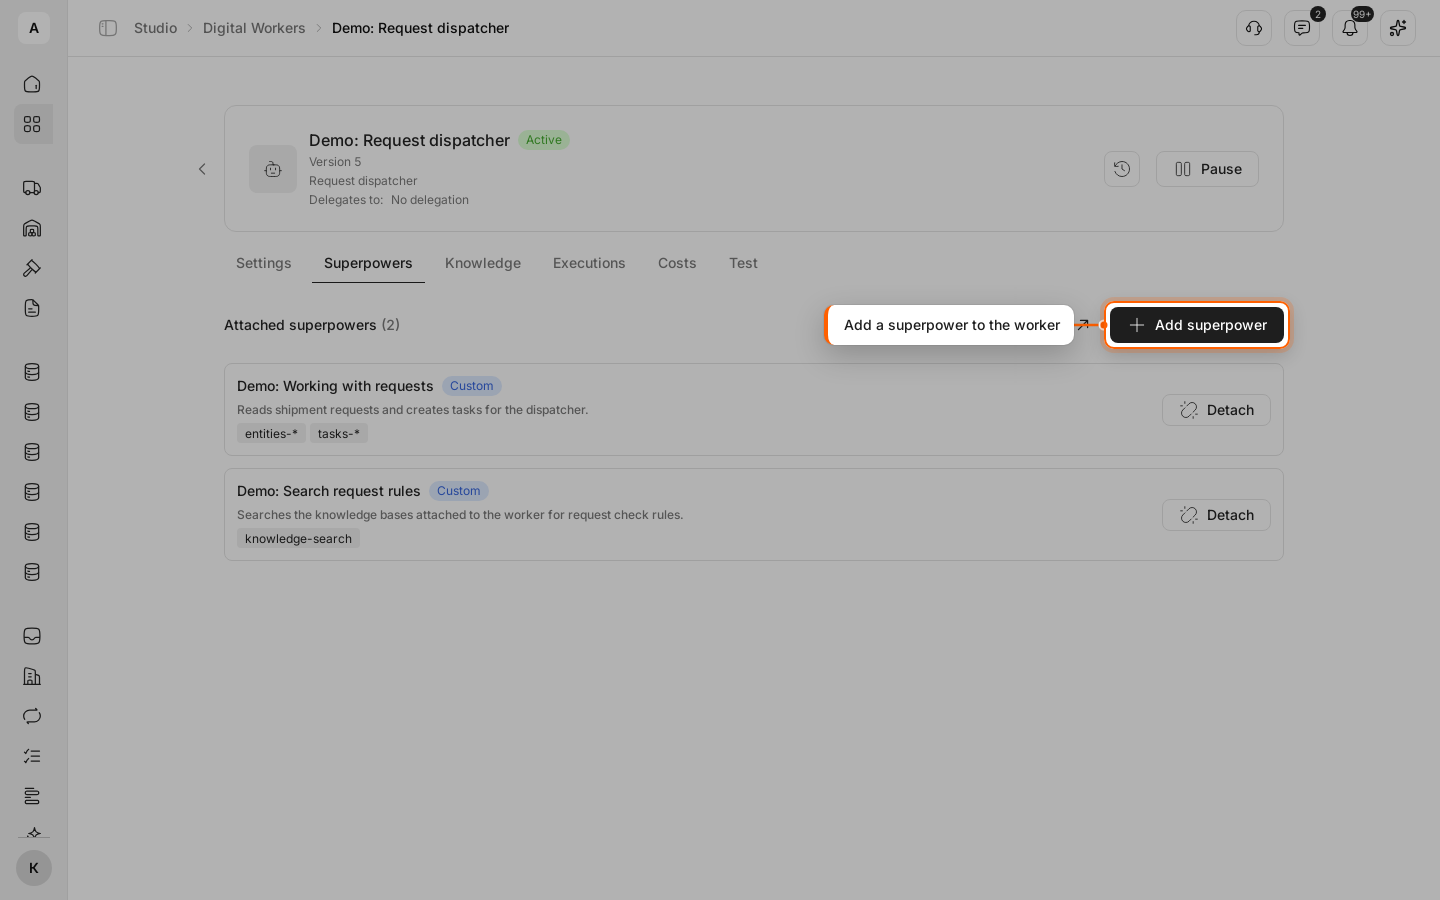
Open Studio › Digital Workers, select the worker and open the Superpowers tab. Click Add superpower, tick the superpower and click Save. It appears under “Attached superpowers”. More in Give a Digital Worker superpowers and knowledge.
Check who uses the superpower
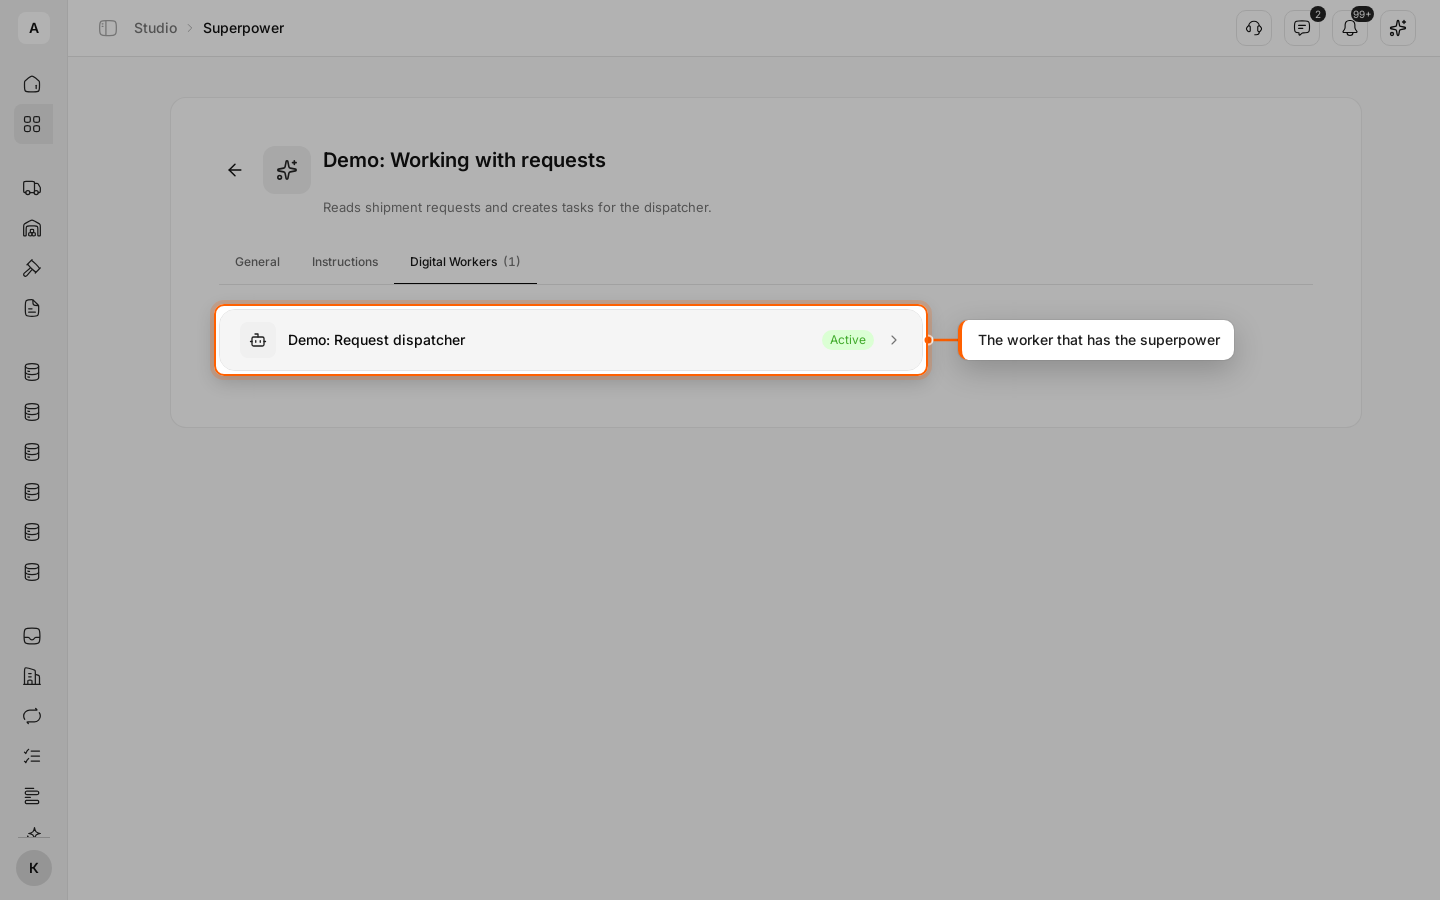
Go back to the superpower and open the Digital Workers tab. The worker you gave it to is in the list.