- Who can: a user with the “Manage Studio” permission
- Where: Studio › Interfaces › an interface › Card blocks
- Time: ≈ 5 minutes
Before you start
You need an interface, see Create an interface. Until you add blocks, the record page on the working screen is empty.
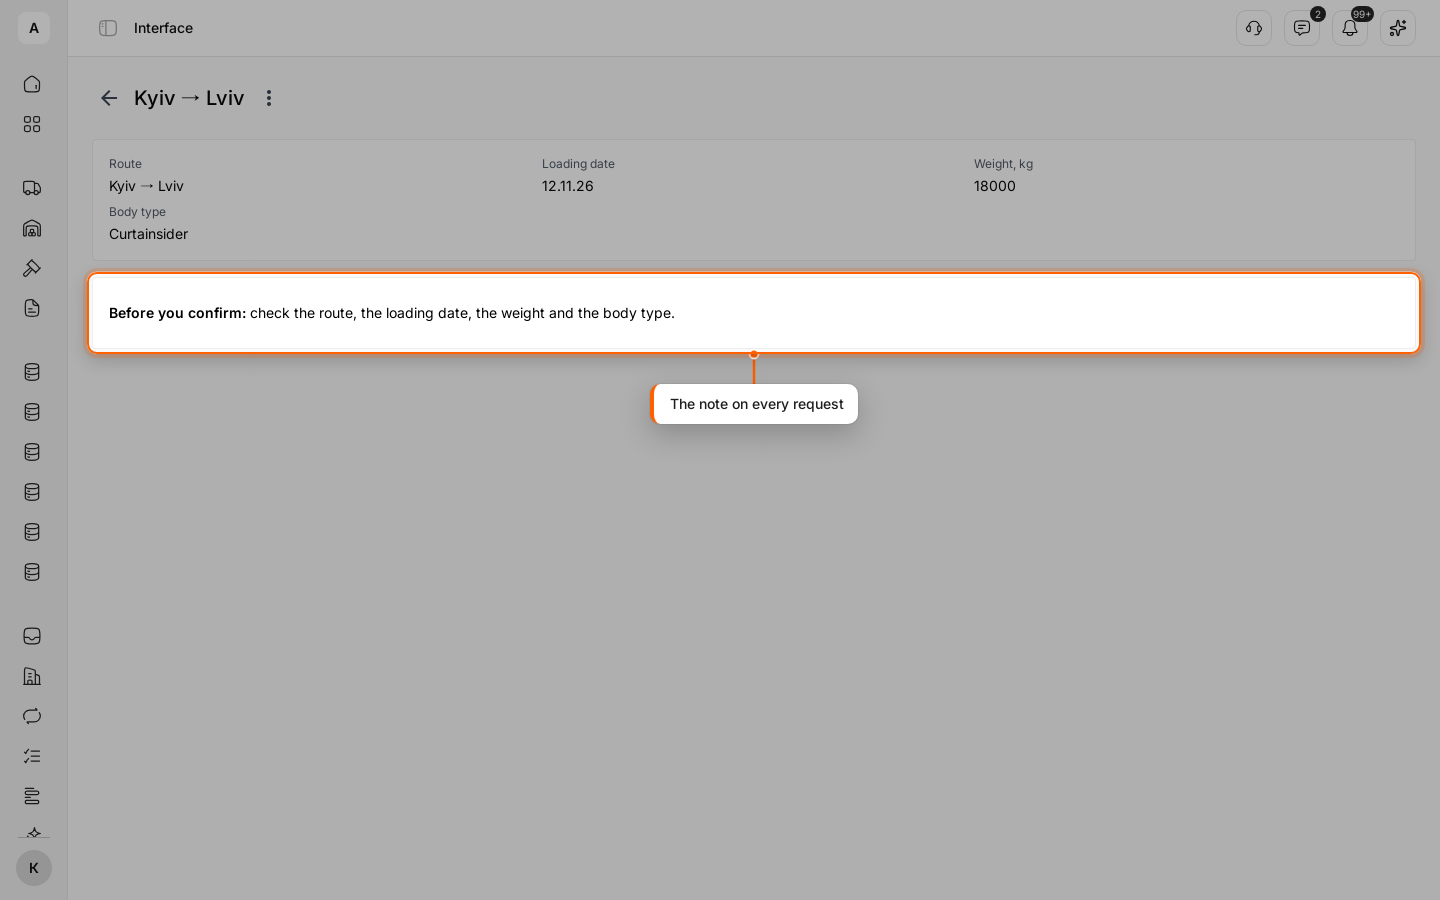
The example uses the “Demo: Request planning” interface: the request page shows its fields and a note for the dispatcher.
Steps
Choose a layout
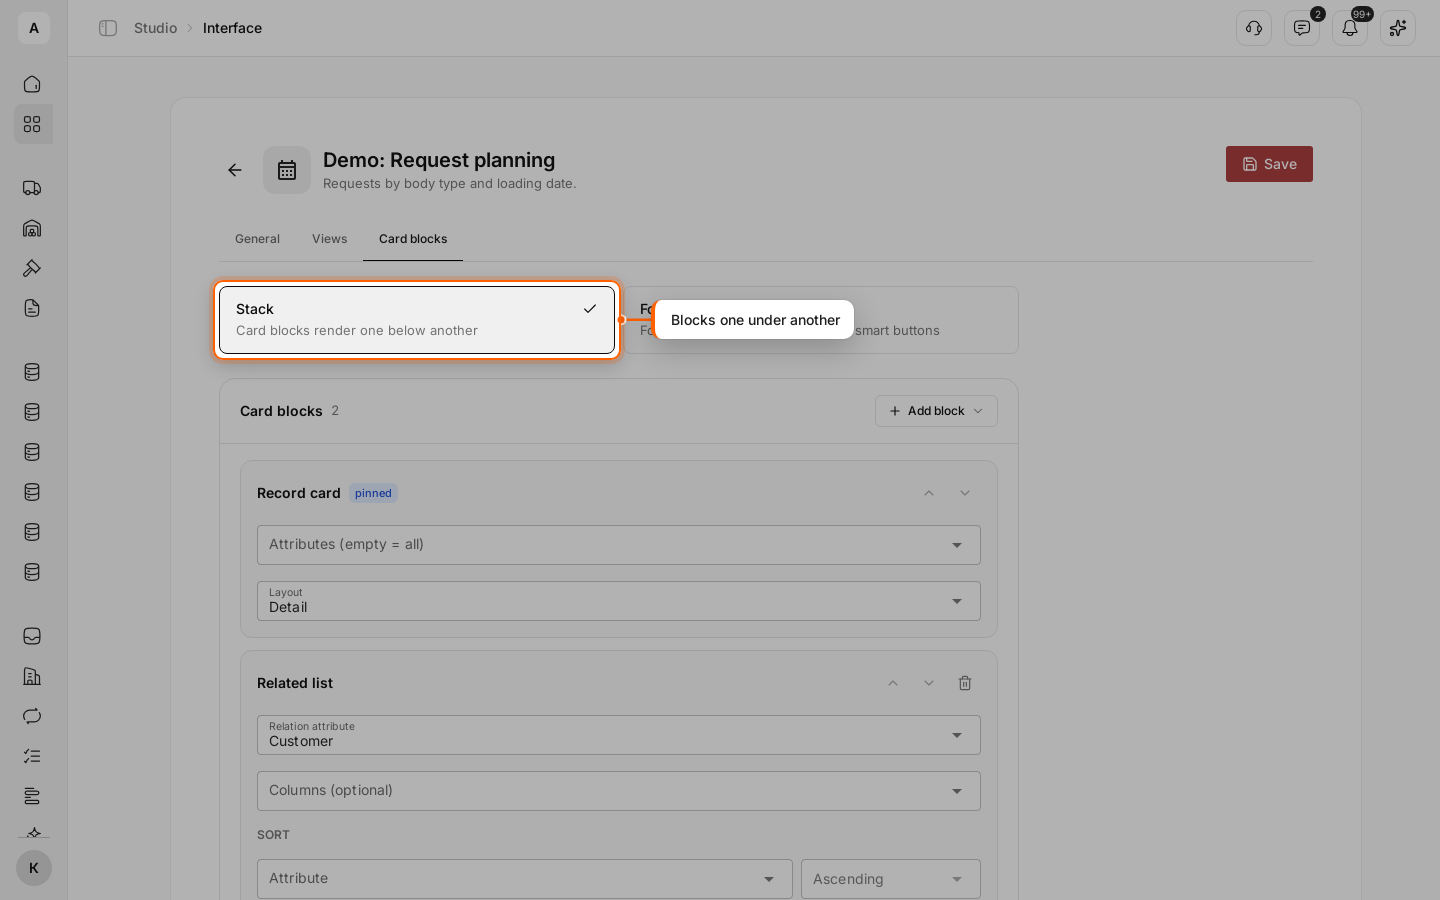
In Studio › Interfaces, click the interface row, then the Card blocks tab. Keep the Stack layout: the blocks go one under another.
Add a block
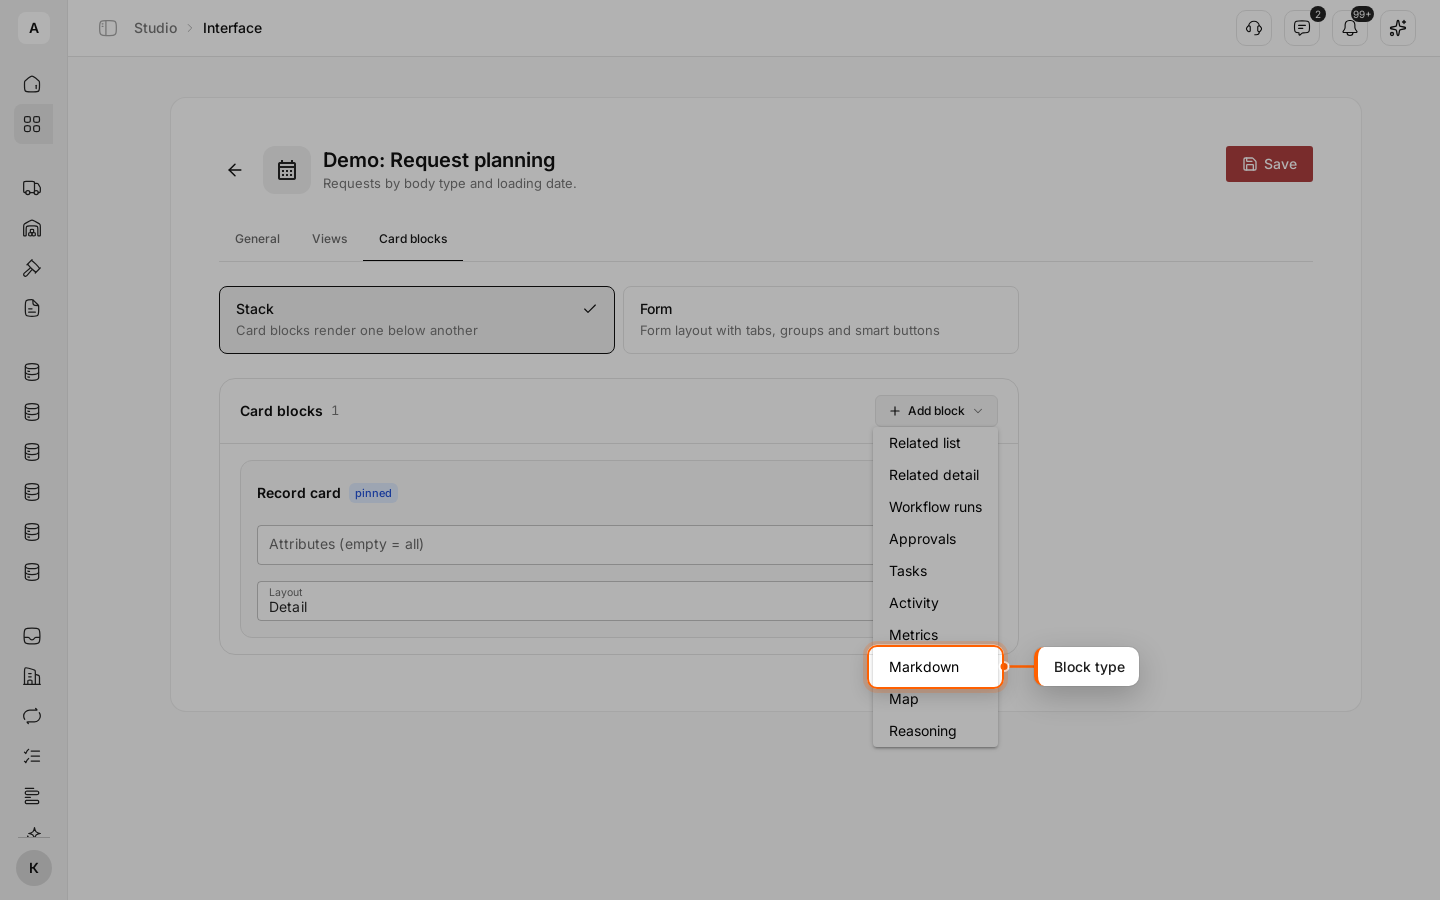
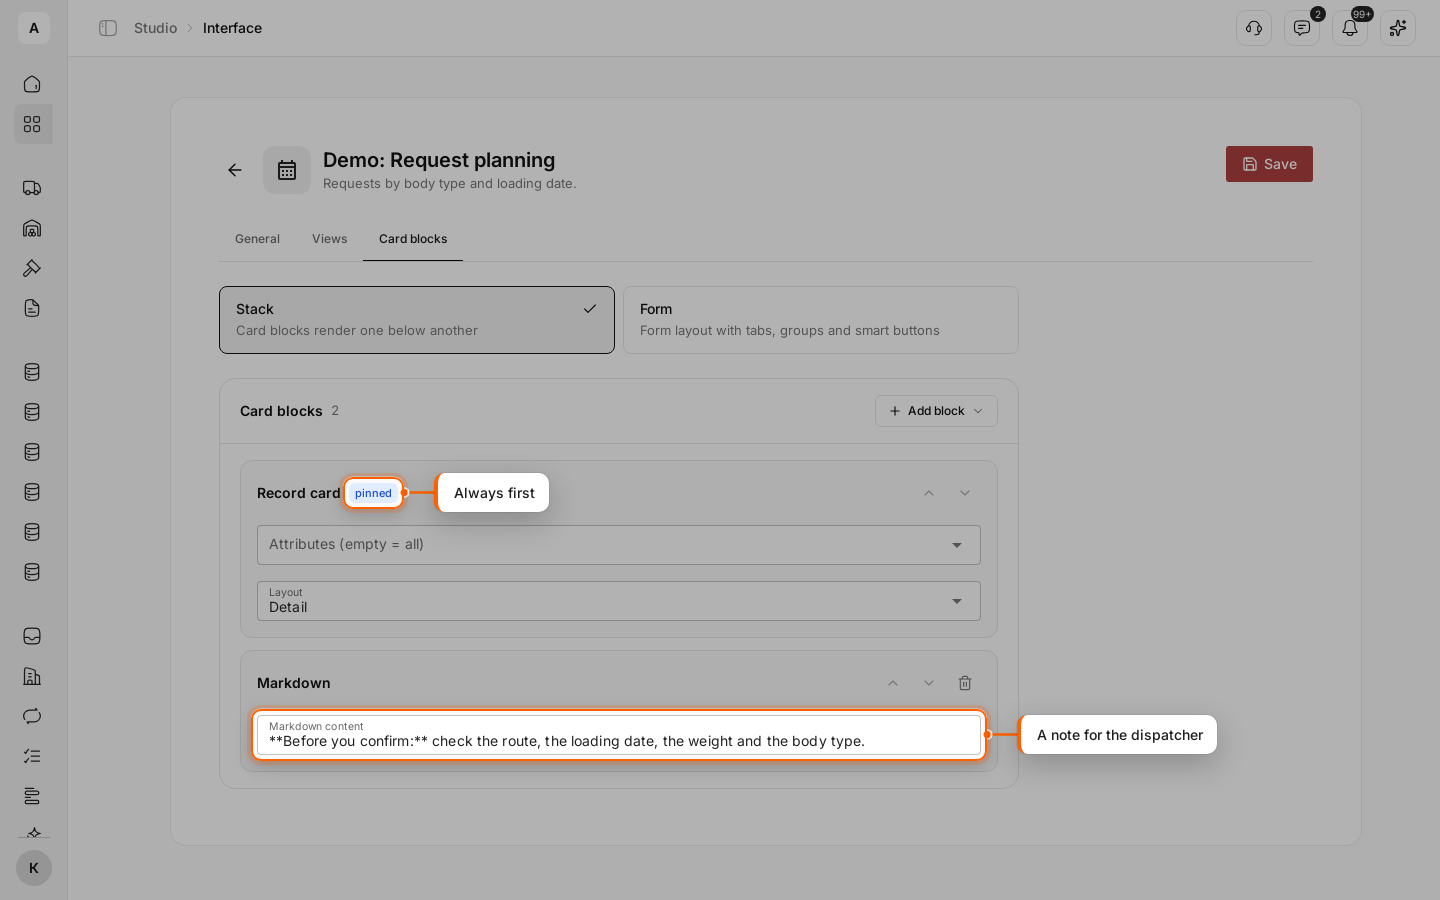
Click Add block and select a type, for example “Tasks”, “Approvals” or “Markdown”. The example uses “Markdown”: a note the dispatcher sees on every request. Enter it in “Markdown content”: “Before you confirm: check the route, the loading date, the weight and the body type.”
Set up the blocks
With the first block, a “Record card” block marked “pinned” is added. It always comes first; you cannot move or delete it. In “Attributes (empty = all)”, select the fields to show; in “Layout”, select “Detail” or “Compact”.
Reorder the other blocks with Move up and Move down, and delete the ones you do not need with the trash icon.
Save and check the page
Click Save. Open the interface from the left menu and click a record row: the page shows the blocks in the order you set.