- Who can: a user with the “Manage Studio” permission
- Where: Studio › Interfaces
- Time: ≈ 5 minutes
Before you start
You need a data model with records. The example uses “Demo: Shipment request” with the fields “Route”, “Loading date”, “Weight, kg” and “Body type”. To build one, see Create a data model.
Steps
Open Interfaces
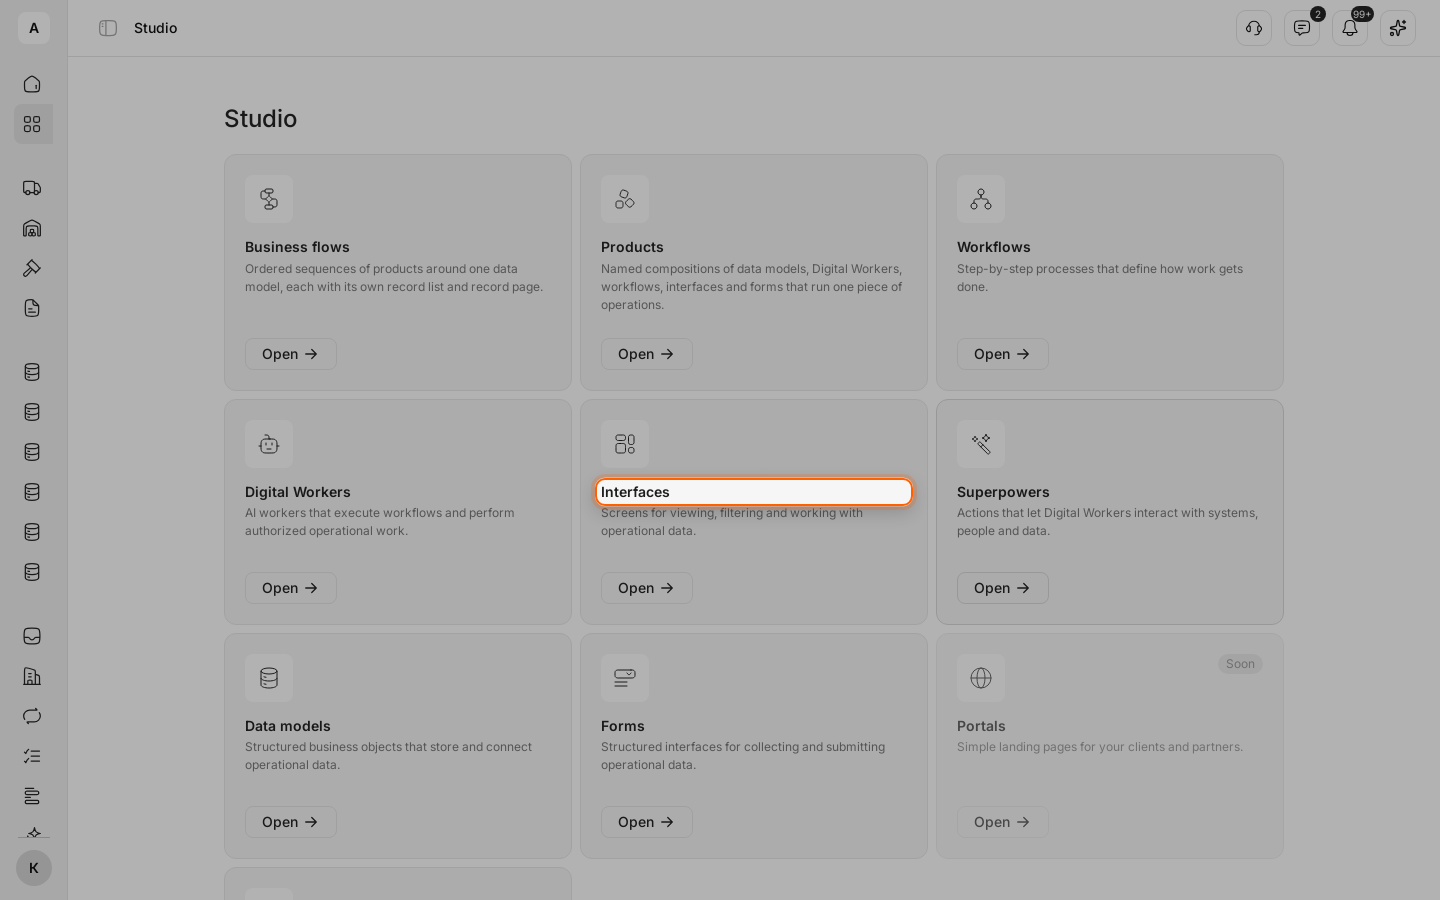
Click Studio in the left menu, then Open on the “Interfaces” card.
Start a new interface
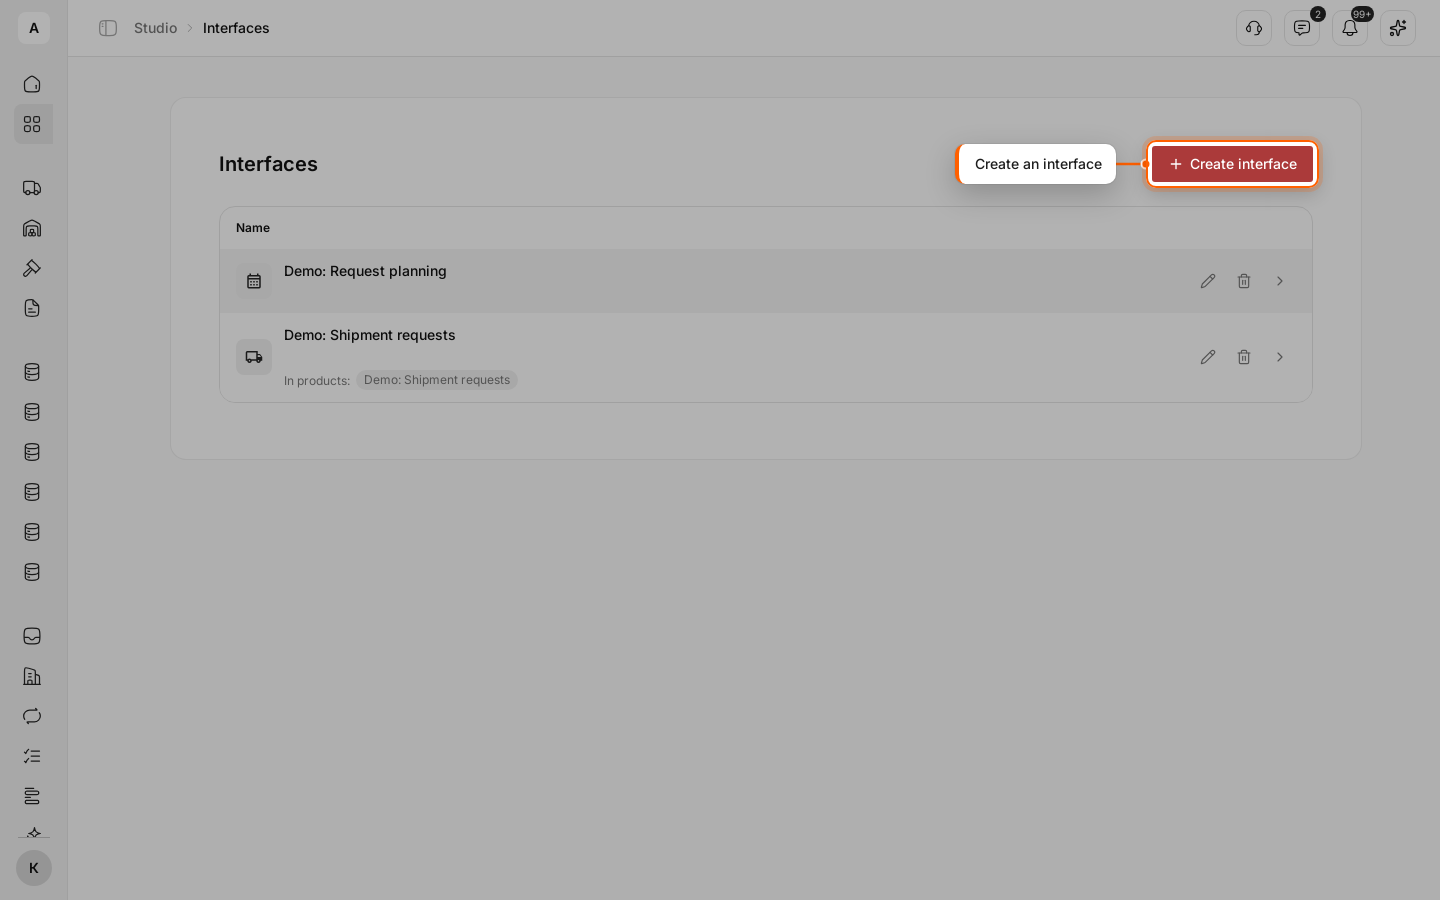
Click Create interface above the list.
Fill in General
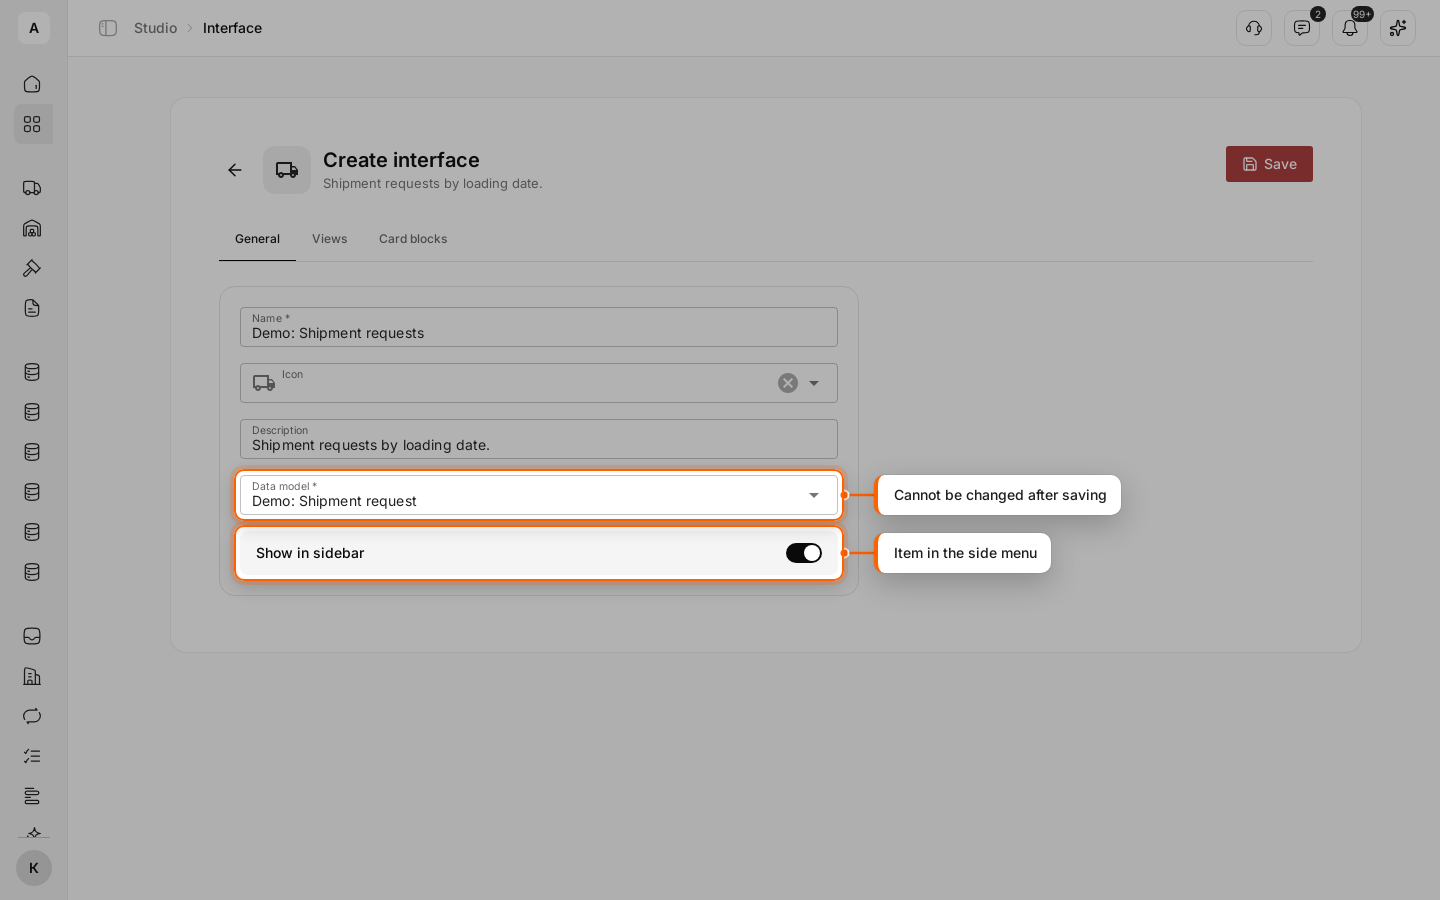
Enter a “Name”: this is how the interface appears in the left menu. Optionally pick an “Icon” and add a “Description”. In “Data model”, select the model the interface works with. Turn on Show in sidebar so the team opens the interface from the left menu.
Choose the columns
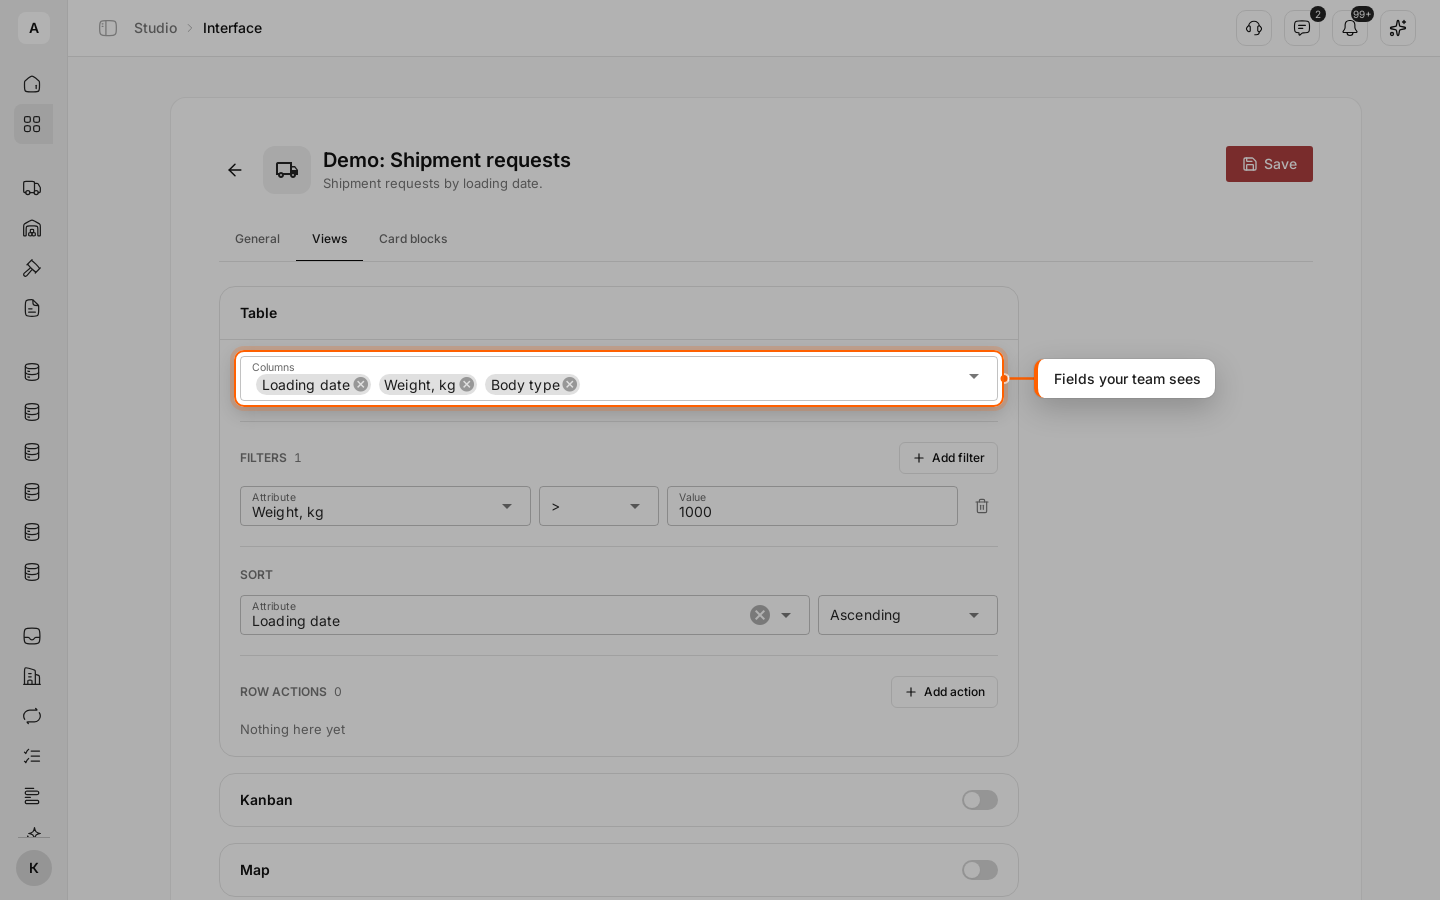
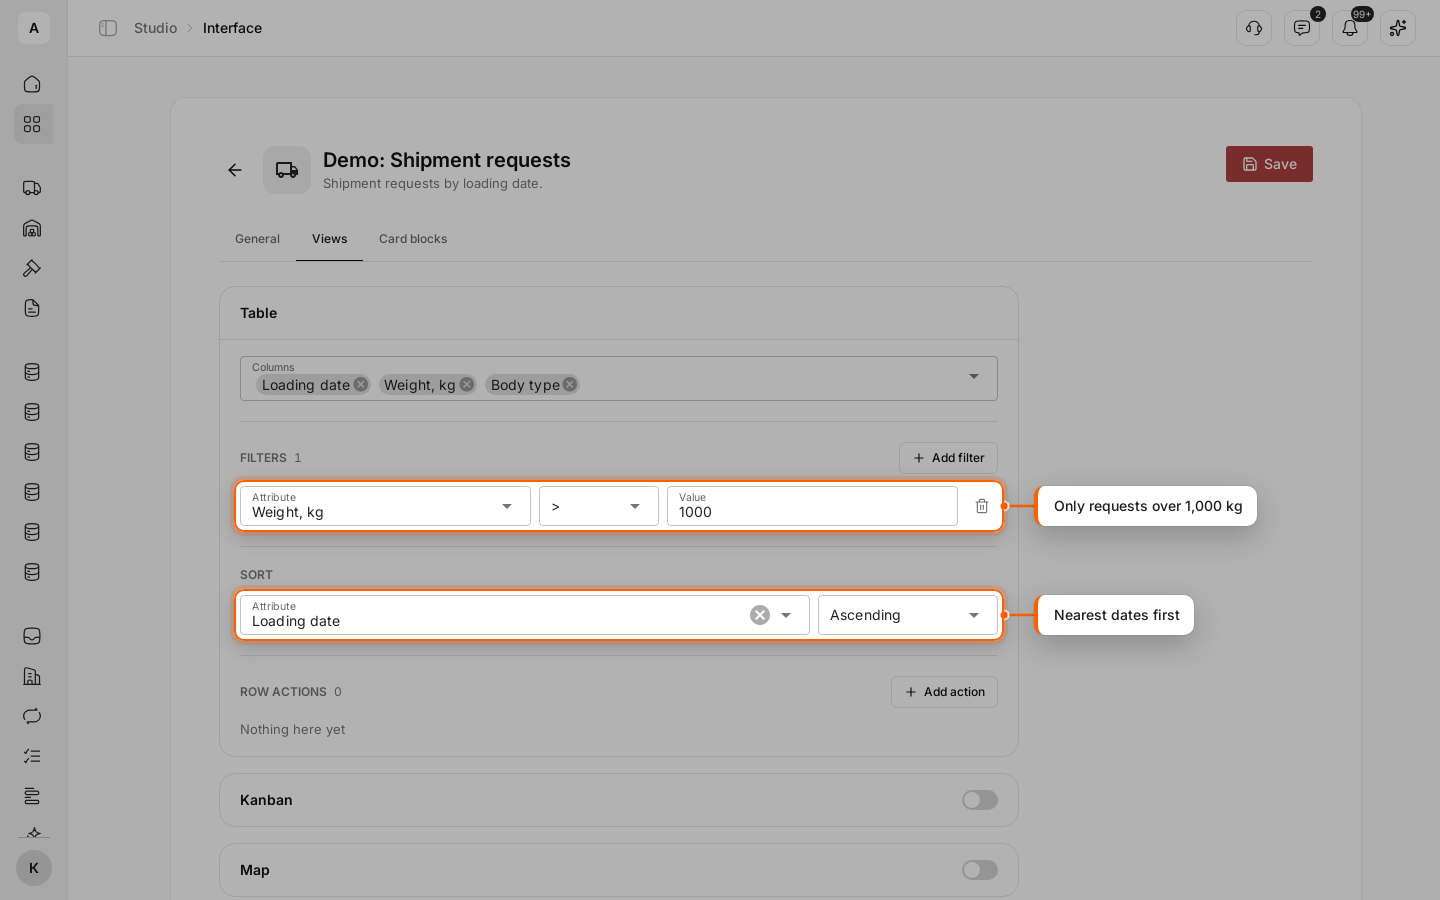
Go to the Views tab. In the “Table” block, select the fields the team sees in “Columns”. The record name, the value of the primary field, shows as the first column on its own, so the example leaves “Route” out.
Set a filter and a sort order
To show only some records, click Add filter, select an “Attribute” and a condition, and enter a “Value”. The example shows requests where “Weight, kg” is over 1000.
Under “Sort”, select an attribute and an order. The example uses “Loading date”, “Ascending”: the nearest loadings come first.
Save
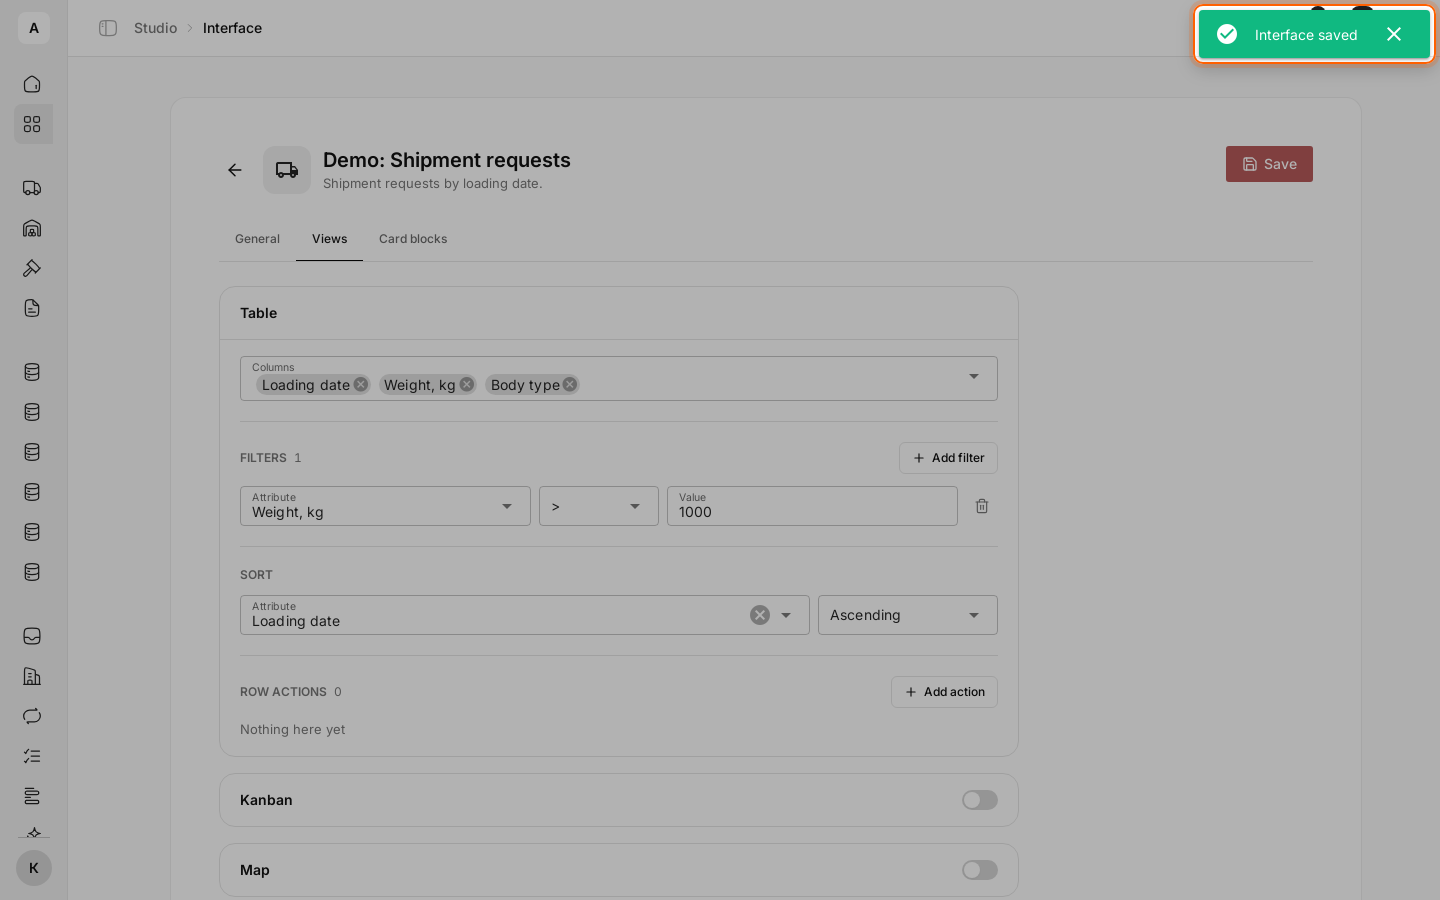
Click Save. You see “Interface saved”, and the interface appears in the list.
Open the interface from the left menu
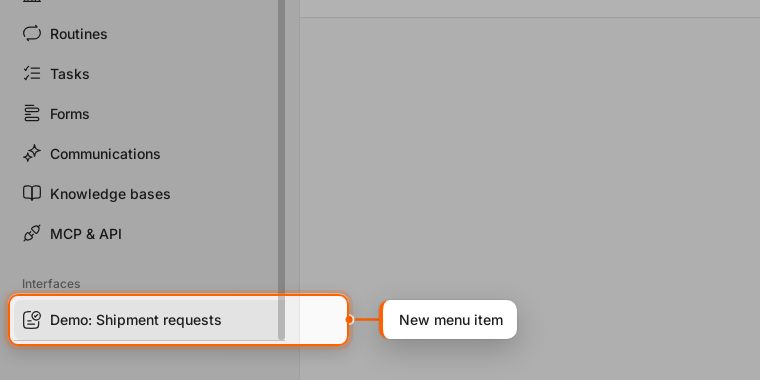
Hover over the left menu and click the interface name in the “Interfaces” group.
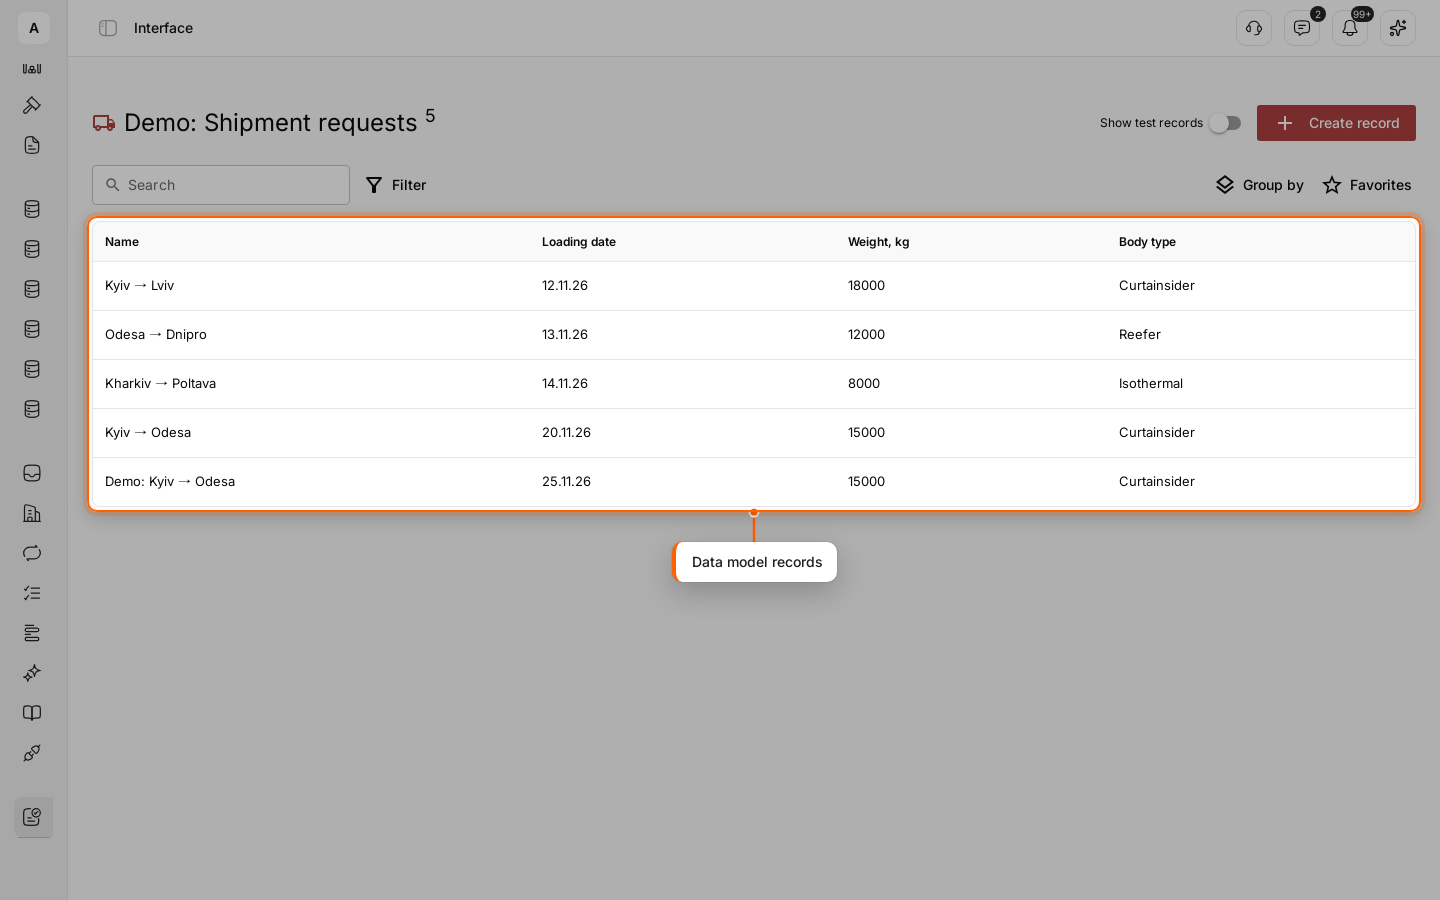
The working screen opens with the model's records. Here the team searches, filters and opens records; Create record adds a new one.
Important
Pick the “Data model” carefully: it cannot be changed after saving.