- Who can: a user with the “Manage Studio” permission sets it up; anyone allowed to run workflows uses it
- Where: Studio › Interfaces › an interface › Views › “Row actions”
- Time: ≈ 5 minutes
Before you start
You need an interface and a published workflow with a “Manual” trigger, see Publish a workflow and manage versions. In the “Re-event” mode, the workflow starts on an event of the interface’s data model instead — see “Mode” below.
The example uses the “Demo: Request planning” interface and the “Demo: Check request manually” workflow.
Steps
Add an action
In Studio › Interfaces, click the interface row, then the Views tab. In the “Table” block, under “Row actions”, click Add action. The “Action 1” card appears.
Fill in the action
- “Label”: the button text the team sees, such as “Check request”.
- “ID (slug)”: the action's internal key in Latin letters, no spaces, such as
check_request. The field is required. - “Icon”: optional, the icon name.
- “Mode”: “Manual” runs a workflow with a manual trigger — the example. “Re-event” runs a workflow that starts on an event of this interface’s data model, for example to process one request again with the workflow that runs on new requests.
- “Workflow”: select the workflow. The field is required.
- “Confirmation text”: the question before the run, such as “Run a check on this request?”. Without it the team sees a standard question.
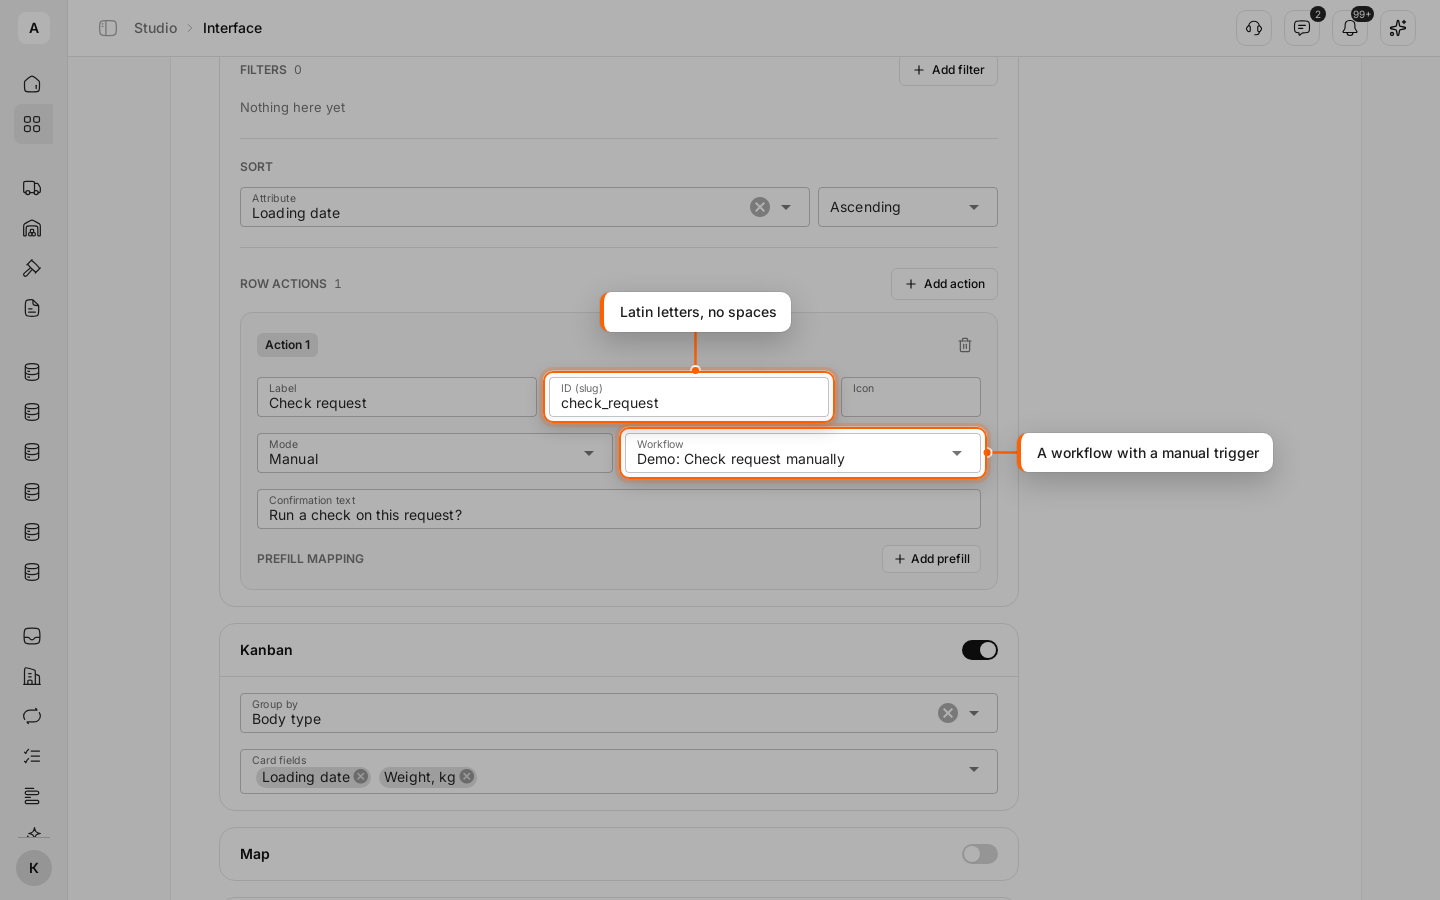
“Prefill mapping” below is optional; the example leaves it empty.
Save
Click Save. You see “Interface saved”.
Run the action from a row
Open the interface from the left menu. In the record row, click the three dots on the right and select the action.
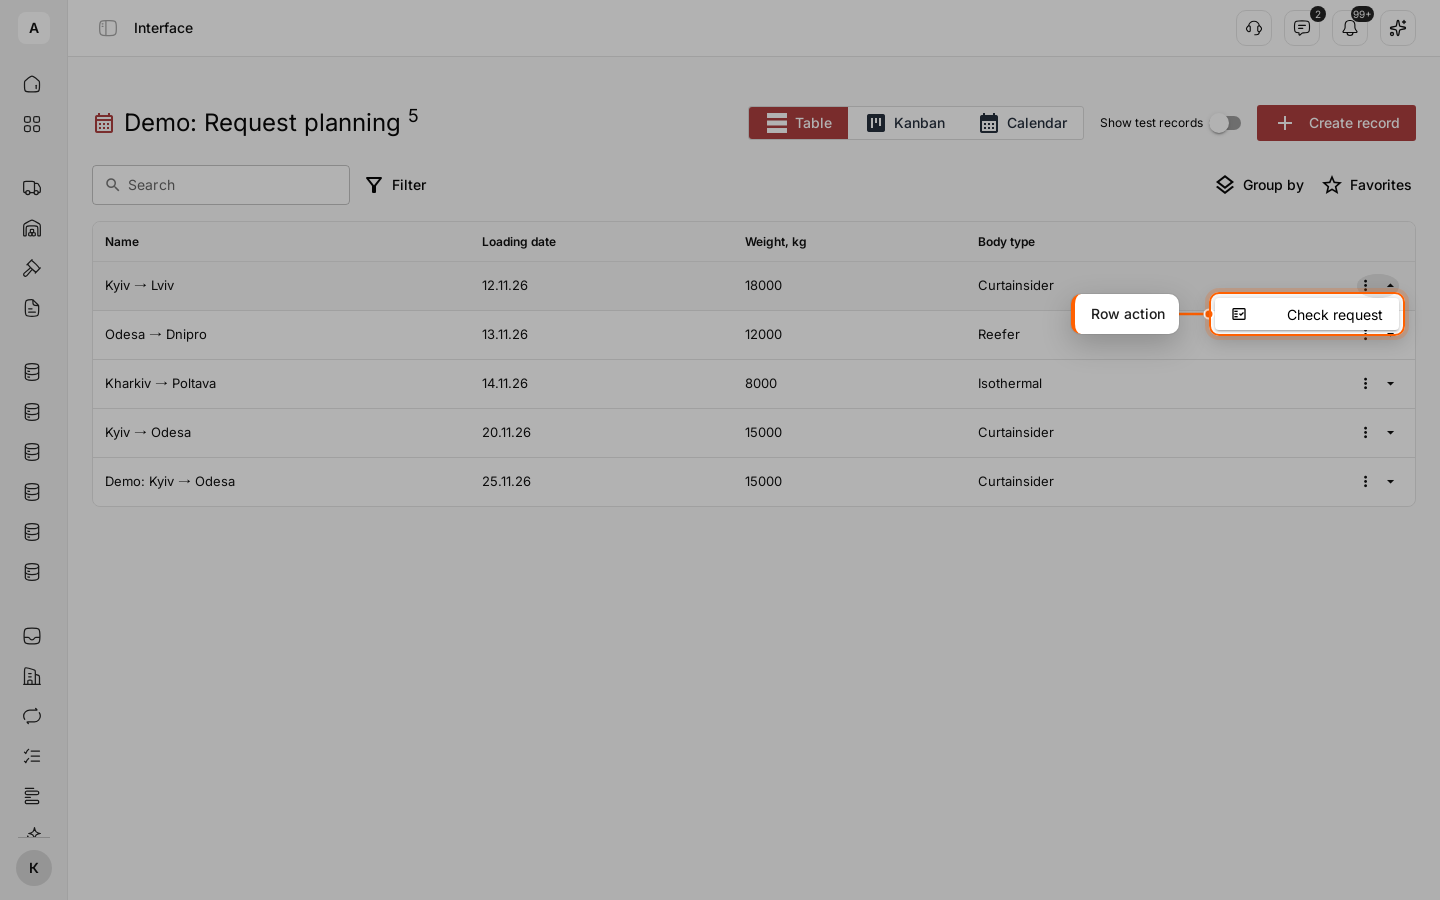
If the workflow was unpublished, the action in the menu is inactive with the hint “Workflow unavailable”.
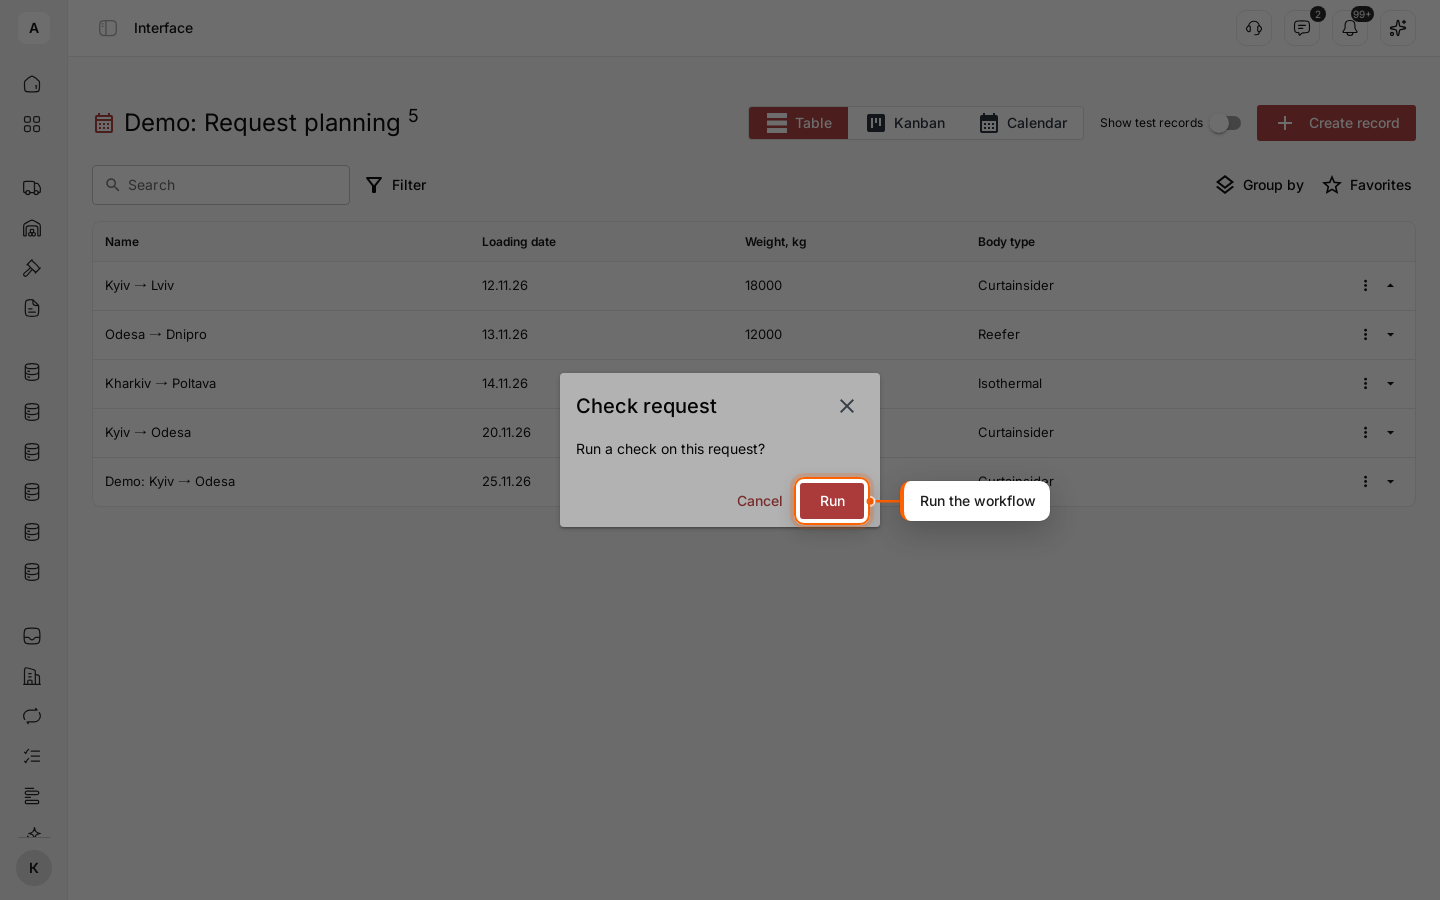
Confirm the run
In the window with the confirmation text, click Run.
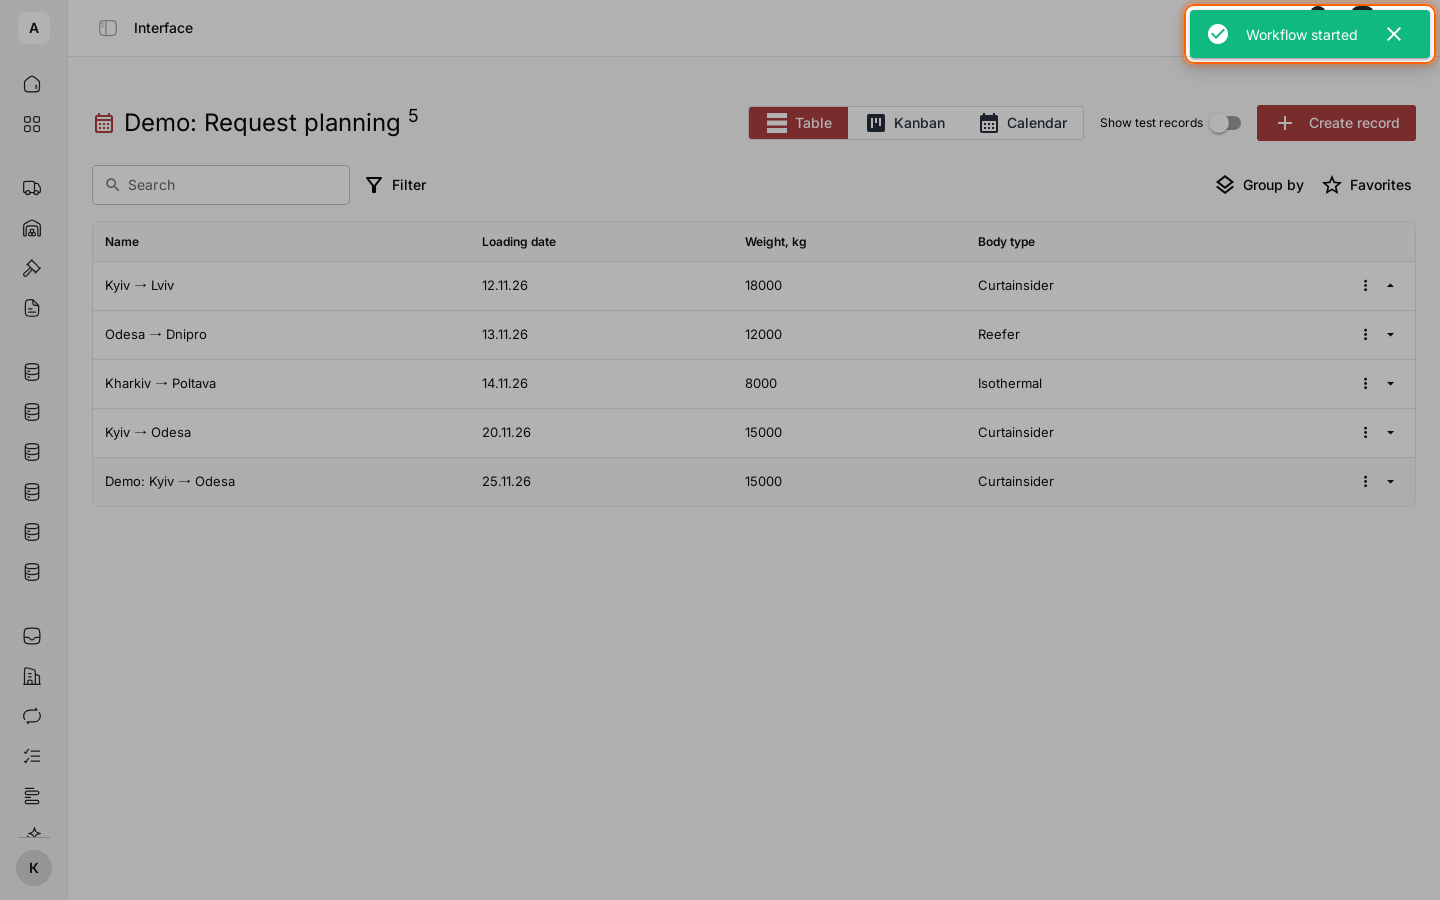
You see “Workflow started”.
Important
Pick a published workflow whose trigger fits the mode: a manual trigger for “Manual”, an event of this interface’s data model for “Re-event”.