- Who can: a user with the “Manage Studio” permission
- Where: Studio › Integrations › My integrations
- Time: ≈ 20 minutes
Before you start
Your TMS, an accounting system or a partner’s service is not in the catalog, but it has an API. You describe it once, and its actions become workflow steps. You need the system’s address, how it checks access (a key, a login and password or none) and, for each action, the address and the fields it takes. Ask the system’s technical team for them, or hand this page to them: it is a job for someone who knows the system’s API.
In the example, “Demo: Exchange rates” takes the latest exchange rate from a public rates service, to convert a carrier’s rate from EUR to USD.
Steps
Create the integration
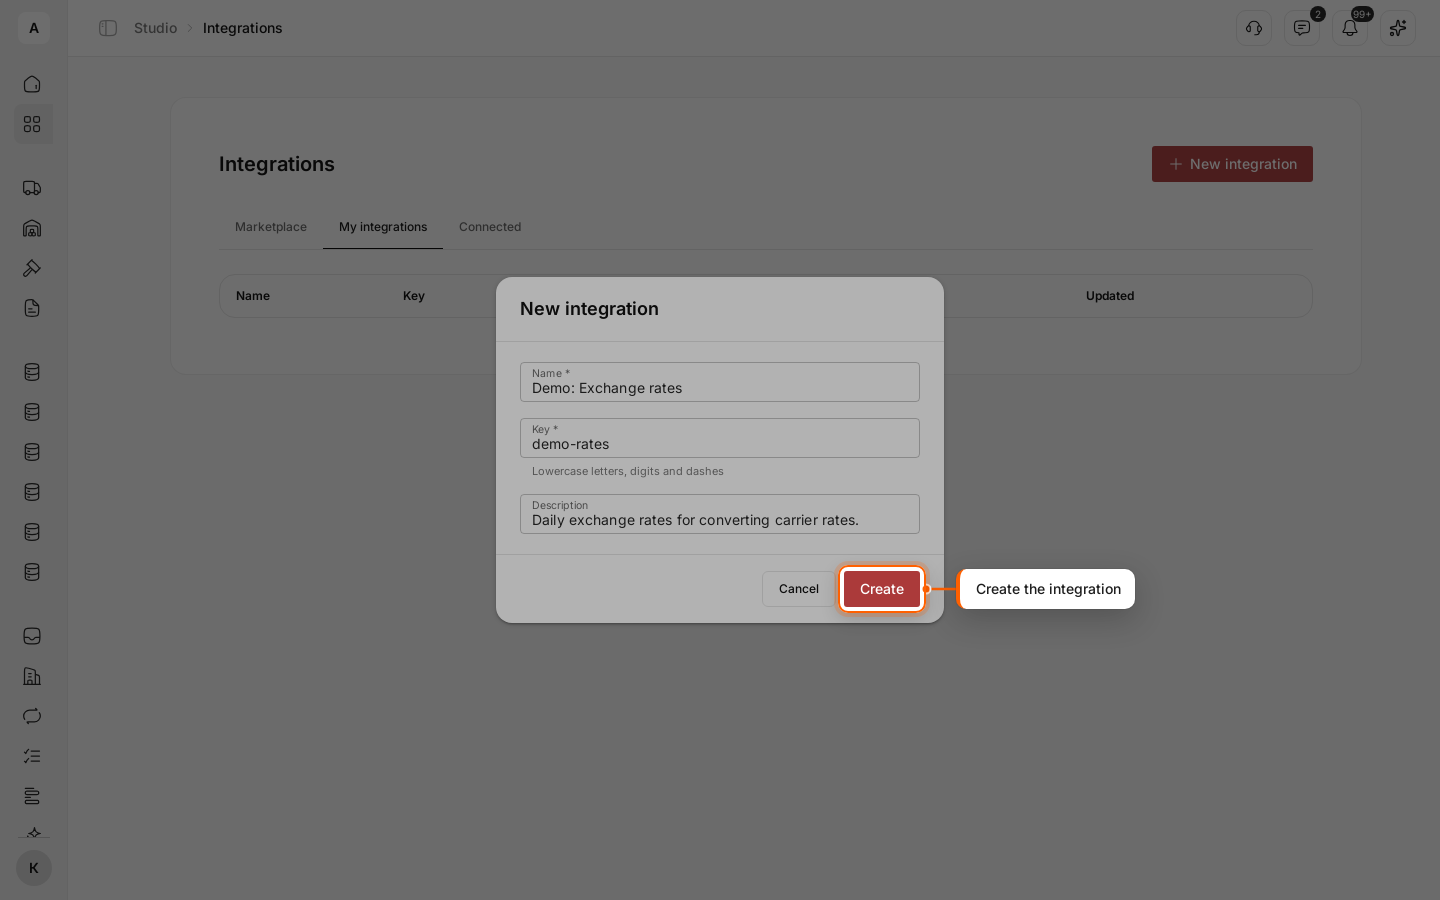
Open Studio › Integrations, the My integrations tab, and click New integration. Enter a “Name” and a “Description”; the “Key” fills in from the name, and you can change it until the first publish. Click Create: the integration page opens with the status “Draft”.
Enter the system’s address and access
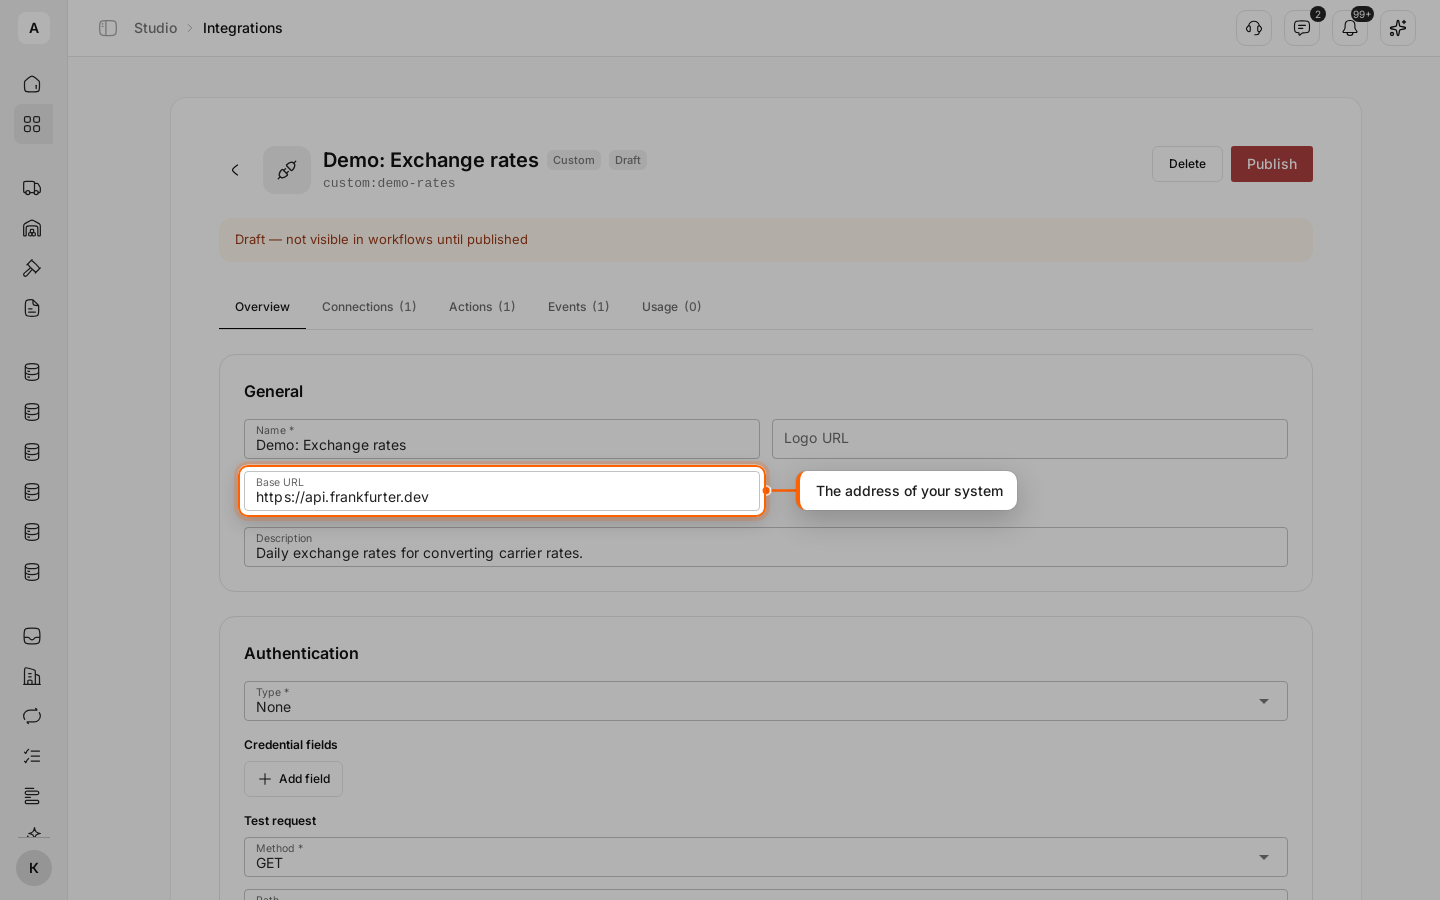
On the Overview tab, enter the “Base URL” of the system: the address of the rates service in the example.
Under “Authentication”, pick the “Type” the system uses: “None”, “API key”, “Basic”, “Bearer token”, “OAuth2 client credentials” or “Token exchange”. The rates service needs no key, so the example keeps “None”.
For a system with a key, pick “API key”: in “Send in” choose “Header” or “Query”, in “Name” the name the system expects, for example X-Api-Key, and in “Value template” {{ credentials.api_key }}. Then, under “Credential fields”, click Add field, enter the “Name” api_key — the same name as in the template — and a “Label” such as “API key”. The connection window asks for this field.
Set the connection check
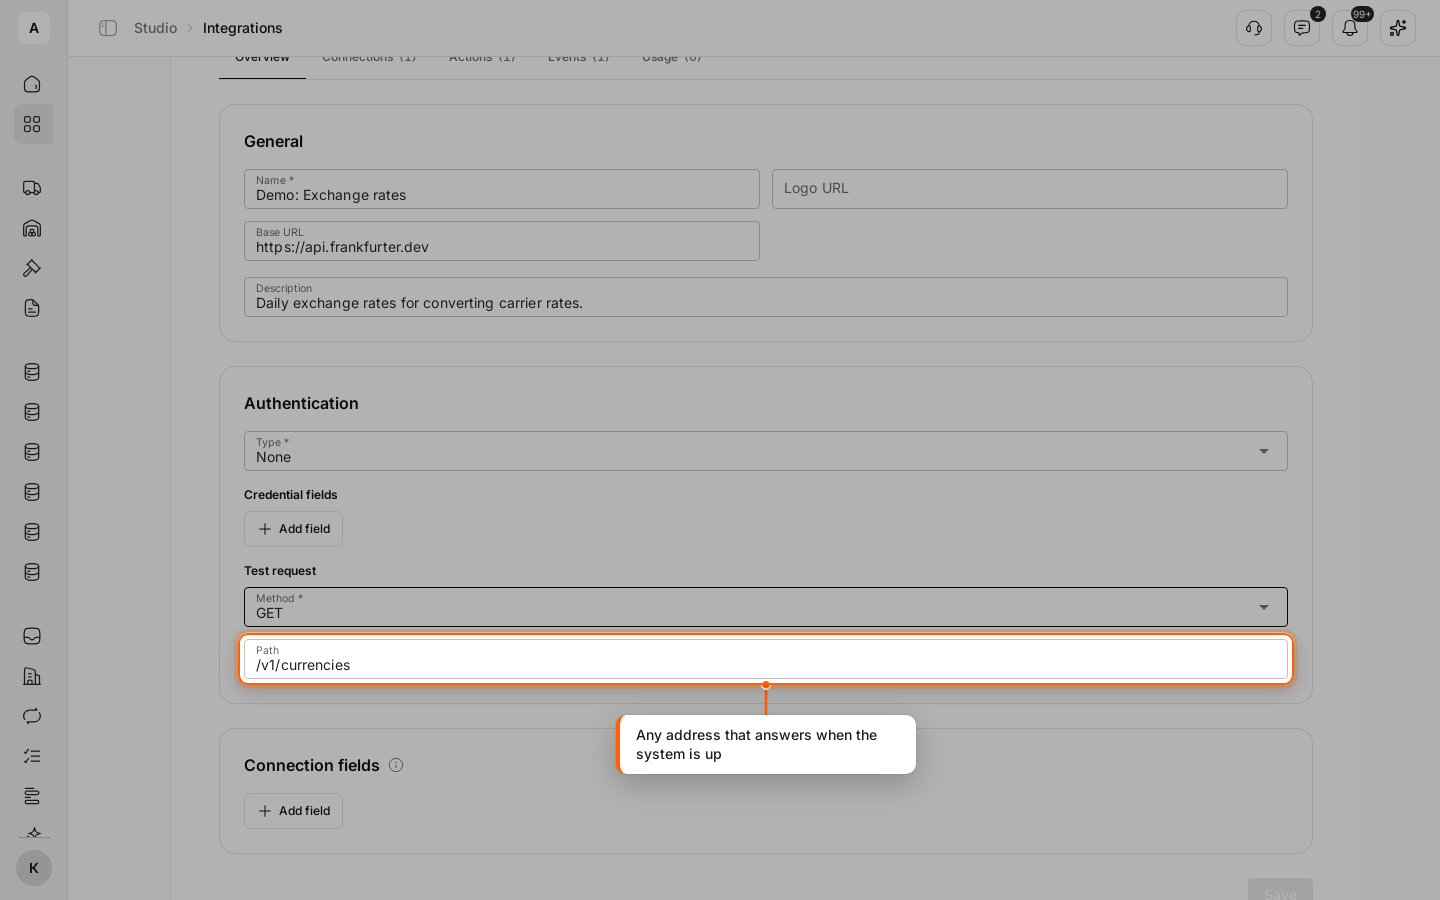
Under “Test request”, enter the “Path” of any address the system answers when it works, /v1/currencies in the example. Cargofy calls it when you click Test on a connection. Click Save.
Describe an action
On the Actions tab, click Add action. Fill in the “Label”, the “Key” and the “Description”: “Get exchange rate” in the example. The description is required: write it for someone who has never seen the system, because a clear description helps the Architect, Cargofy’s AI assistant, pick this action.
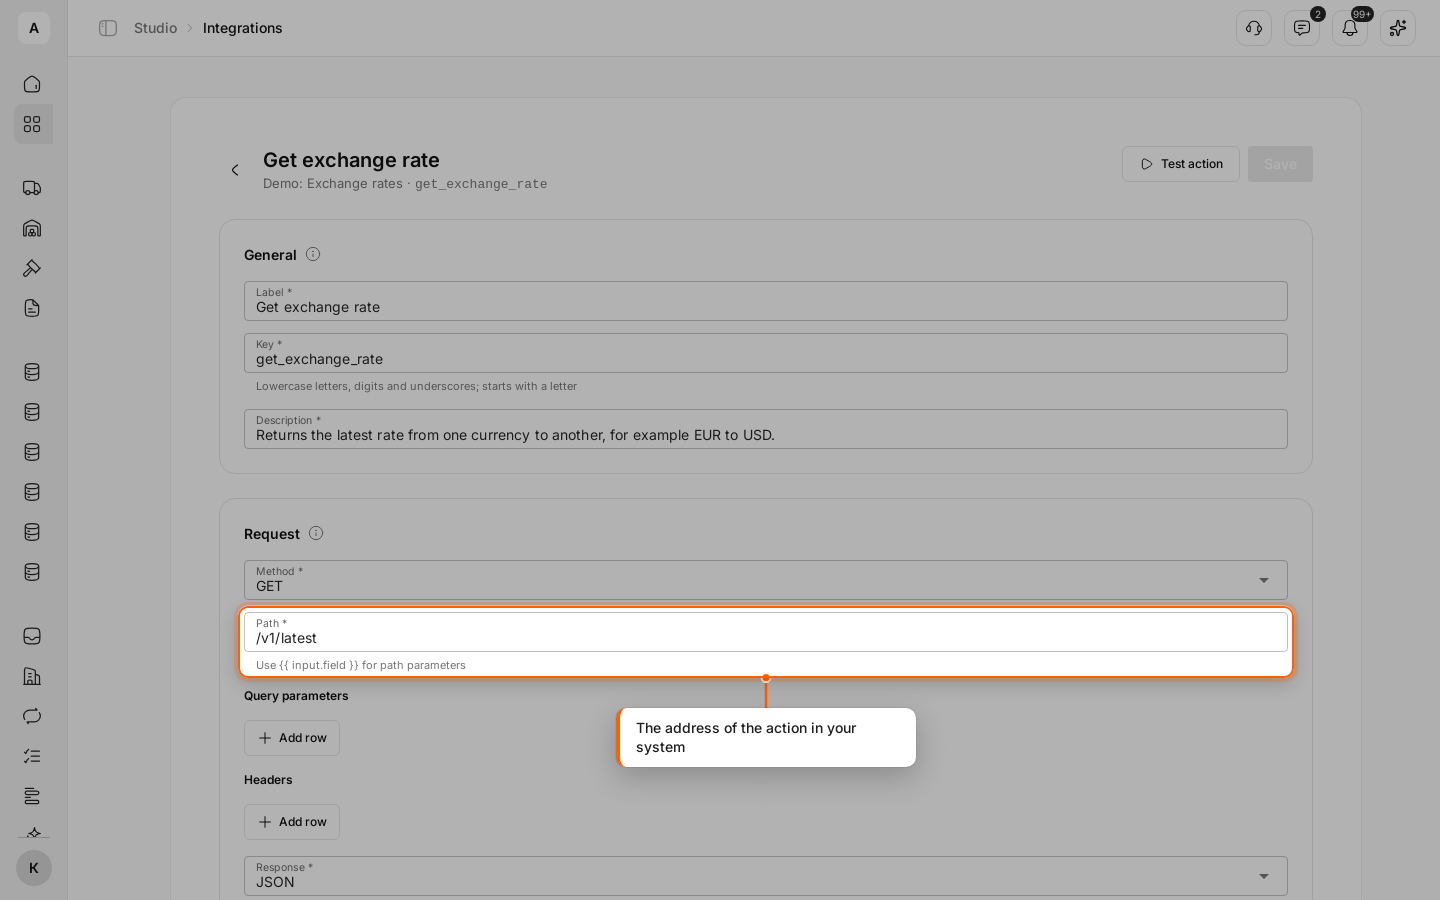
Under “Request”, pick the “Method” and enter the “Path” of the action, /v1/latest in the example.
Add the inputs
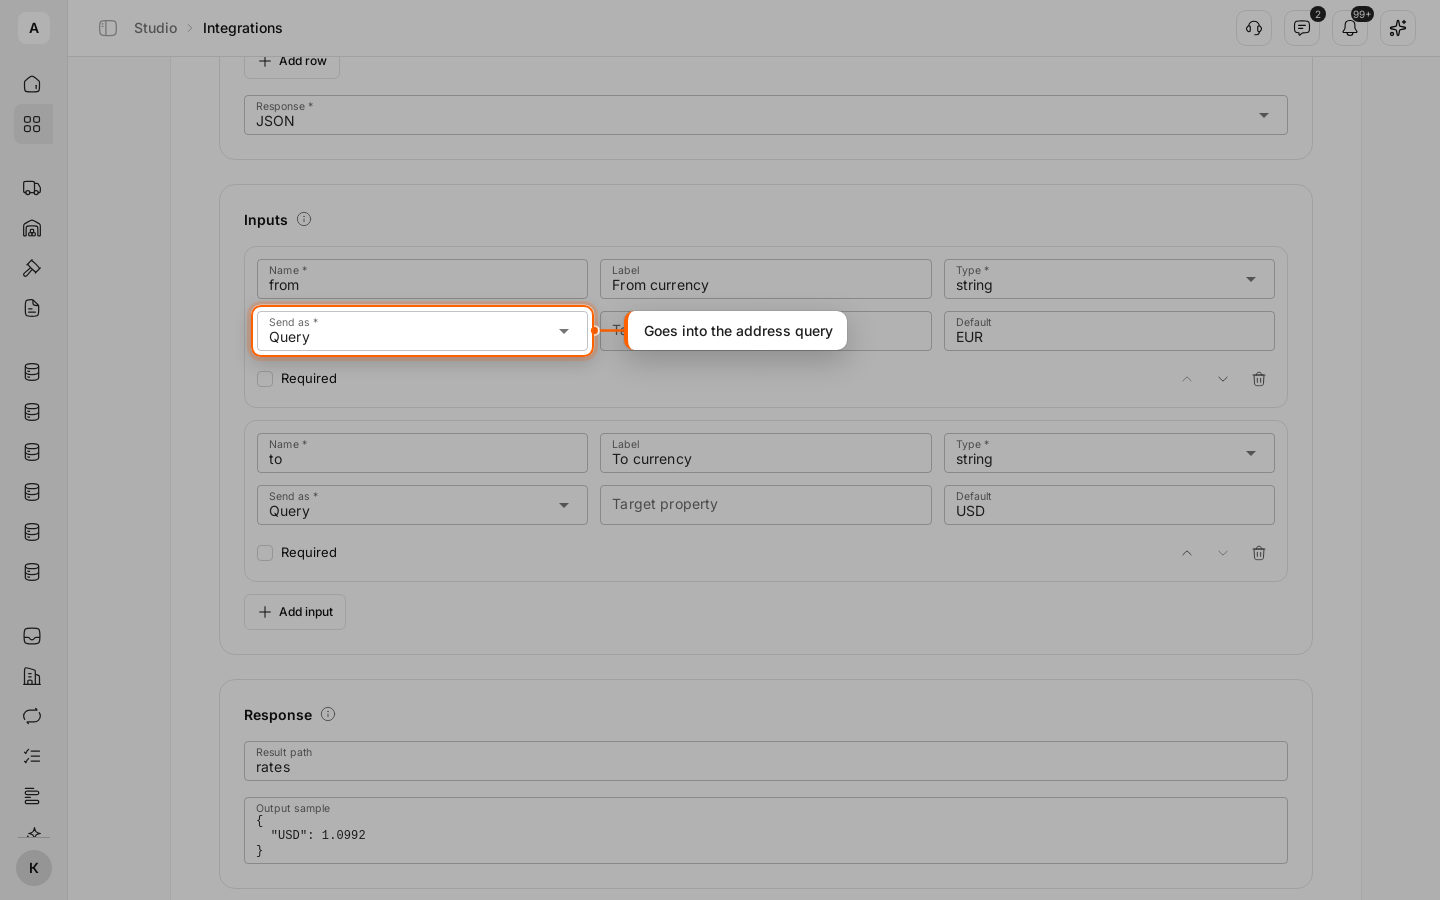
Under “Inputs”, click Add input for each value the action takes. For each, enter the “Name” the system expects, a “Label” for people, the “Type”, and in “Send as” where it goes: “Body”, “Query”, “Path” or “Header”. A “Default” is used when the workflow passes nothing; tick Required when the action cannot run without the value. For “Path”, put {{ input.<name> }} in the action’s “Path”, for example /loads/{{ input.load_id }}.
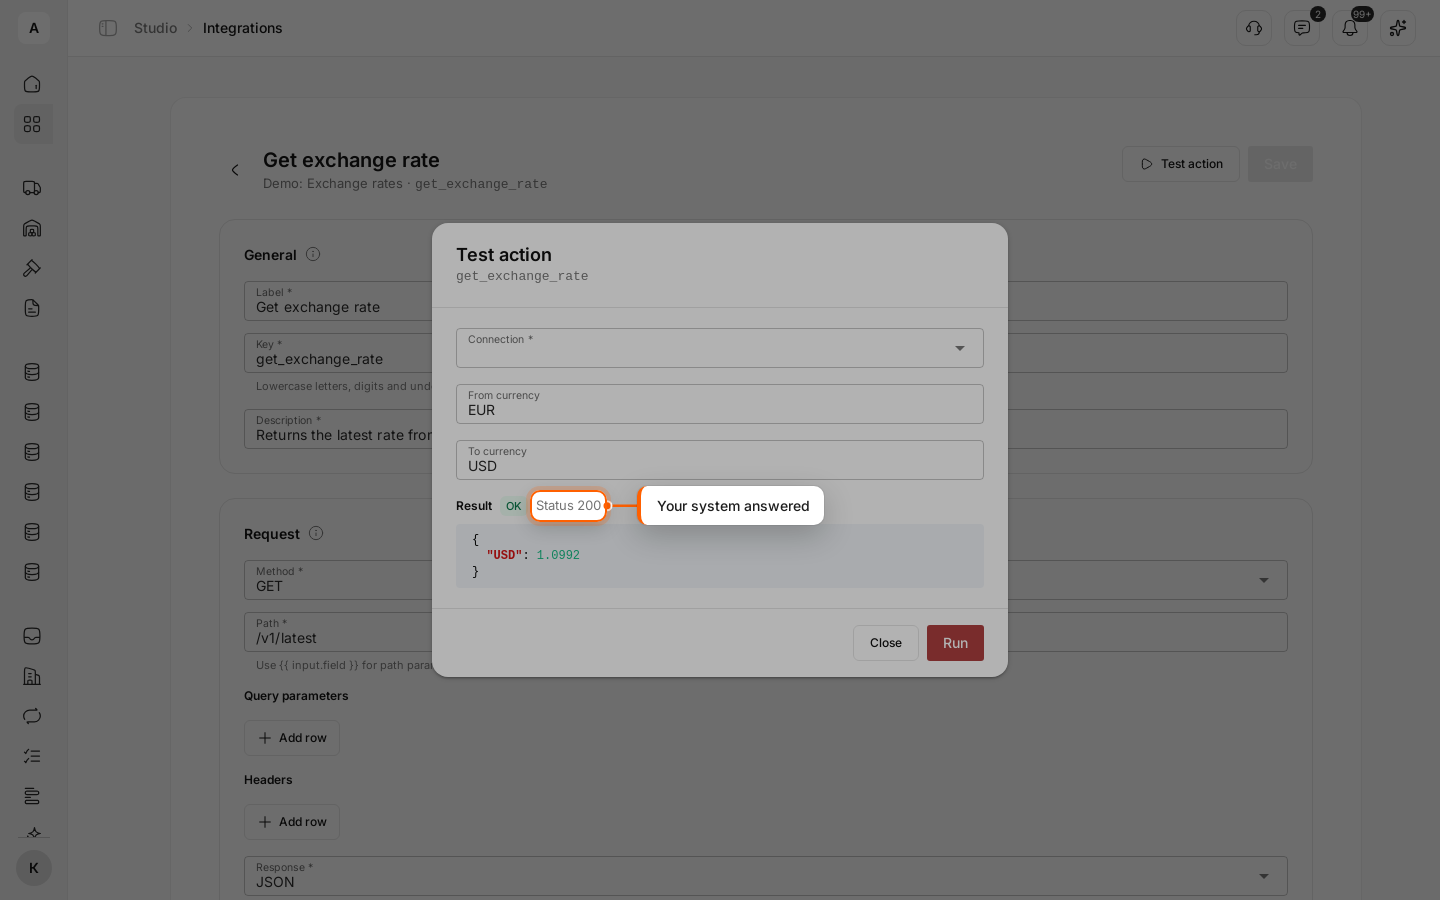
In the example, from and to go into the address query, with the defaults EUR and USD.
Keep the part of the answer you need
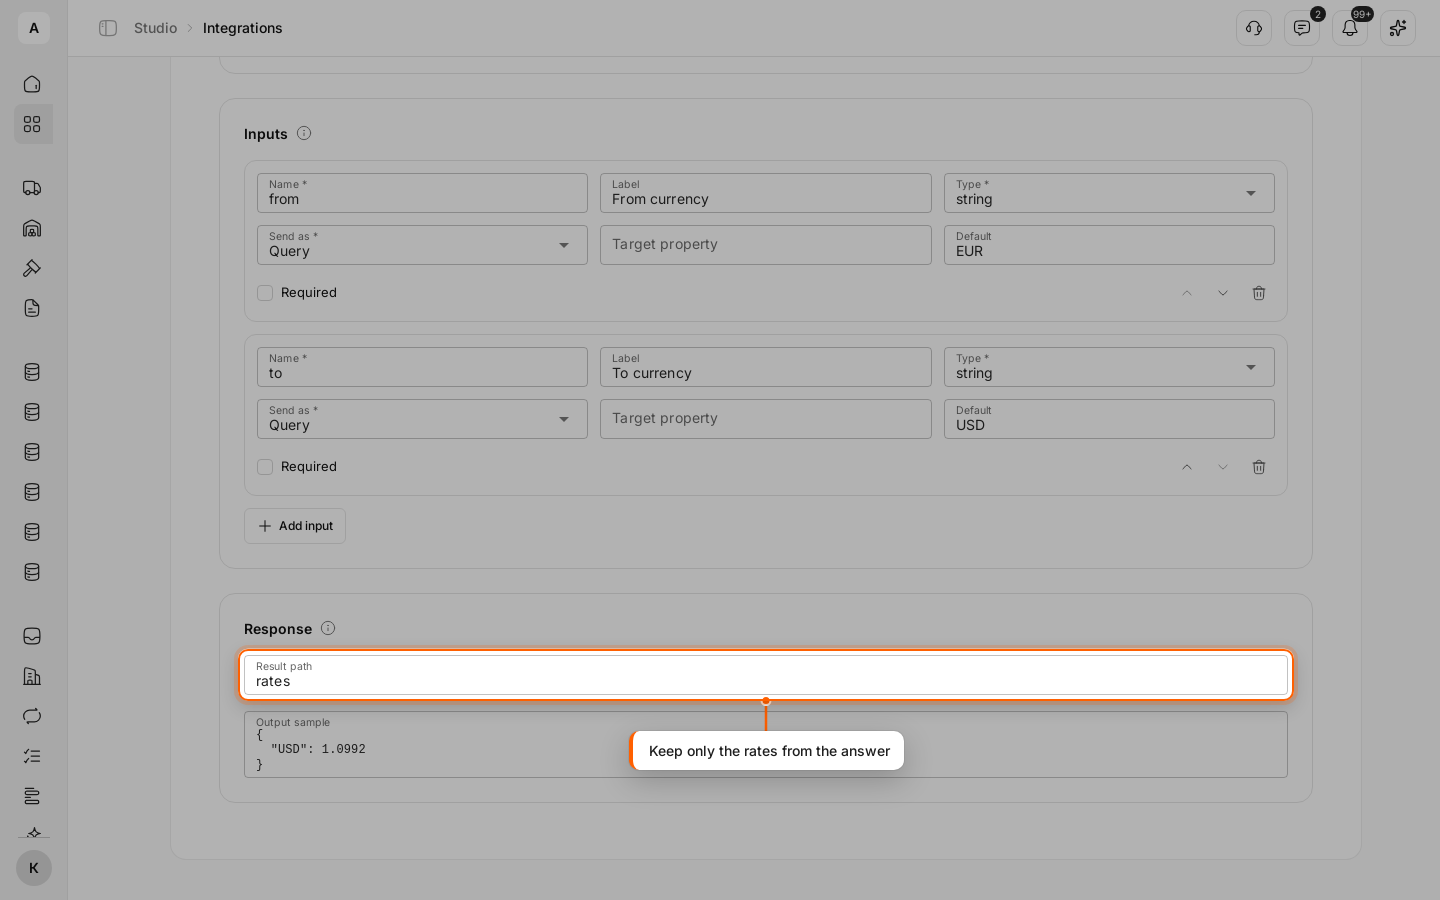
Under “Response”, enter in “Result path” where the useful part of the answer sits, rates in the example; empty keeps the whole answer. In “Output sample”, paste an example of that part, { "USD": 1.0992 }: the workflow editor shows its fields to later nodes. Click Save at the top.
Connect the integration
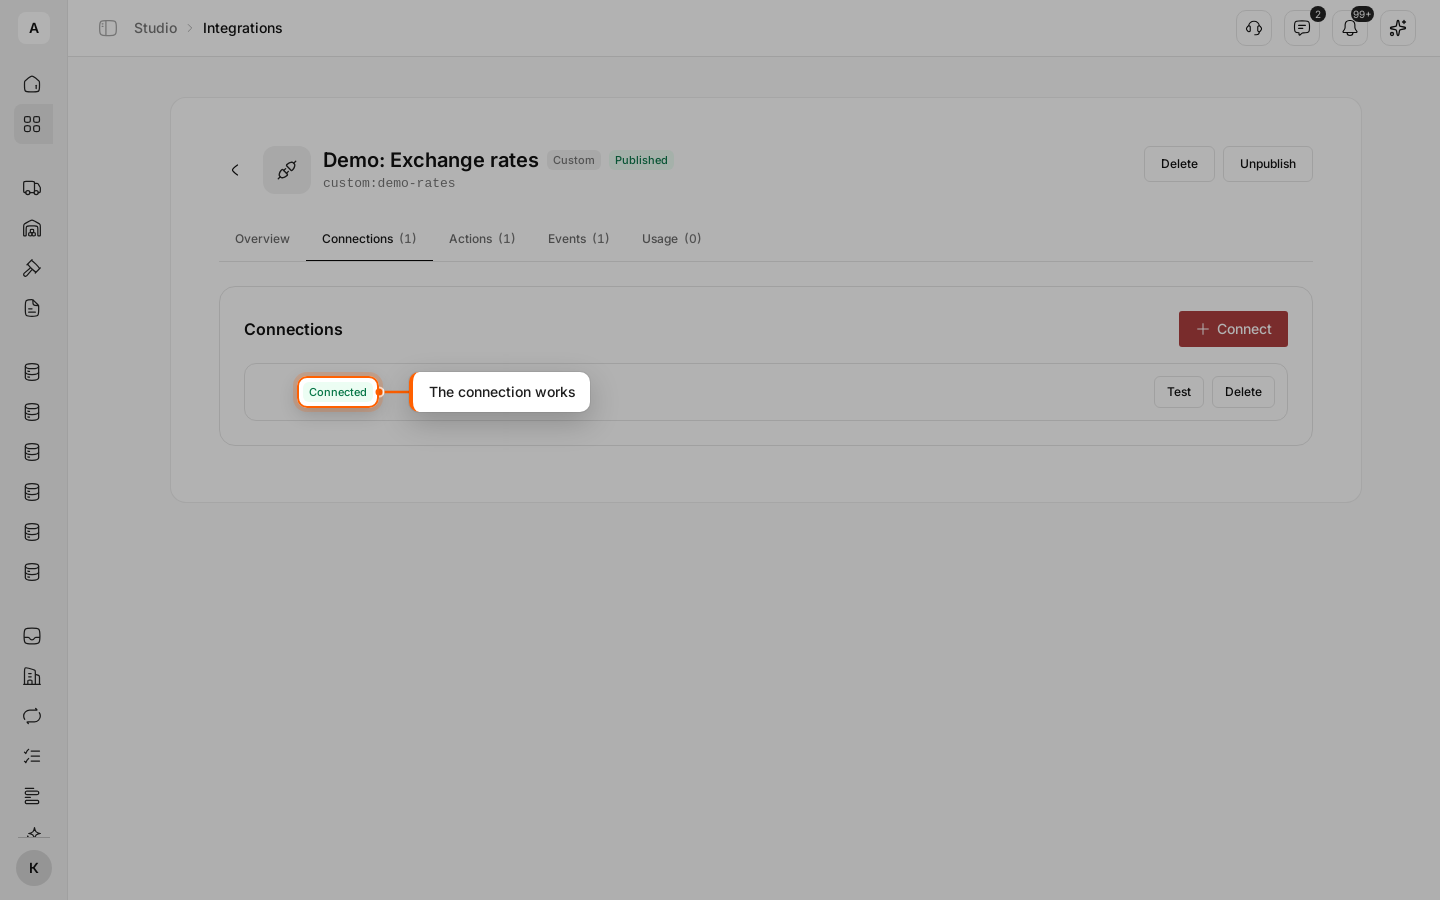
Open the Connections tab and click Connect. When the system needs a key or a login, the window asks for the credential fields; click Test to save the connection and check it at once. Without credentials, the window has only Connect. A working connection gets the “Connected” status.
Test the action
Open the action and click Test action. Pick the connection, change the inputs if needed and click Run. The “Result” shows what the system answered, cut by the “Result path”: in the example, “OK” and { "USD": 1.0992 }.
Add an event your system sends
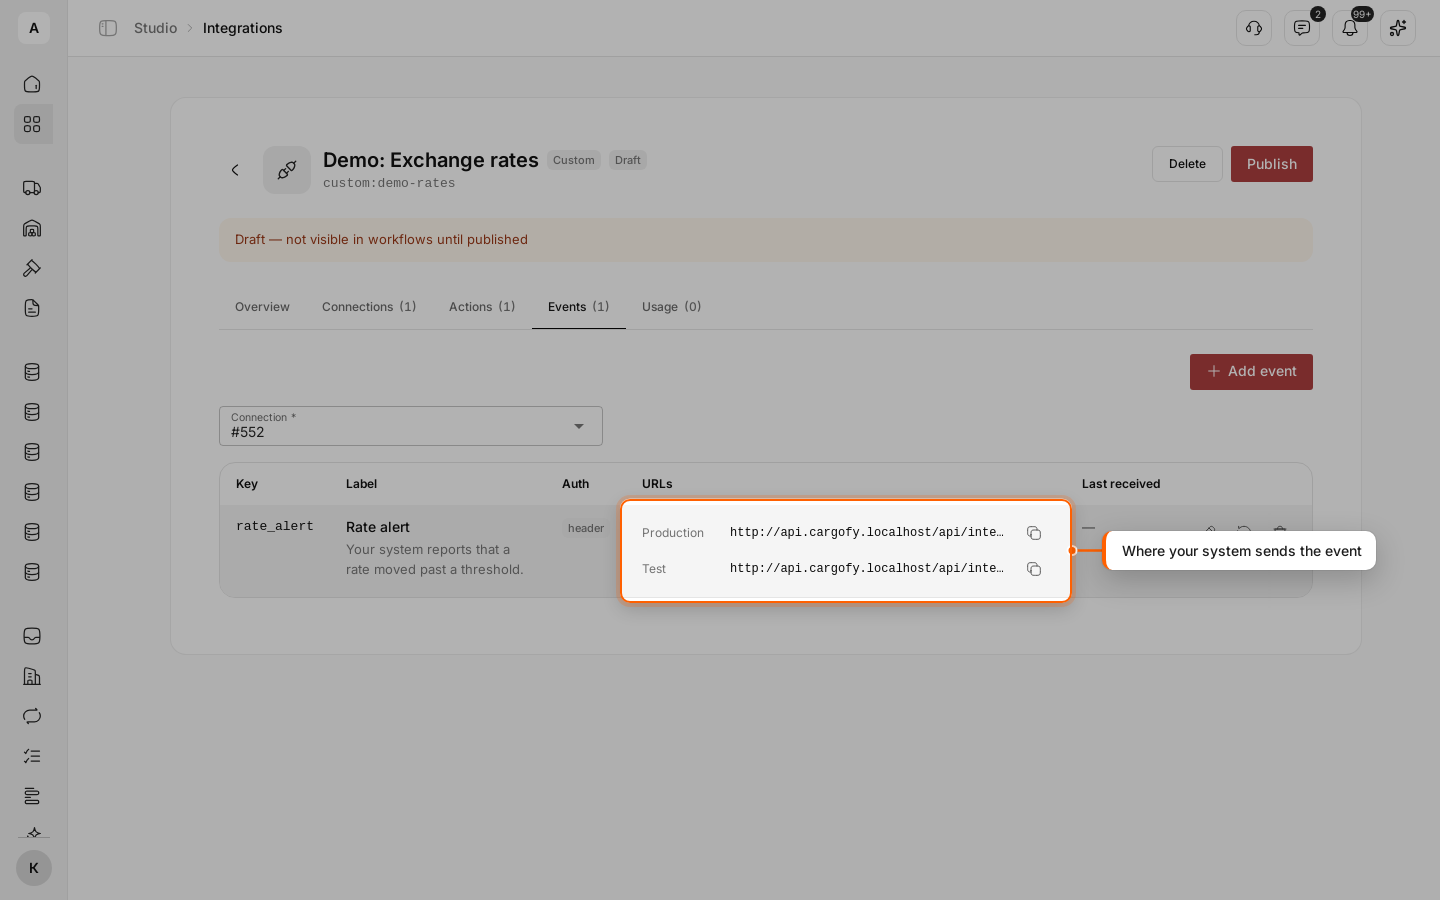
Skip this step if your system only answers requests. To let it start workflows, for example when a load is delivered, open the Events tab and click Add event. Fill in the “Label”, the “Key” and a “Payload sample (JSON)” — an example of what your system sends — keep “Header token” under “Authentication” and click Create. Copy the secret from the window and pass it to your technical team: it is shown once; Rotate secret in the event row gives a new one.
Each connection has its own two addresses in the event row. Your system sends a POST with the JSON to the address and the secret in the X-Cargofy-Token header; a request without the secret is refused. Send to “Test” while you set things up, and give “Production” to your system for real work. “Last received” shows when the last event came in.
Publish the integration
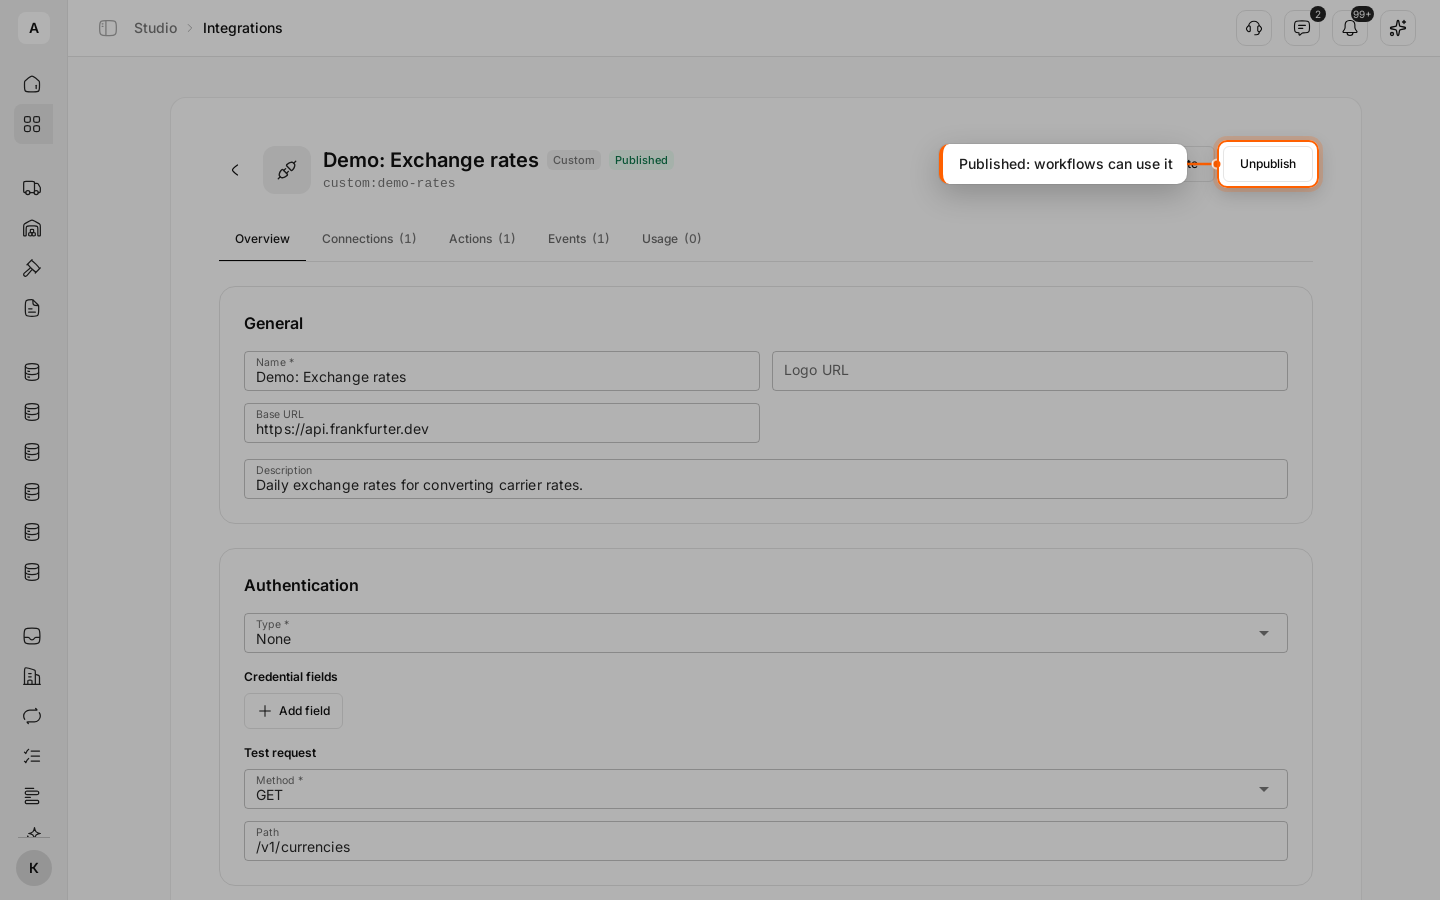
Click Publish at the top of the integration page and confirm. Until you publish it, the integration does not show in workflows.
Use the action in a workflow
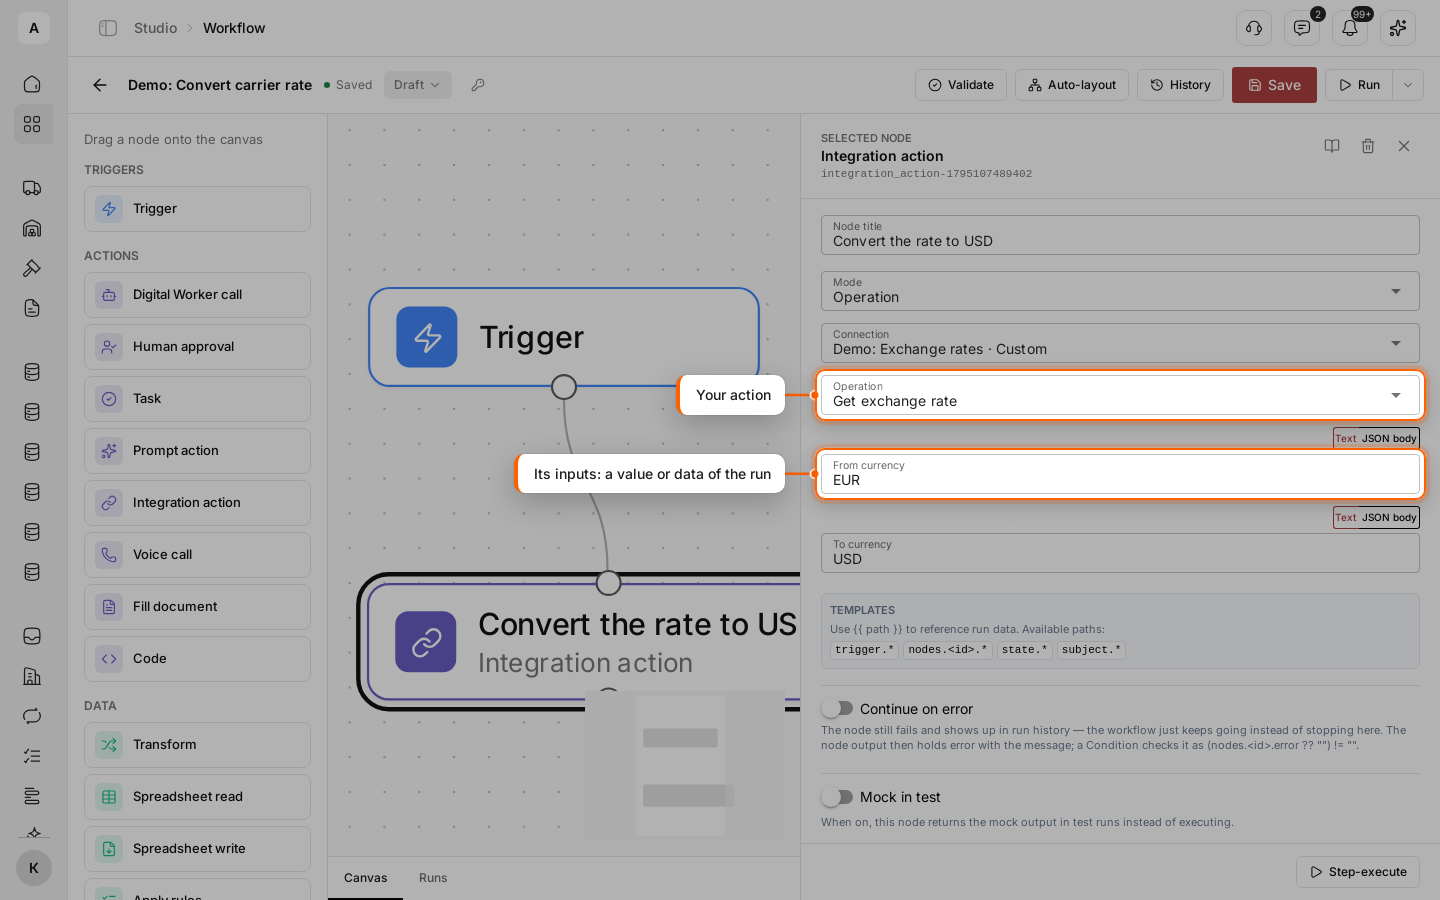
In a workflow, add the “Integration action” node and keep “Mode” on “Operation”. In “Connection”, pick “Demo: Exchange rates · Custom”, and in “Operation”, “Get exchange rate”. The inputs of the action appear below: type a value, or take one from the run with {{ … }} — see Use data from earlier steps. Later nodes read the answer of this node. To start the workflow by your event, pick an “Event” trigger with your integration as the “Source” and the event as the “Event”.