- Who can: anyone in the account who can read the data model
- Where: the interface in the left menu, in the “Interfaces” group
- Time: ≈ 5 minutes
Before you start
This page is for the team that works in an interface every day. The interface itself is set up in Studio — see Create an interface. In the example, a dispatcher works in “Demo: Shipment requests”.
Steps
Find a record
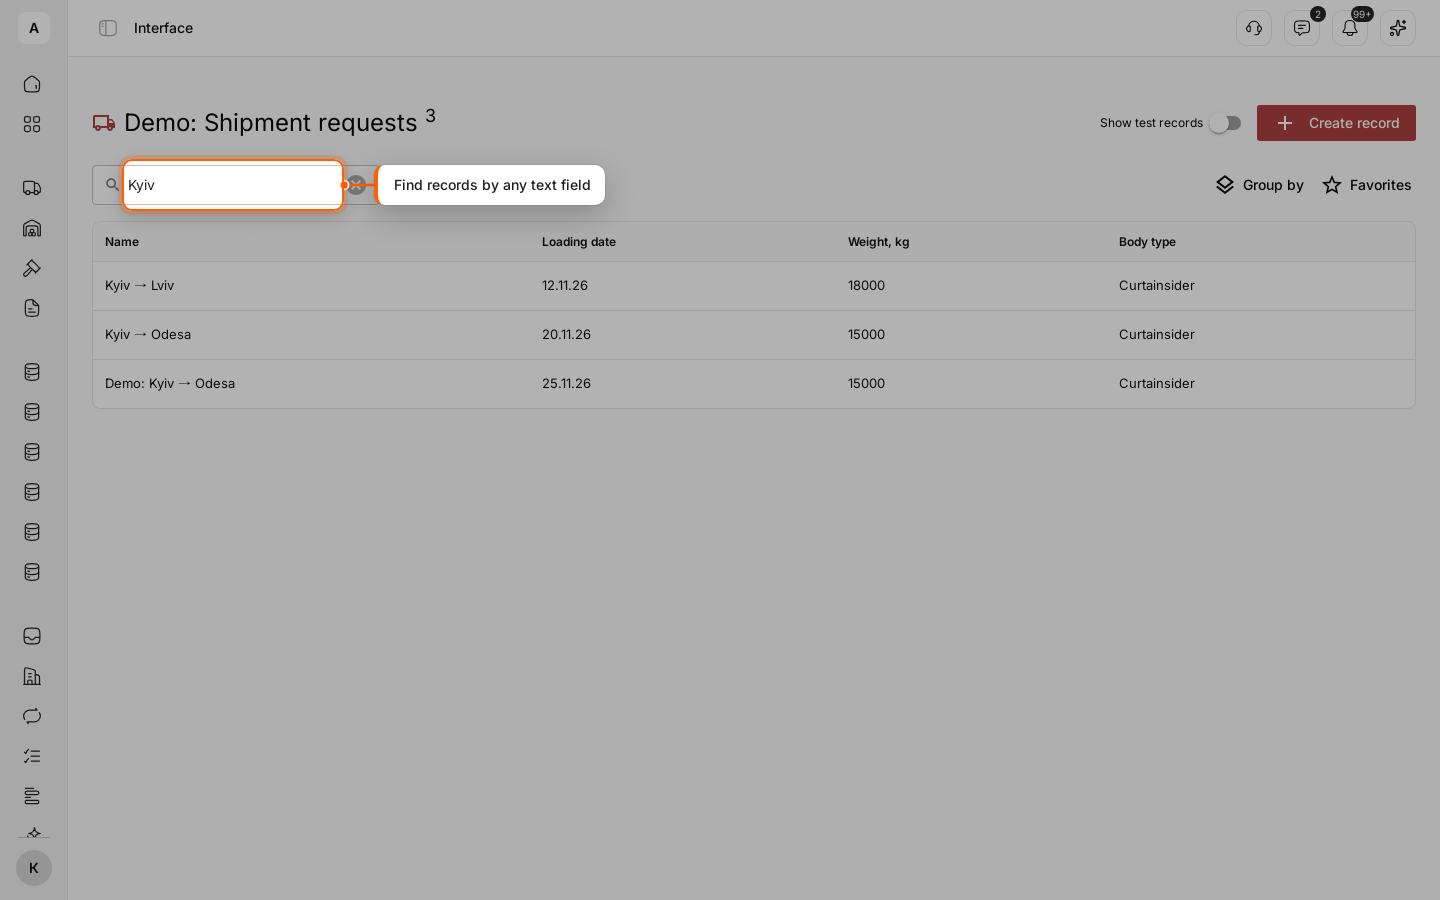
Open the interface from the left menu. Type in “Search”: the list keeps the records with the text in any text field. In the example, “Kyiv” leaves the requests with Kyiv in the route; the number next to the title shows how many there are.
Narrow the list with a filter
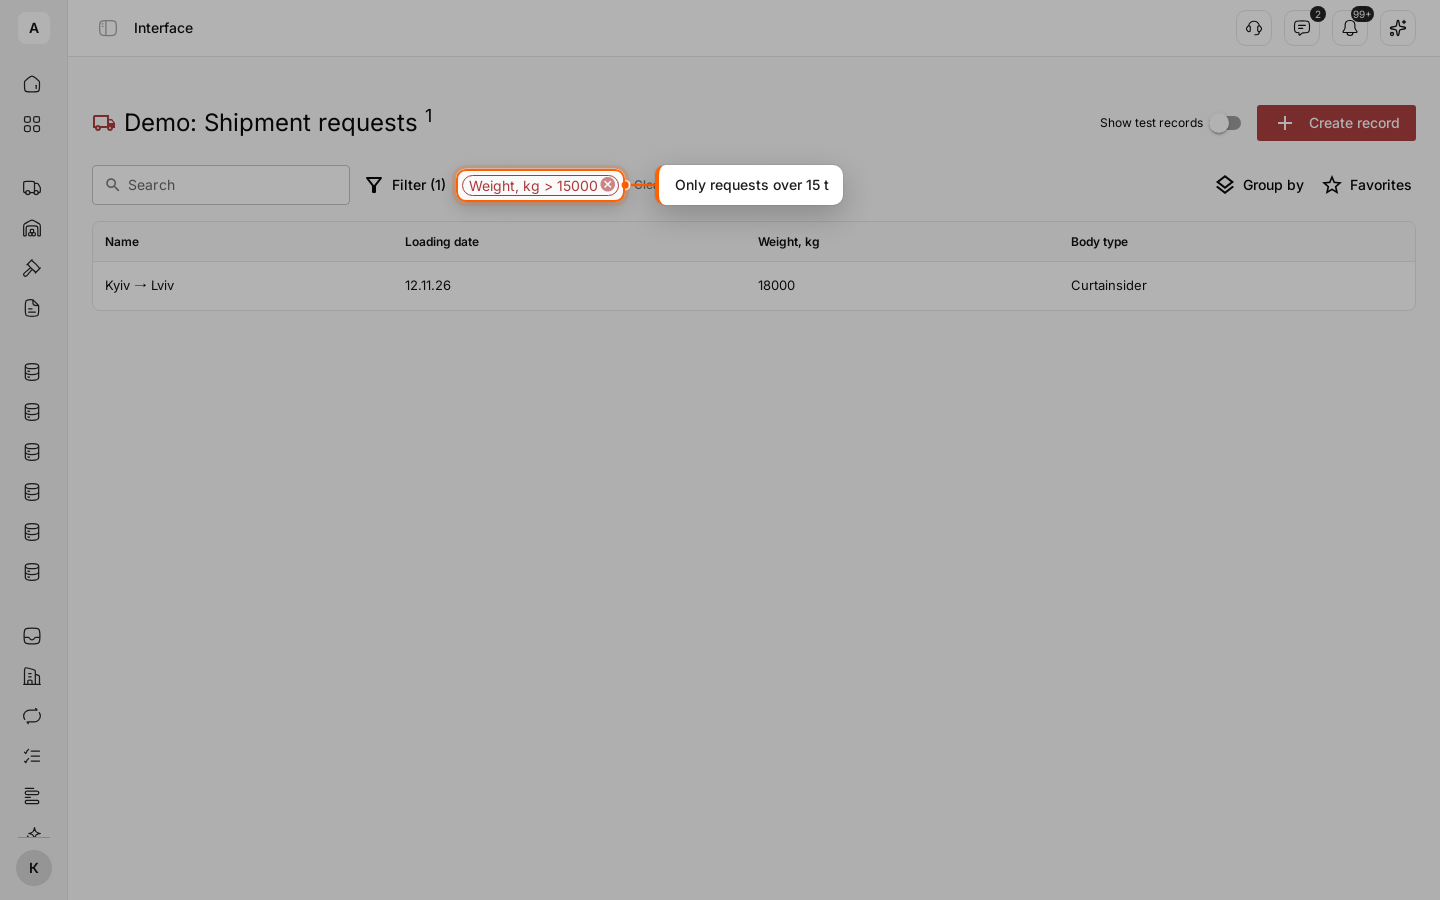
Click Filter, pick a field, a condition and a value, and click Add filter. Each filter shows as a chip above the table; the list keeps the records that match all of them. Click the cross on a chip to remove it, or Clear all. In the example, “Weight, kg” “>” “15000” leaves the requests over 15 t.
Save the view for later
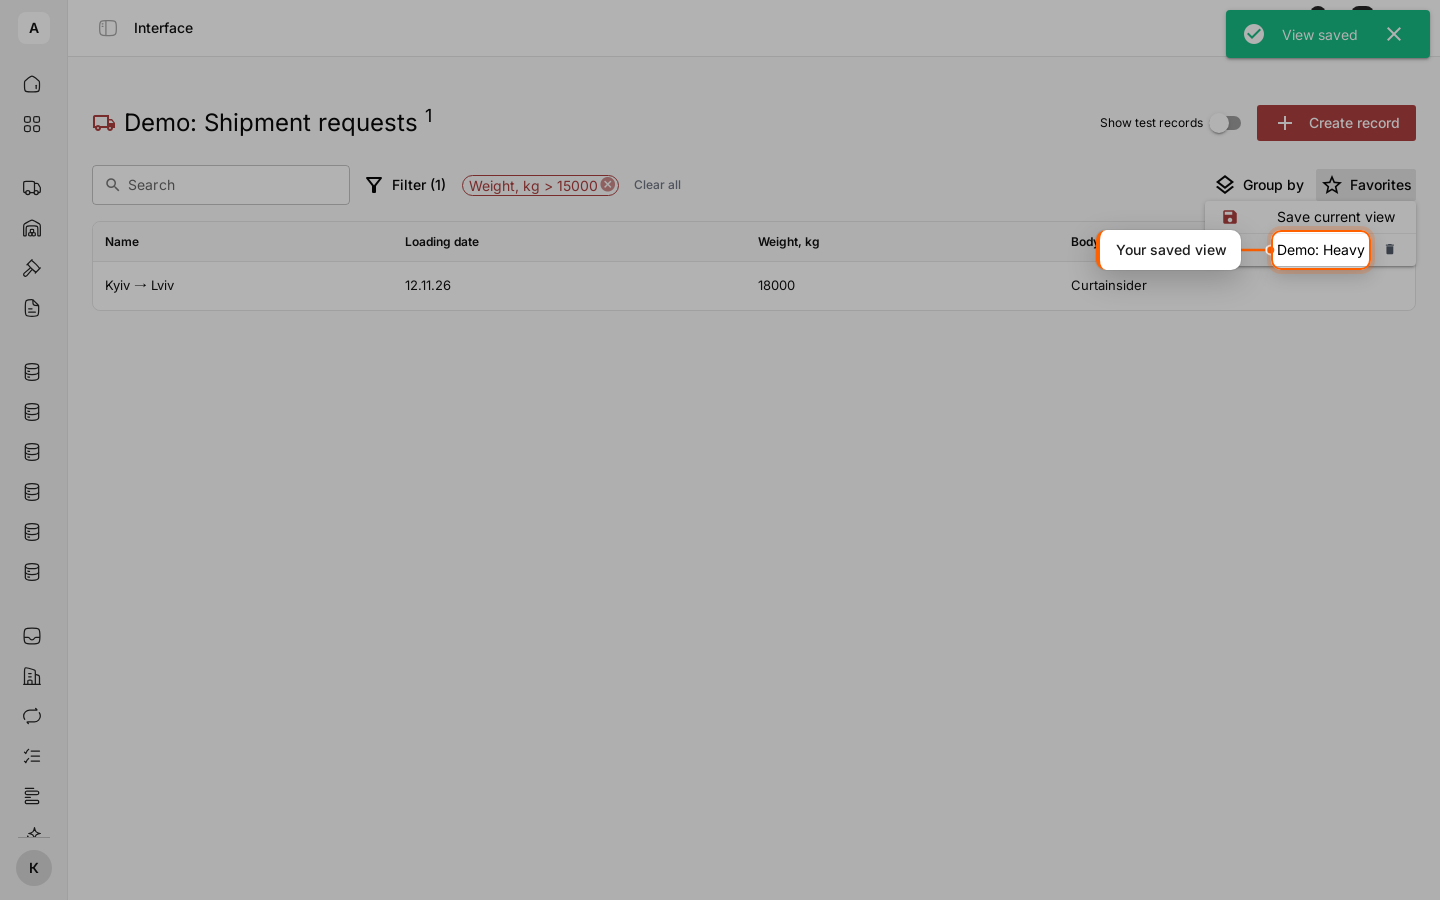
Click Favorites, then Save current view, enter a “View name” and click OK. The view keeps the search and the filters; open it from Favorites next time. Only you see your saved views; the bin next to a view deletes it.
Add a record
Click Create record, fill in the fields and click Create. The record is added to the data model and shows in the list when it matches the interface’s own filter.
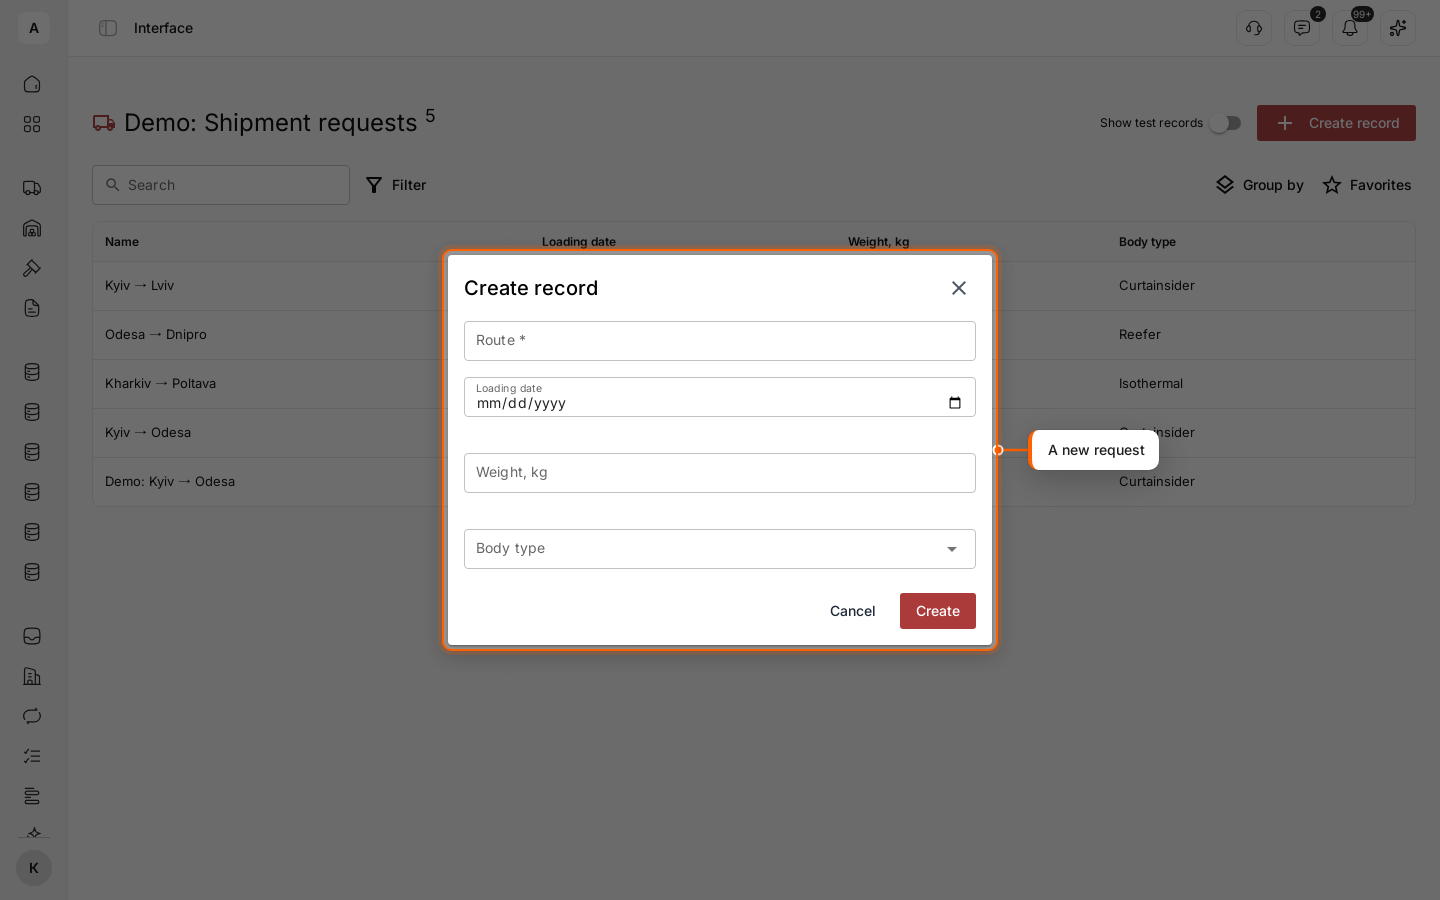
Open a record
Click a row. The record page opens with the blocks set up for this interface — see Set up the record page. The arrow next to the name takes you back to the list.
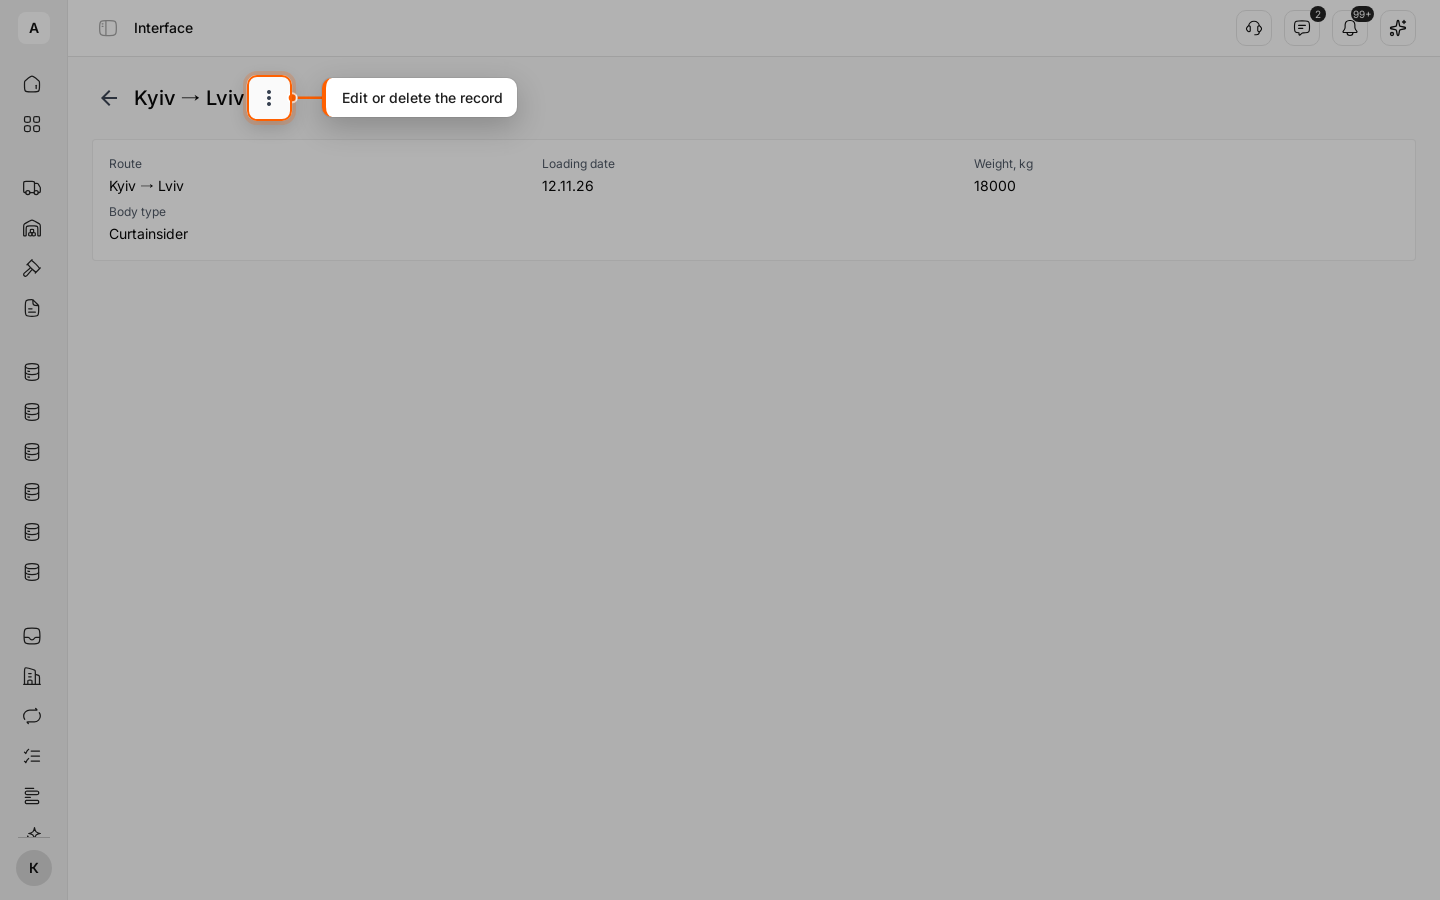
Change or delete the record
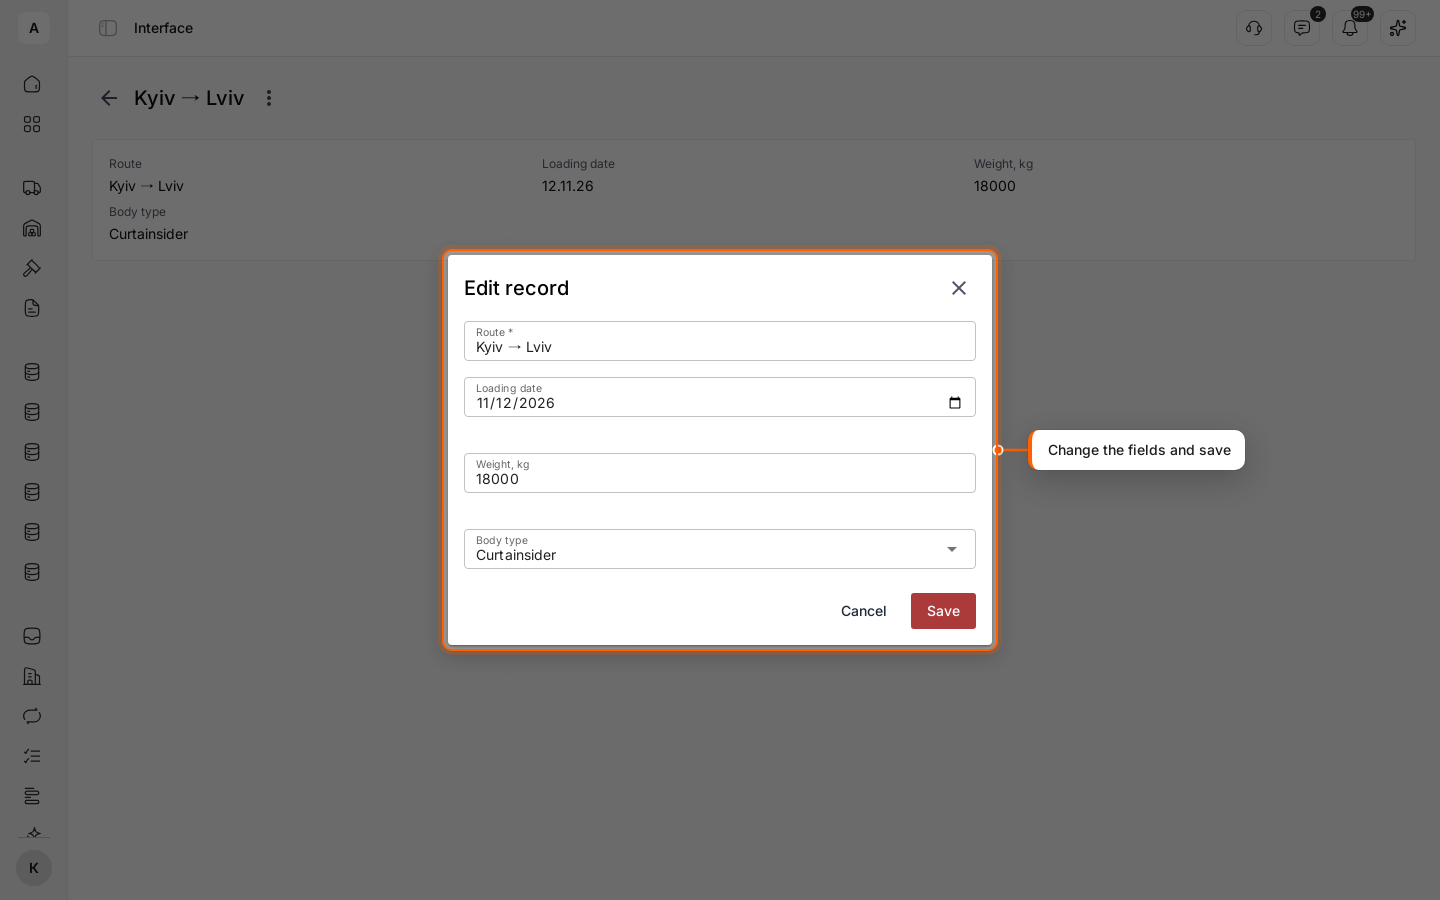
Click the three dots next to the record’s name, then Edit record: change the fields and click Save. Delete record in the same menu removes the record after a confirmation.